kubernetes實戰(十二):k8s使用helm持久化部署redmine整合openLDAP
阿新 • • 發佈:2018-11-27
1、基本概念
此次安裝的有Jenkins、Gitlab、Redmine,我公司目前使用的是獨立於k8s叢集之外單獨部署的Jenkins等服務,此文章會介紹三種服務基於k8s的部署方式,之後整合之前部署的openLDAP實現統一認證。之後將進行簡單持續整合持續部署的演示,最後再結合我公司的專案進行實戰操作,應付出現的各種使用場景。
2、使用Helm安裝redmine
[[email protected] ci]# git clone https://github.com/dotbalo/helm.git
[[email protected] ci]# cd redmine/redmine/
更改values.yaml相關配置,也可以通過--set設定
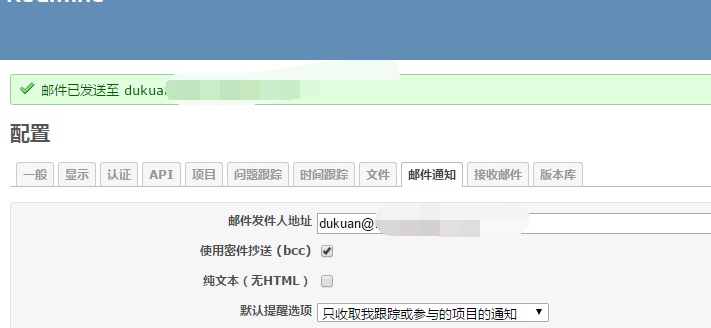
redmineUsername:可選,預設為user redminePassword:可選 redmineEmail:用於專案通知 smtpHost: smtp.xxx.com smtpPort: 465 smtpUser: [email protected] smtpPassword: xxx smtpTls: true
serviceType: ClusterIP
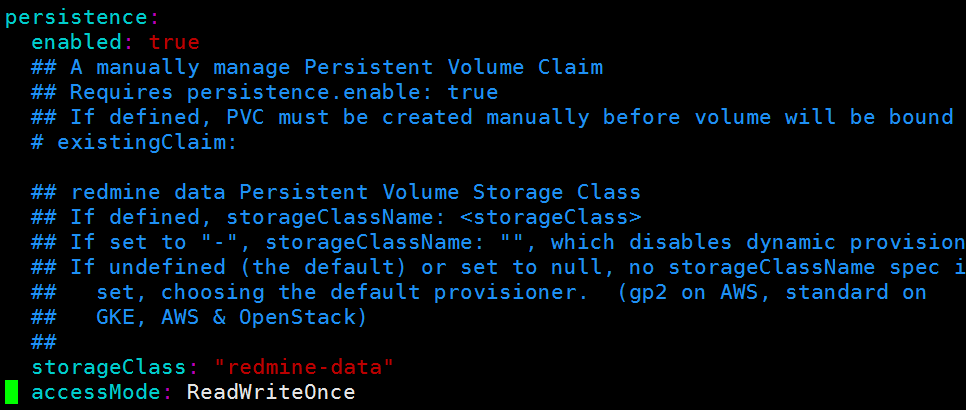
# 修改mariadb的storageClass: "gluster-heketi",使用gfs動態儲存
注意:redmine的持久化使用的nfs
建立redmine的pv
[[email protected] redmine]# kubectl create -f redmine.pv
安裝redmine
helm install --name redmine . --debug --namespace public-service
安裝成功後如下:
NOTES: 1. Get the Redmine URL: NOTE: It may take a few minutes for the LoadBalancer IP to be available. Watch the status with:'kubectl get svc --namespace public-service -w redmine-redmine' export SERVICE_IP=$(kubectl get svc --namespace public-service redmine-redmine --template "{{index .status.loadBalancer.ingress 0) }}{{ . }}{{ end }}") echo http://$SERVICE_IP/ 2. Login with the following credentials echo Username: admin echo Password: $(kubectl get secret --namespace public-service redmine-redmine -o jsonpath="{dmine-password}" | base64 --decode)
檢視pods
[[email protected] redmine]# kubectl get po -n public-service
NAME                               READY     STATUS    RESTARTS   AGE
redmine-mariadb-0                  1/1       Running   0          20m
redmine-redmine-6995ddf776-s5zww   1/1       Running   0          20m
建立ingress,也可以直接在values.yaml指定
[[email protected] redmine]# kubectl create -f traefik-redmine.yaml
訪問redmine

檢視密碼
[[email protected] redmine]# kubectl get secret --namespace public-service redmine-redmine -o jsonpath={.data.redmine-password} | base64 --decode
7AOZGCVJOQ

2.1 redmine配置
語言配置

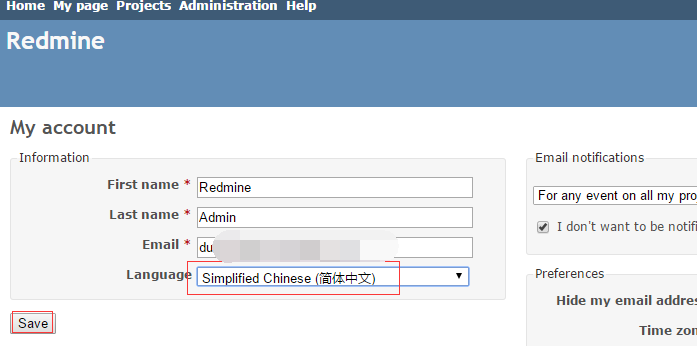
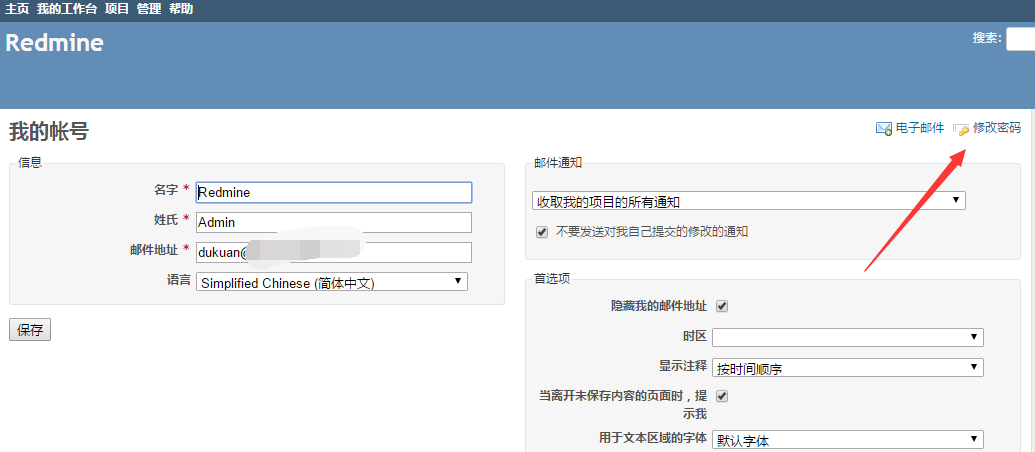
密碼修改
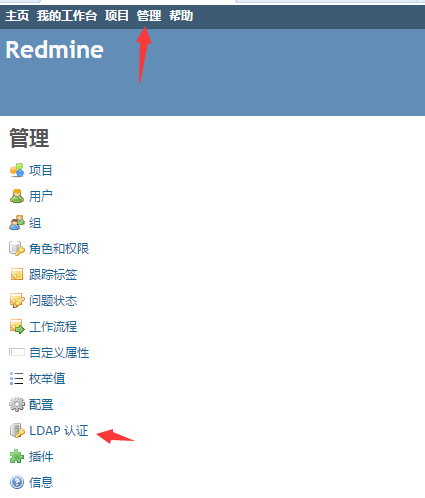
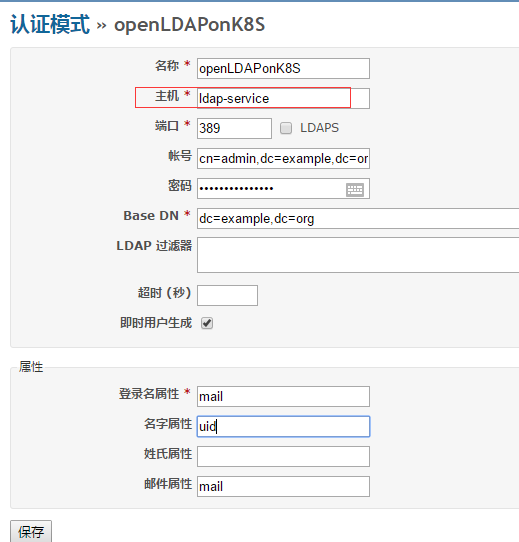
LDAP配置
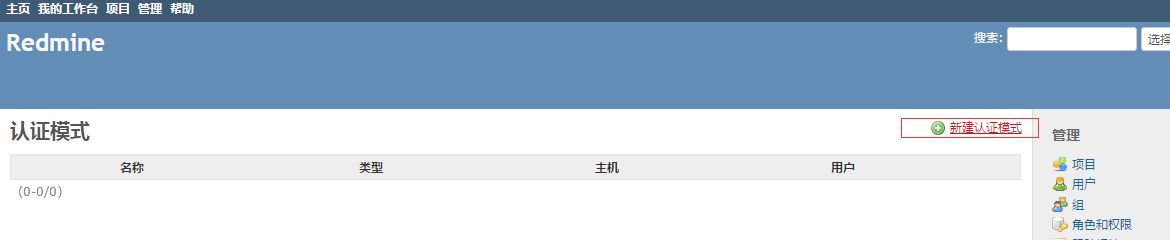
填寫如下
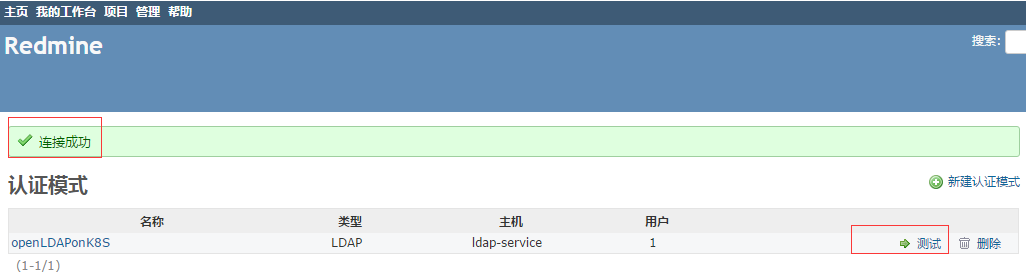
連線測試
2.2 使用者配置
上述雖然勾選了即時生成使用者,但是並未生成,所以需要建立與之對應的使用者。注意:我採用的email認證,為了防止重名,如果使用使用者名稱的話登入名屬性填寫uid。
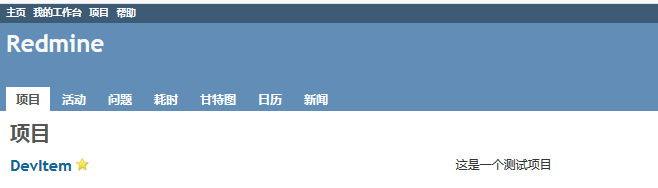
建立一個專案:DevItem

建立dev組

建立對應使用者

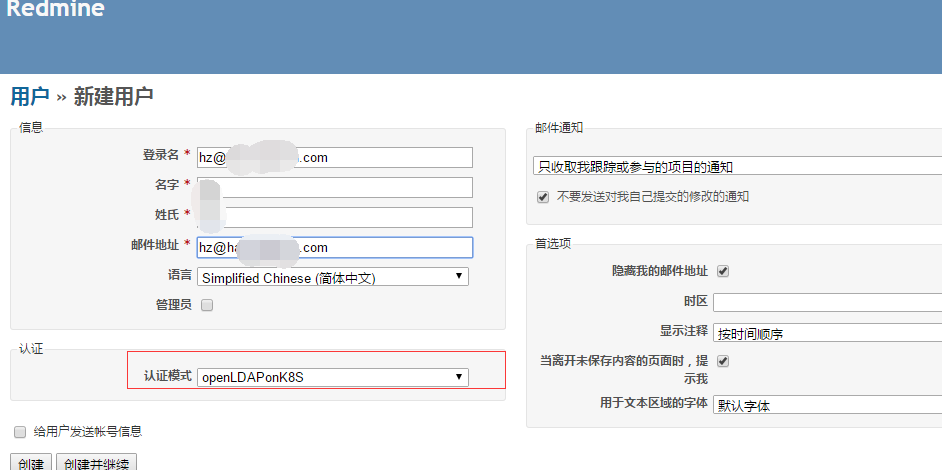
注意上述使用的mail認證方式,所以登入名為郵箱,如果採用uid則寫cn的名字
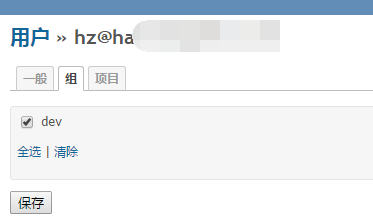
加入組和專案
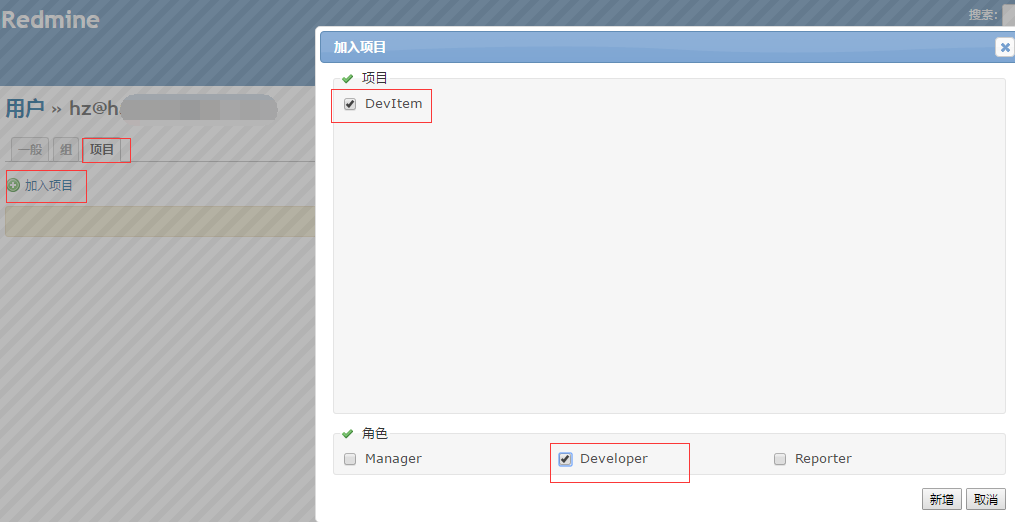
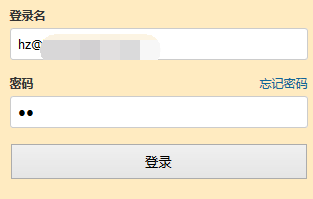
登入測試
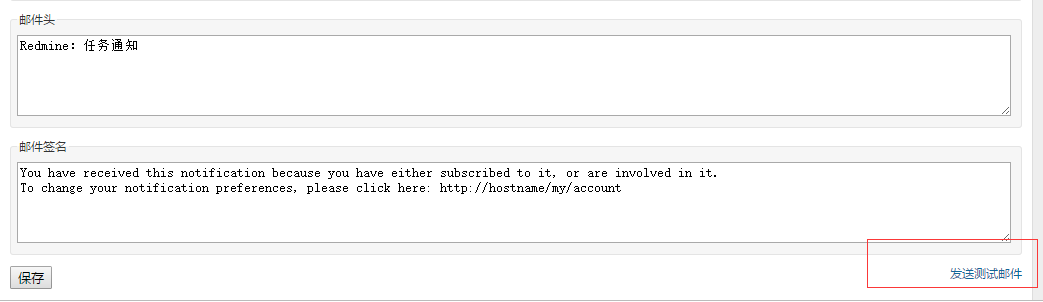
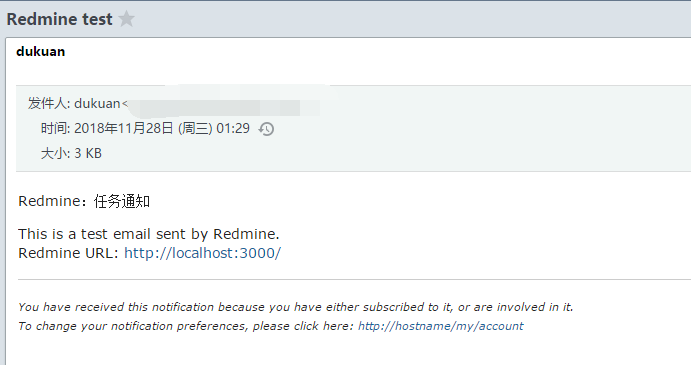
3、郵件測試
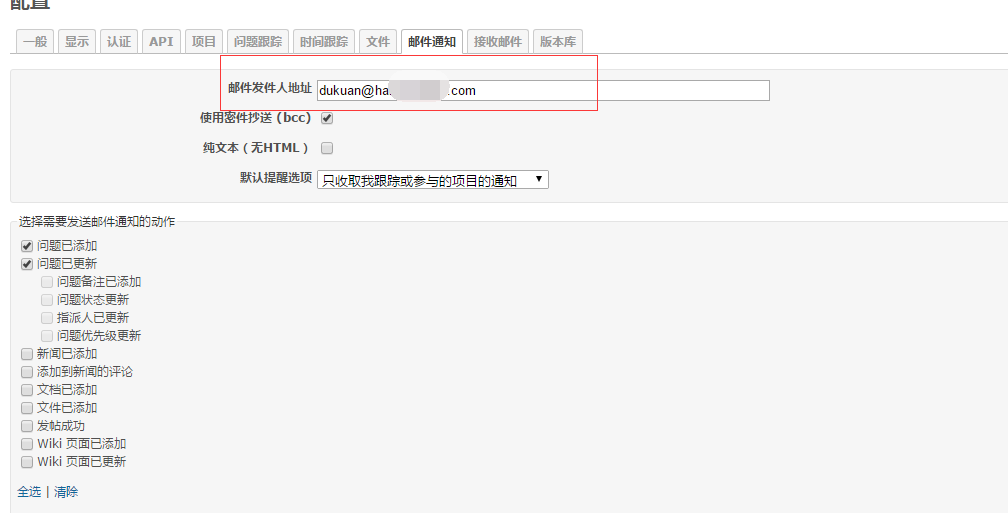
點擊發送測試郵件