飲冰三年-人工智慧-Python-22 Python初始Django
阿新 • • 發佈:2018-12-08
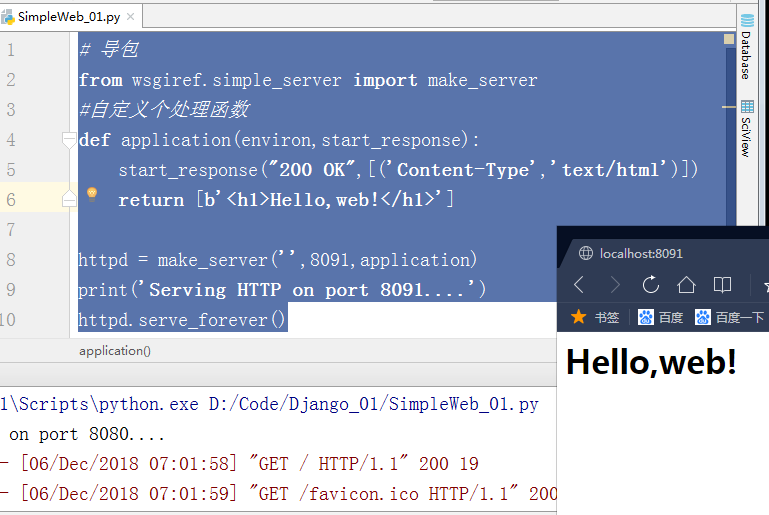
1:一個簡單的web框架


# 導包 from wsgiref.simple_server import make_server #自定義個處理函式 def application(environ,start_response): start_response("200 OK",[('Content-Type','text/html')]) return [b'<h1>Hello,web!</h1>'] httpd = make_server('',8091,application) print('Serving HTTP on port 8091....HelloWorld') httpd.serve_forever()
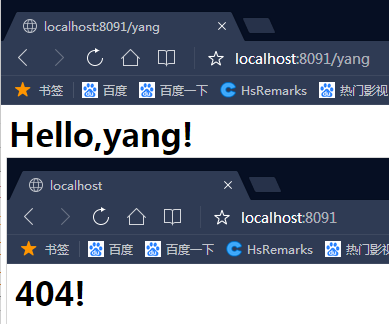
# 導包 from wsgiref.simple_server import make_server #自定義個處理函式 def application(environ,start_response): # 獲取路徑 path = environ["PATH_INFO"] start_response("200 OK",[('Content-Type','text/html')]) if path=="/yang": return [b'<h1>Hello,yang!</h1>View Code2.0'] elif path=="/Aaron": return [b'<h1>Hello,aaron!</h1>'] else: return [b'<h1>404!</h1>'] httpd = make_server('',8091,application) print('Serving HTTP on port 8091....') httpd.serve_forever()
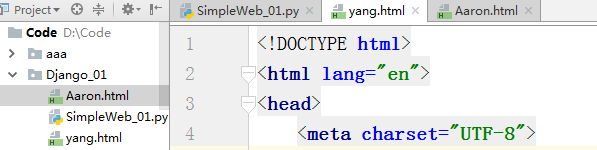
# 導包 from wsgiref.simple_server import呼叫HTML內容make_server def yang(): f=open("yang.html","rb") data=f.read() return data def aaron(): f=open("aaron.html","rb") data=f.read() return data #自定義個處理函式 def application(environ,start_response): # 獲取路徑 path = environ["PATH_INFO"] start_response("200 OK",[('Content-Type','text/html')]) if path=="/yang": return [yang()] elif path=="/Aaron": return [aaron()] else: return [b'<h1>404!</h1>'] httpd = make_server('',8091,application) print('Serving HTTP on port 8091....') httpd.serve_forever()
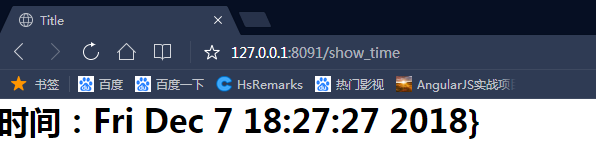
# 導包
import time
from wsgiref.simple_server import make_server

def region(req):
    pass;
def login(req):
    print(req["QUERY_STRING"])
    f=open("login.html",'rb')
    data=f.read();
    return data;
def yang(req):
    f=open("yang.html","rb")
    data=f.read()
    return data
def aaron(req):
    f=open("aaron.html","rb")
    data=f.read()
    return data
def show_time(req):
   times=time.ctime()
   # 方法一:通過模板使用
   # con=("<h1>time:%s</h1>" %str(times)).encode("utf8")
   # return con
   # 方法二:字串替換
   f = open("show_time.html", "rb")
   data = f.read()
   data=data.decode("utf8")
   data =data.replace("{{time}}",str(times))
   return data.encode("utf8")
# 定義路由
def router():
    url_patterns=[
        ("/login",login),
        ("/region", region),
        ("/yang", yang),
        ("/aaron", aaron),
        ("/show_time",show_time),
    ]

    return url_patterns
#自定義個處理函式
def application(environ,start_response):
    # 獲取路徑
    path = environ["PATH_INFO"]
    start_response("200 OK",[('Content-Type','text/html')])
    url_patterns = router()
    func =None
    for item in url_patterns:
        if item[0]==path:
           func=item[1]
           break
    if func:
        return [func(environ)]
    else:
        return [b'404']
httpd = make_server('',8091,application)
print('Serving HTTP on port 8091....')
httpd.serve_forever()
模擬路由
<!DOCTYPE html>
<html lang="en">
<head>
    <meta charset="UTF-8">
    <title>Title</title>
     <style>
        *{
            margin: 0;
            padding: 0;
        }
    </style>
</head>
<body>
    <h1>時間:{{time}}}</h1>
</body>
</html>
show_time.html
2:一個簡單的django案例
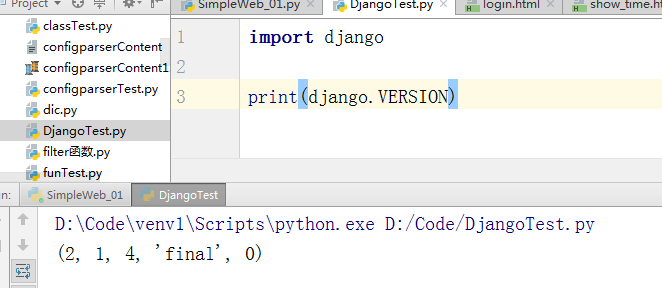
Django的下載與安裝


如何檢驗是否安裝成功?
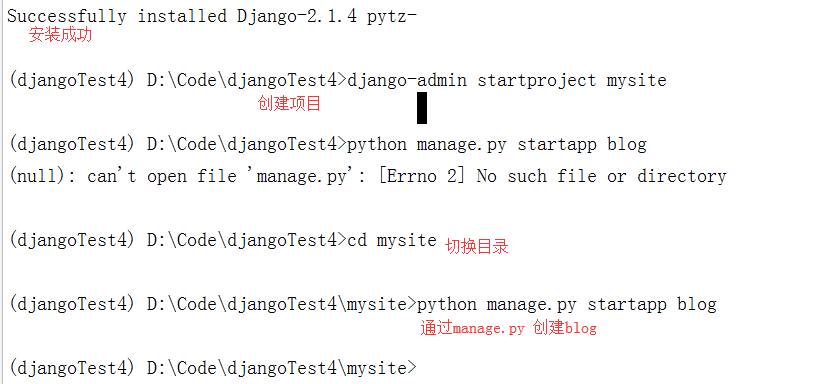
2.1 建立django專案的兩種方法
--建立Django專案
django-admin startproject mysite

--建立應用
python manage.py startapp blog
通過命令建立
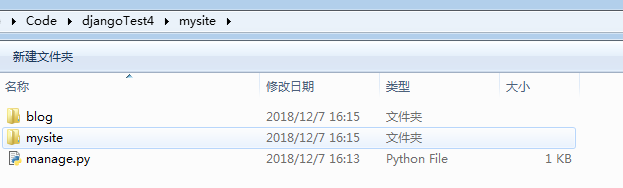
方式2:通過Pycharm建立
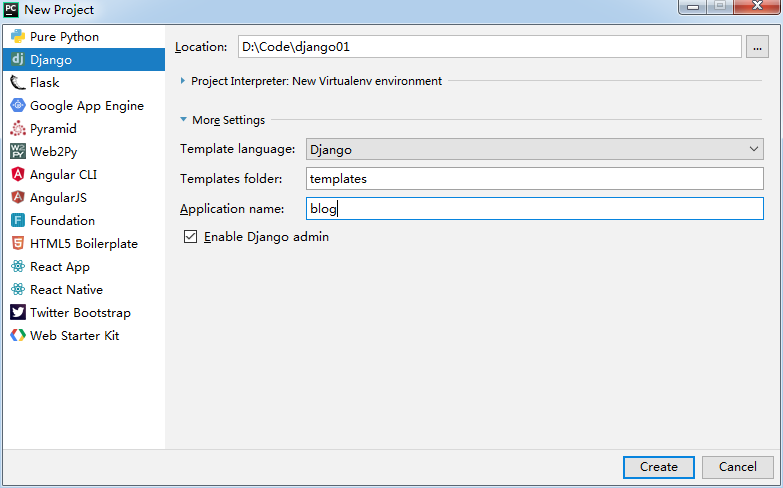
建立成功
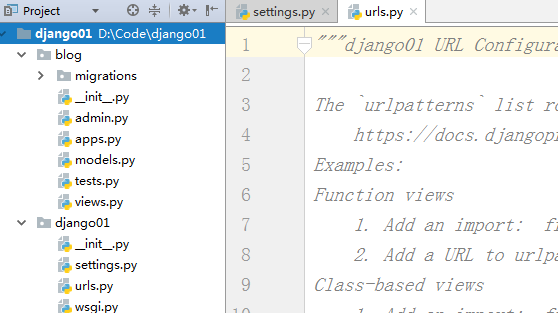
大致分為三步
a:修改urls.py 類似控制器,把想要展示的內容通過地址配置一下

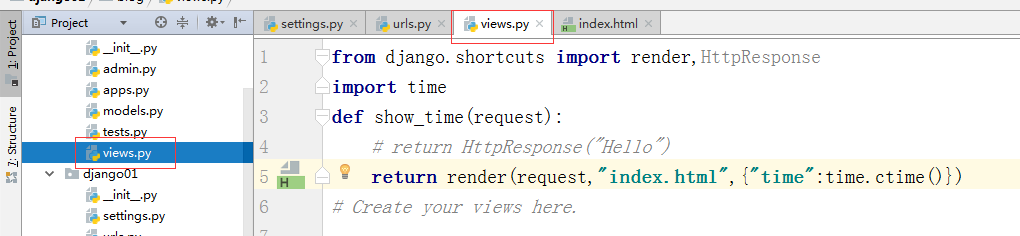
b:在views中設定具體的邏輯
c:在templates中設定要顯示的頁面內容

通過命令列啟動django。
python manage.py runserver 8091

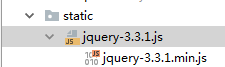
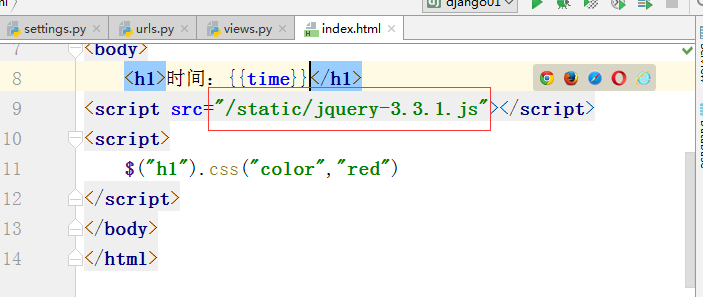
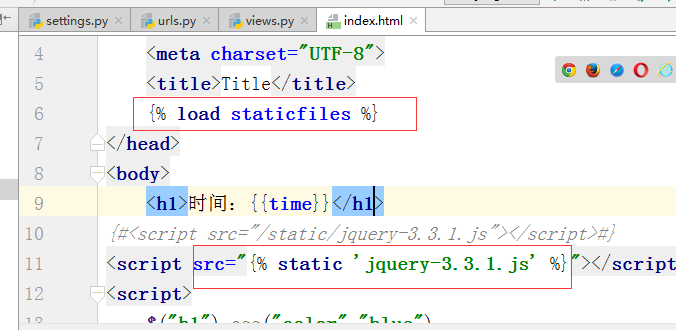
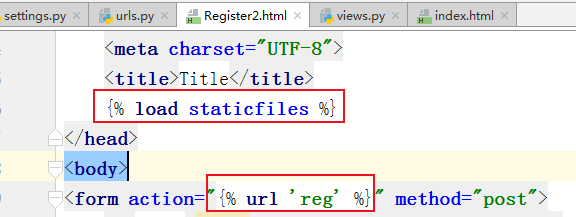
如何引用js
a:新增static檔案,並把js放置到該檔案下
b:在setting檔案中配置

c:在對應的檔案中做引用
URL配置(URLconf):又叫做路由系統,其本質是提供路徑和檢視函式之間的呼叫對映表。
格式:
urlpatterns=[
url(正在表示式,views檢視函式,引數,別名)
]
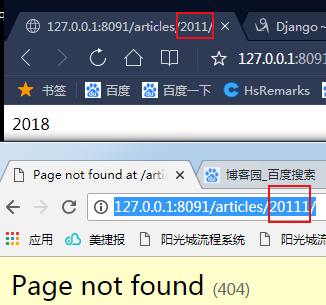
例1:匹配 XXX/articles/年份(只能匹配4位數字)
from django.contrib import admin
from django.urls import path
from django.conf.urls import  url
from blog import views
urlpatterns = [
    path('admin/', admin.site.urls),
    path('show_time/',views.show_time),
    url(r'^articles/[0-9]{4}/$', views.year_archive),

]
urls.py--1.0
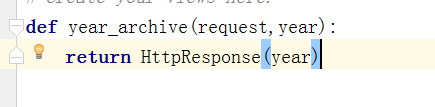
from django.shortcuts import render,HttpResponse
import time
def show_time(request):
    # return HttpResponse("Hello")
    return render(request,"index.html",{"time":time.ctime()})
# Create your views here.
def year_archive(request):
    return HttpResponse("2018");
Views.py
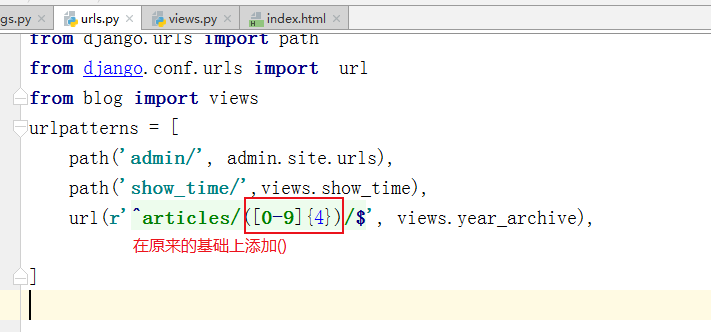
例2:如何獲取到位址列中的年份(通過路由新增()匹配)
例3:給分組命名
urls中的配置
url(r'^articles/(?P<year>[0-9]{4})/(?P<month>[0-9]{2})$', views.year_archive),
views檢視中的程式碼
return HttpResponse(year+"-"+month)

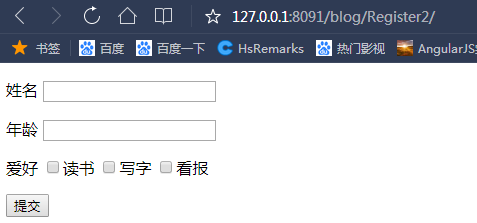
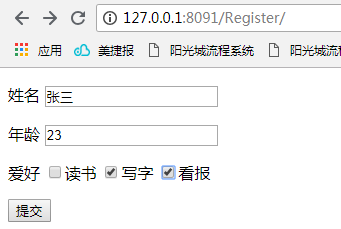
例四:註冊小練習
<!DOCTYPE html>
<html lang="en">
<head>
    <meta charset="UTF-8">
    <title>Title</title>
</head>
<body>
<form action="" method="post">
    <p>姓名 <input type="text" name="name"></p>
    <p>年齡 <input type="text" name="age"></p>
    <p>愛好 <input type="checkbox" name="hobby" value="1">讀書
            <input type="checkbox" name="hobby" value="2">寫字
            <input type="checkbox" name="hobby" value="3">看報
    </p>
    <p><input type="submit"></p>
</form>
</body>
</html>
Register.html
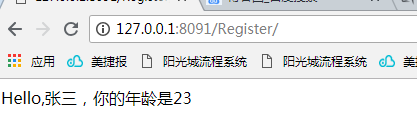
from django.shortcuts import render,HttpResponse
import time
def show_time(request):
    # return HttpResponse("Hello")
    return render(request,"index.html",{"time":time.ctime()})
# Create your views here.
def year_archive(request,month,year):
    return HttpResponse(year+"-"+month)

def Register(request):
    if request.method=="POST":
        con="Hello,%s,你的年齡是%s"%(request.POST.get("name"),request.POST.get("age"))
        return HttpResponse(con)
    return render(request,"Register.html")
Views.py
"""django01 URL Configuration

The `urlpatterns` list routes URLs to views. For more information please see:
    https://docs.djangoproject.com/en/2.1/topics/http/urls/
Examples:
Function views
    1. Add an import:  from my_app import views
    2. Add a URL to urlpatterns:  path('', views.home, name='home')
Class-based views
    1. Add an import:  from other_app.views import Home
    2. Add a URL to urlpatterns:  path('', Home.as_view(), name='home')
Including another URLconf
    1. Import the include() function: from django.urls import include, path
    2. Add a URL to urlpatterns:  path('blog/', include('blog.urls'))
"""
from django.contrib import admin
from django.urls import path
from django.conf.urls import  url
from blog import views
urlpatterns = [
    path('admin/', admin.site.urls),
    path('show_time/',views.show_time),
    url(r'^articles/(?P<year>[0-9]{4})/(?P<month>[0-9]{2})$', views.year_archive),
    url(r'^Register/', views.Register),

]
urls.py
注意:需要把這句程式碼給註釋掉

效果圖
在url中給地址設定一個別名,這樣後期Register名稱的修改將不影響系統中其他呼叫的功能

URL分發
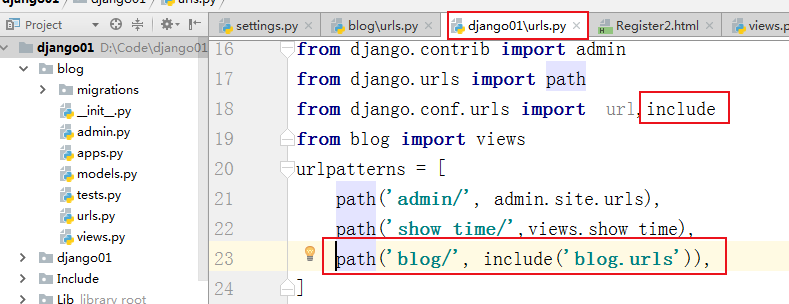
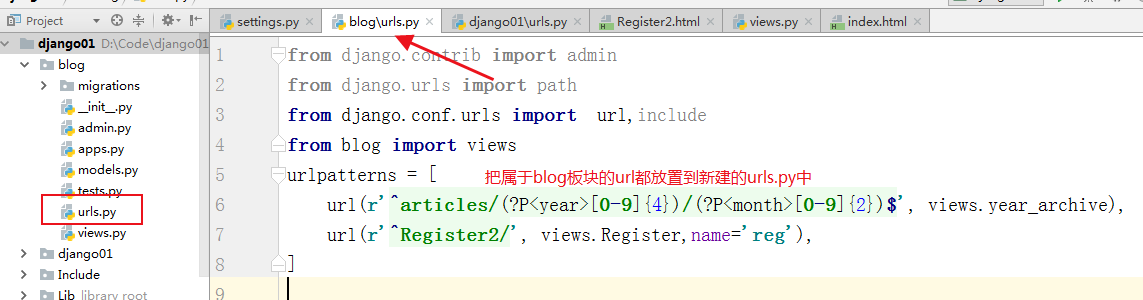
效果: