
Swift專案引入react-native
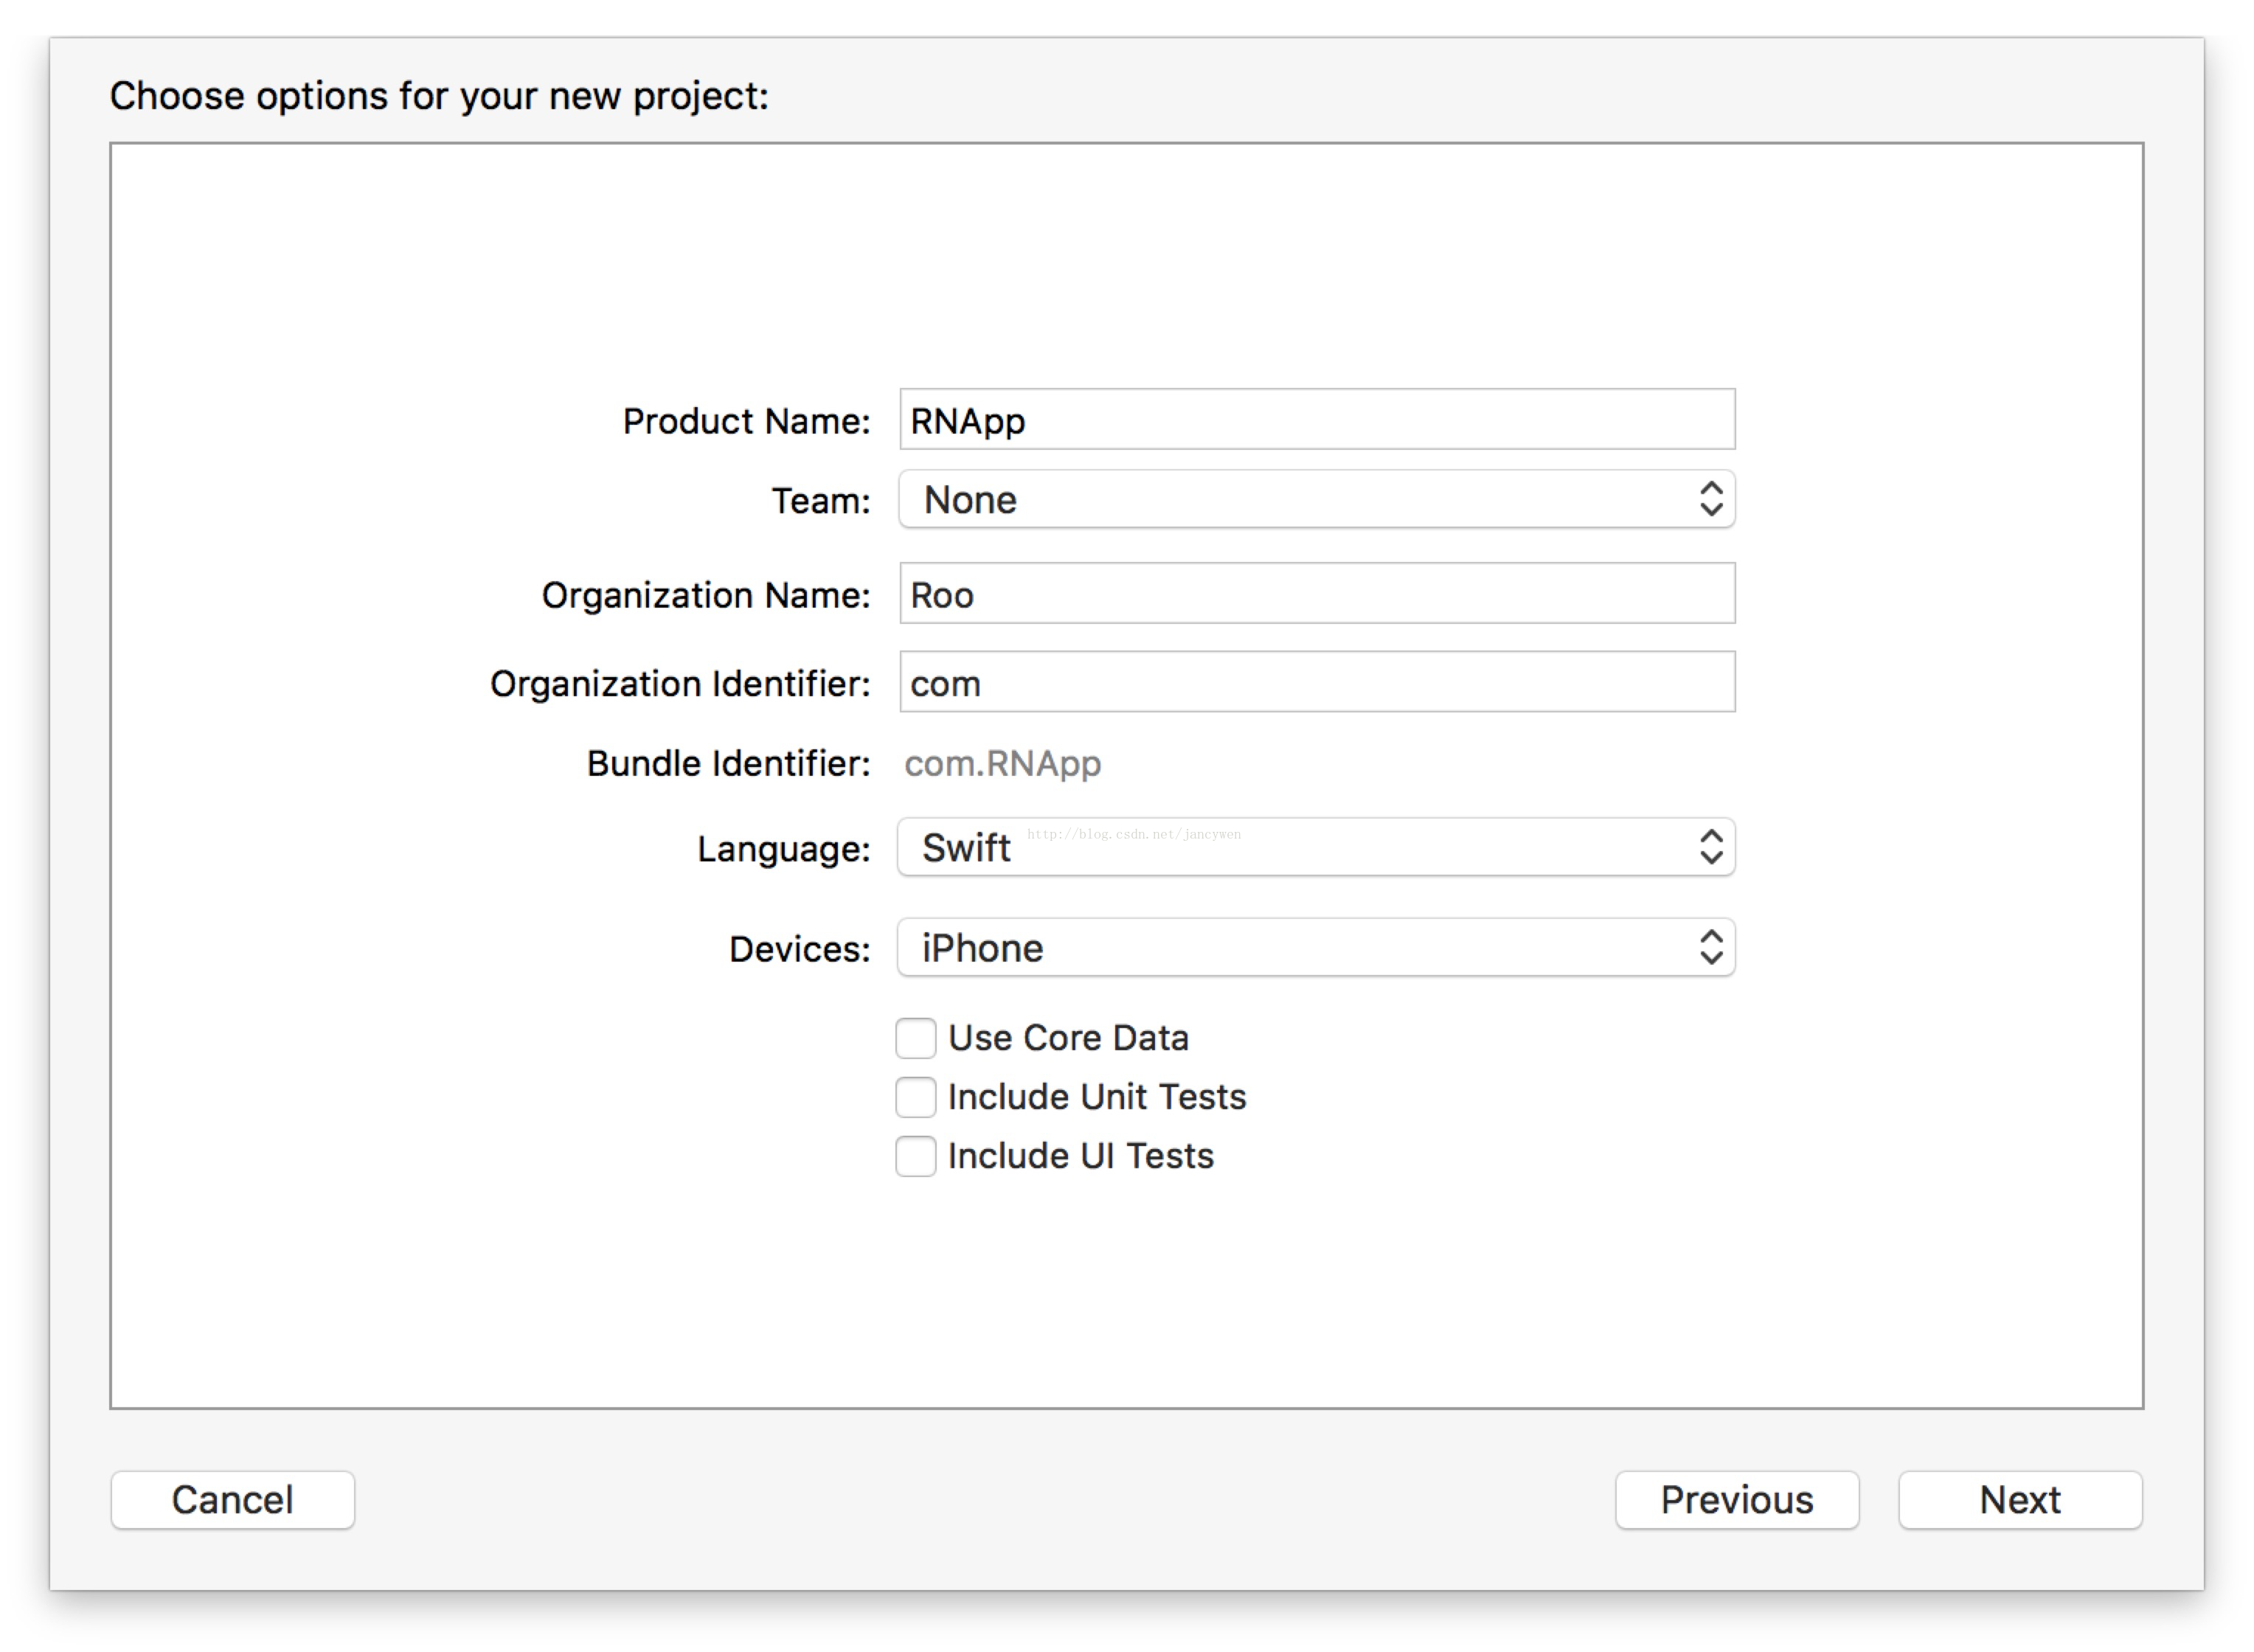
一.建立一個Swift工程,姑且為RNApp
二.建立RNComponent資料夾
在專案中建一個名為RNComponent的資料夾,用於存放我們react-native的相關檔案, 再建立一個package.json檔案, 用於初始化react-native.(資料夾名字自定義哈)
檔案目錄結構如下:

package.json檔案內容如下

其中name為專案名稱,devDependencies和jest均可以不要,我是直接新建了一個同名的RN專案( react-native init ProjectName --version 0.44.2 )把其中的package.json和index.ios.js檔案扯過來用的
三,安裝React Native依賴包
在RNComponent目錄下執行命令列:
npm install這個過程比較費時,可以直接把RN專案中的node_modules資料夾直接拖過來用(親測可用)
四.Cocoapods整合React Native
Podfile檔案內容為(需確保路徑對):
# 請將:path後面的內容修改為正確的路徑(一定要確保正確~~)。

pod 'React', :path => ‘./RNComponent/node_modules/react-native', :subspecs => [
'Core',
'ART',
'RCTActionSheet',
'RCTAdSupport',
'RCTGeolocation',
'RCTImage',
'RCTNetwork',
'RCTPushNotification',
'RCTSettings',
'RCTText',
'RCTVibration',
'RCTWebSocket',
'RCTLinkingIOS',
]
在終端執行 pod install 會出現下圖錯誤
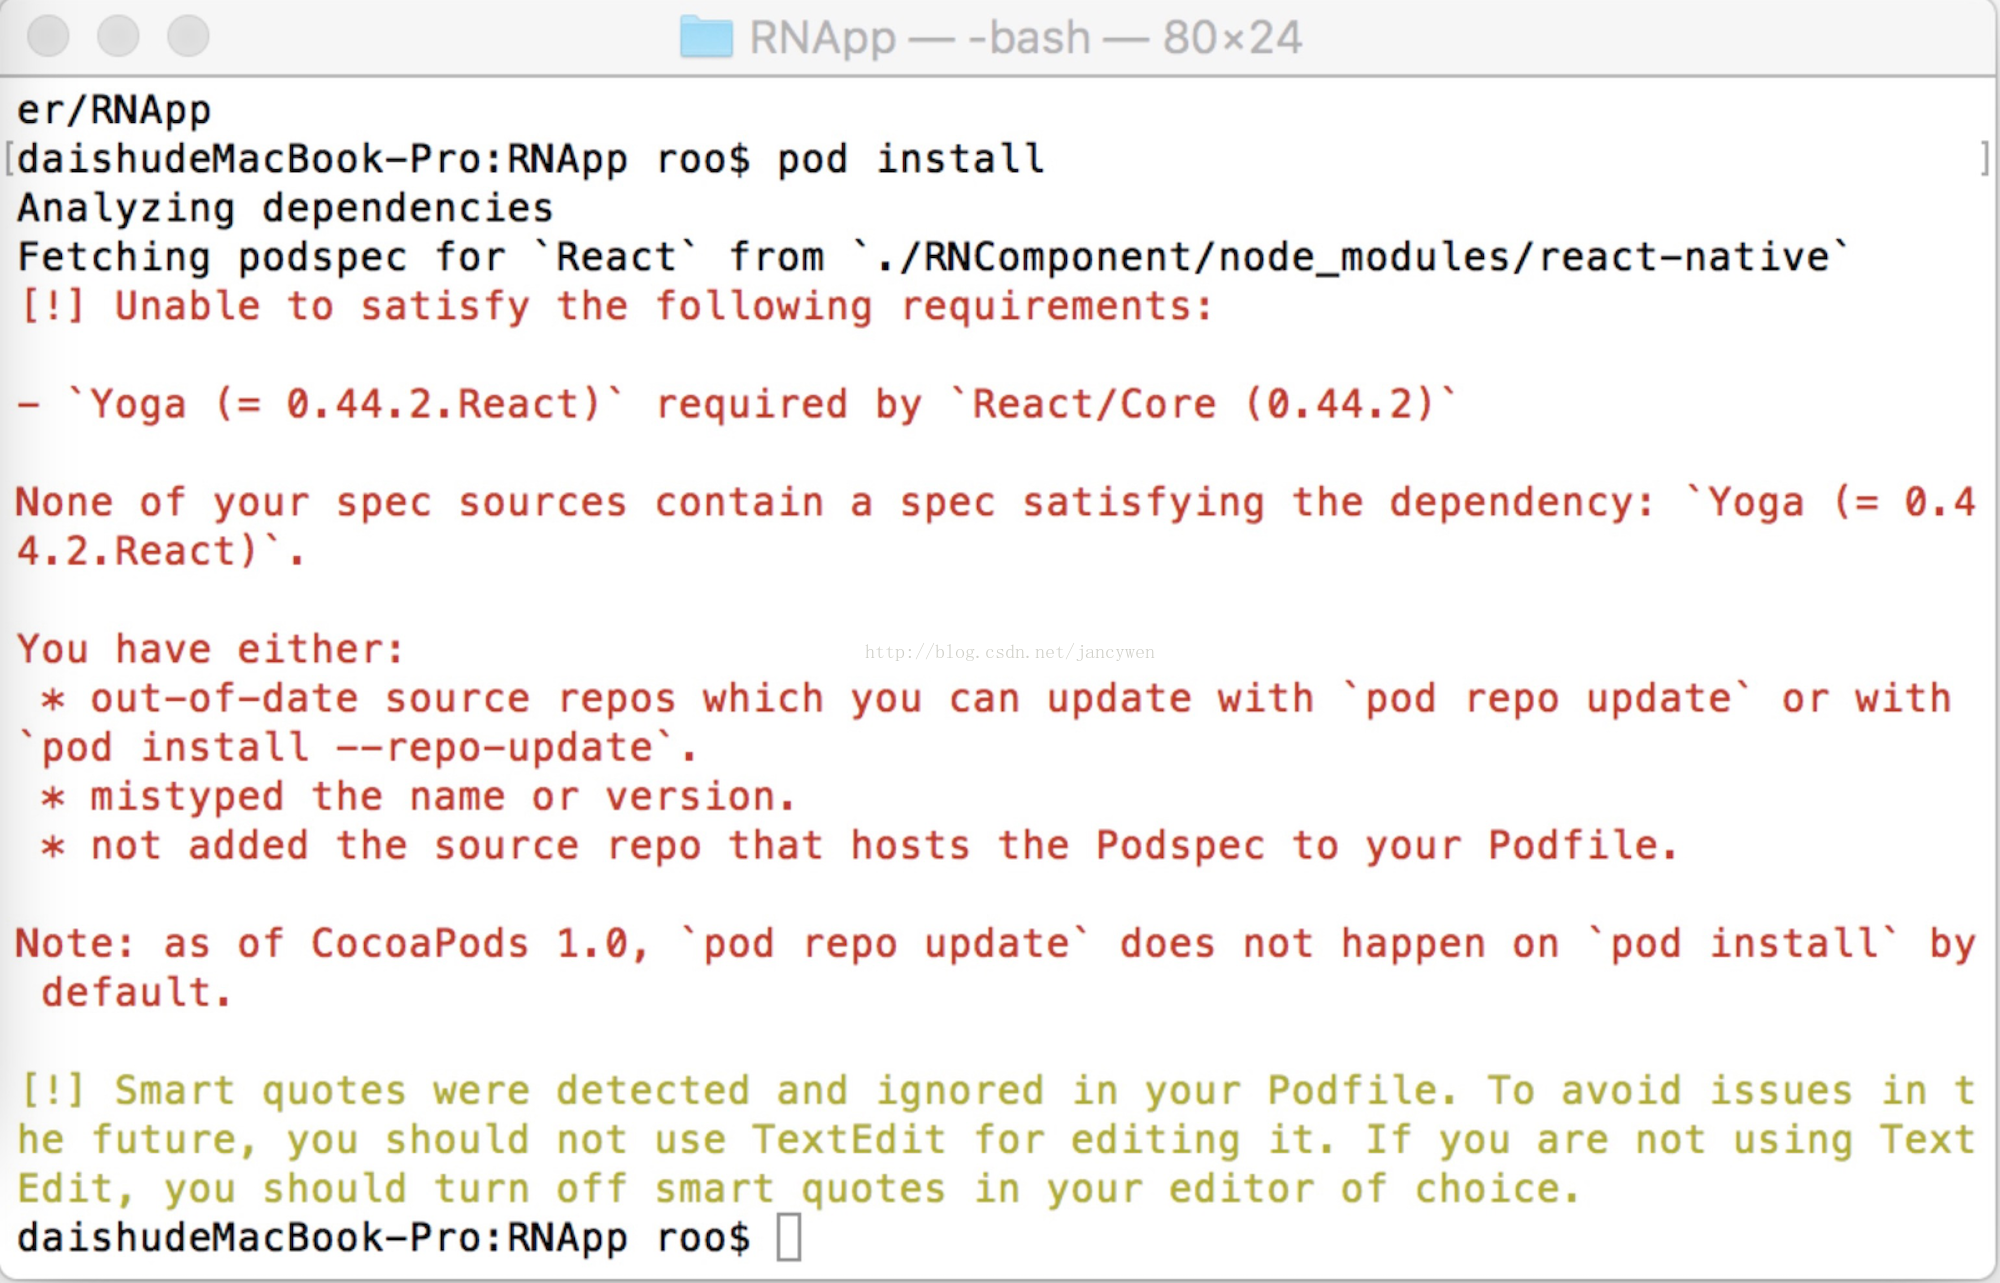
這是因為在指定的路徑沒有尋找到相應的元件。此時就需要修改podfile檔案中的路徑,由於上方提示沒有 Yoga,那我們就指定Yoga的路徑。如下:
# 請將:path後面的內容修改為正確的路徑(一定要確保正確~~)。
pod 'Yoga', :path => './RNComponent/node_modules/react-native/ReactCommon/yoga'

pod 'React', :path => ‘./RNComponent/node_modules/react-native', :subspecs => [
'Core',
'ART',
'RCTActionSheet',
'RCTAdSupport',
'RCTGeolocation',
'RCTImage',
'RCTNetwork',
'RCTPushNotification',
'RCTSettings',
'RCTText',
'RCTVibration',
'RCTWebSocket',
'RCTLinkingIOS',
]
重新執行pod install 成功
五.原生專案處理
1.新增RNViewController
程式碼如下
import UIKit
import React
class RNViewController: UIViewController {
override func viewDidLoad() {
super.viewDidLoad()
let strUrl: String = "http://localhost:8081/index.ios.bundle?platform=ios&dev=true"
let jsCodeLocation = URL(string: strUrl)
let rootView = RCTRootView(bundleURL: jsCodeLocation, moduleName: "RNApp", initialProperties: nil, launchOptions: nil)
view = rootView
}
override func didReceiveMemoryWarning() {
super.didReceiveMemoryWarning()
// Dispose of any resources that can be recreated.
}
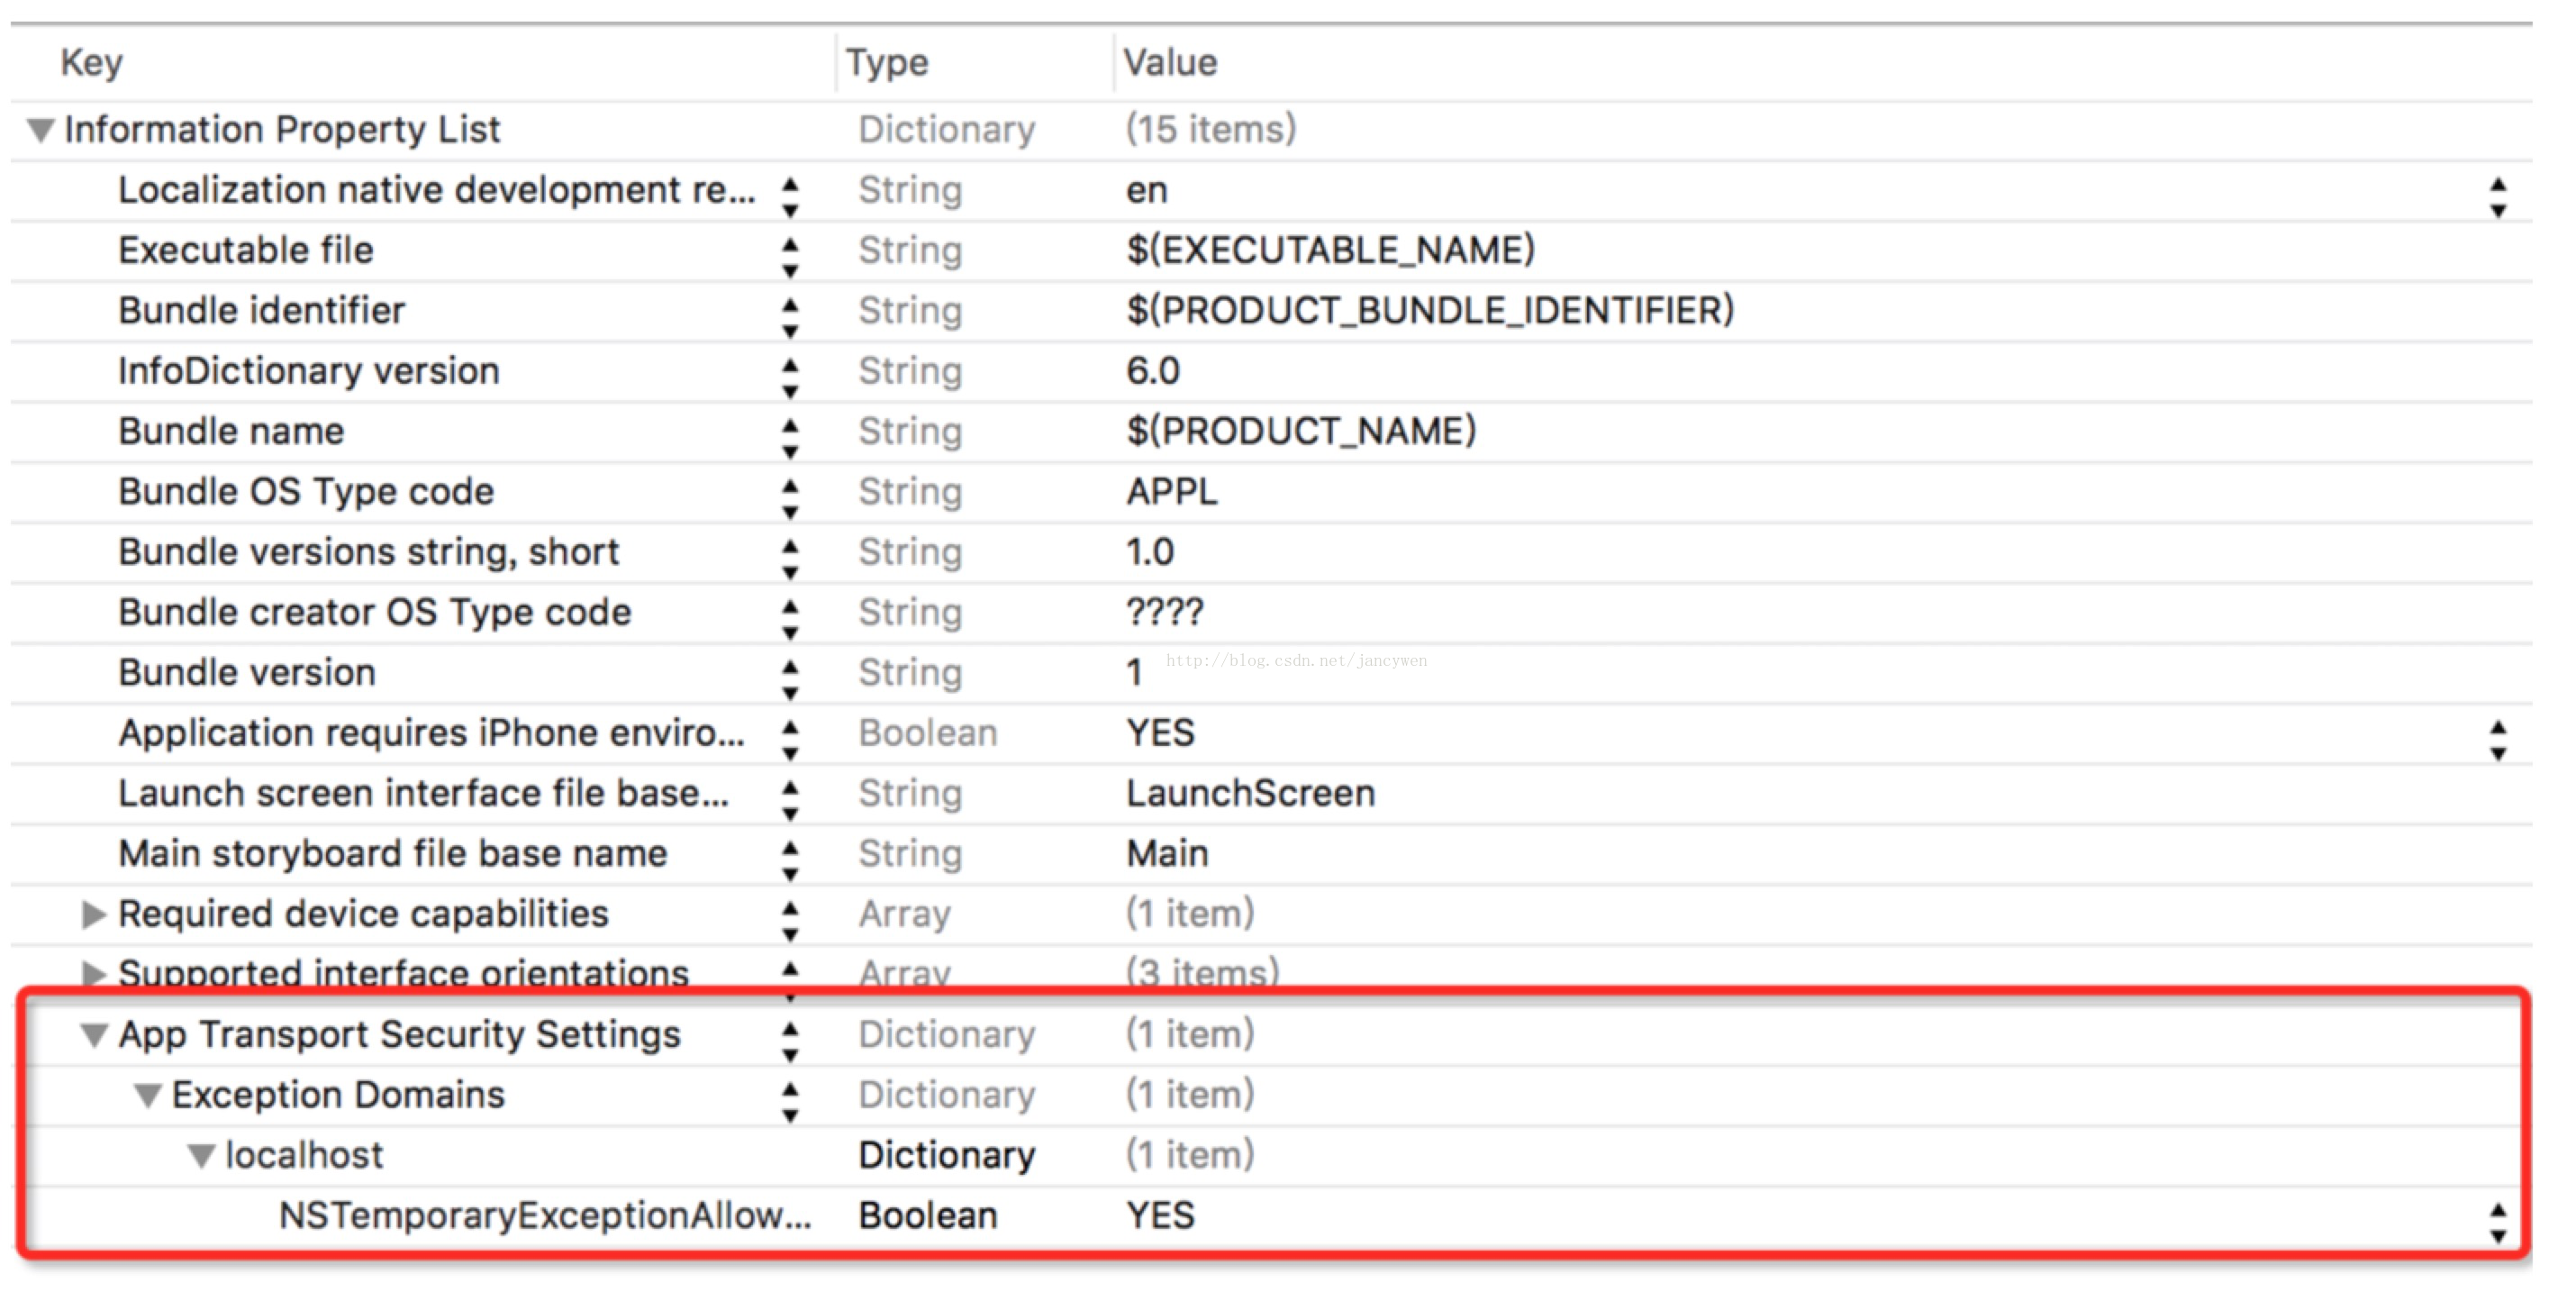
}2. iOS專案更新App Transport Security
在iOS 9以上的系統中,除非明確指明,否則應用無法通過http協議連線到localhost主機。 我們建議你在Info.plist檔案中將localhost列為App Transport Security的例外。 如果不這樣做,在嘗試通過http連線到伺服器時,會遭遇這個錯誤 - Could not connect to development server.
開啟工程中的 Info.list 檔案,新增下面配置即可:<key>NSAppTransportSecurity</key>
<dict>
<key>NSExceptionDomains</key>
<dict>
<key>localhost</key>
<dict>
<key>NSTemporaryExceptionAllowsInsecureHTTPLoads</key>
<true/>
</dict>
</dict>
</dict>配置效果如下:
3. 啟動開發伺服器
在執行我們的專案之前,我們需要先啟動我們的開發伺服器。進入 reactnative目錄 ,然後命令列啟動服務:
react-native start(或者找到server,在node_moduls/react-native/local-cli/server,在此目錄中執行npm start 啟動服務。)
多個執行時會出現下圖錯誤,
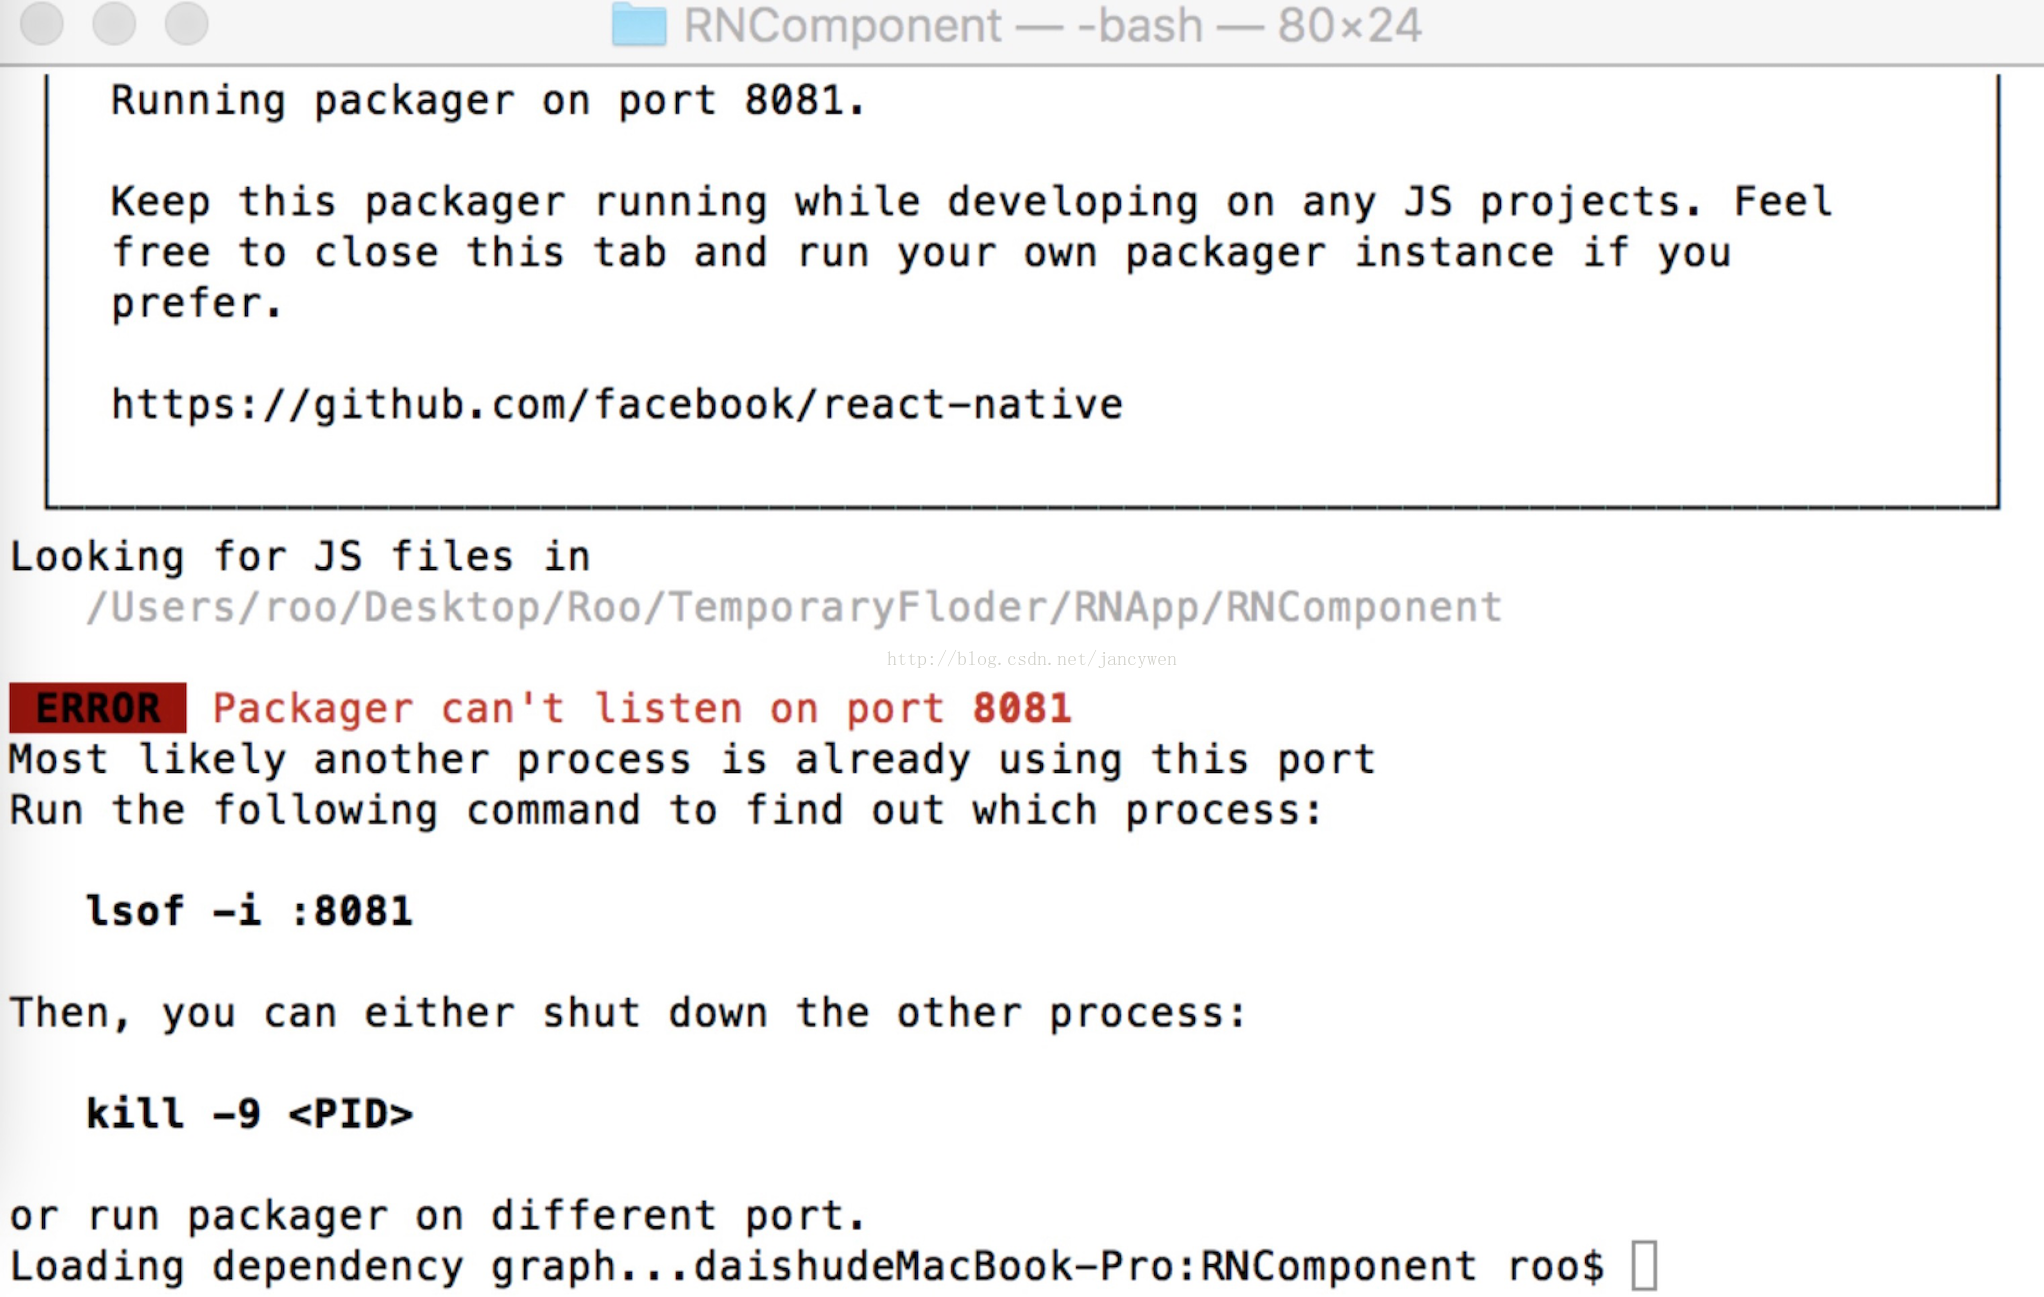
這是因為已經有一個埠為8081的本地伺服器在運行了,,把在執行的關閉,重新執行程式碼啟動伺服器,
command R 執行工程
工程執行時出現的錯誤
1,如下圖
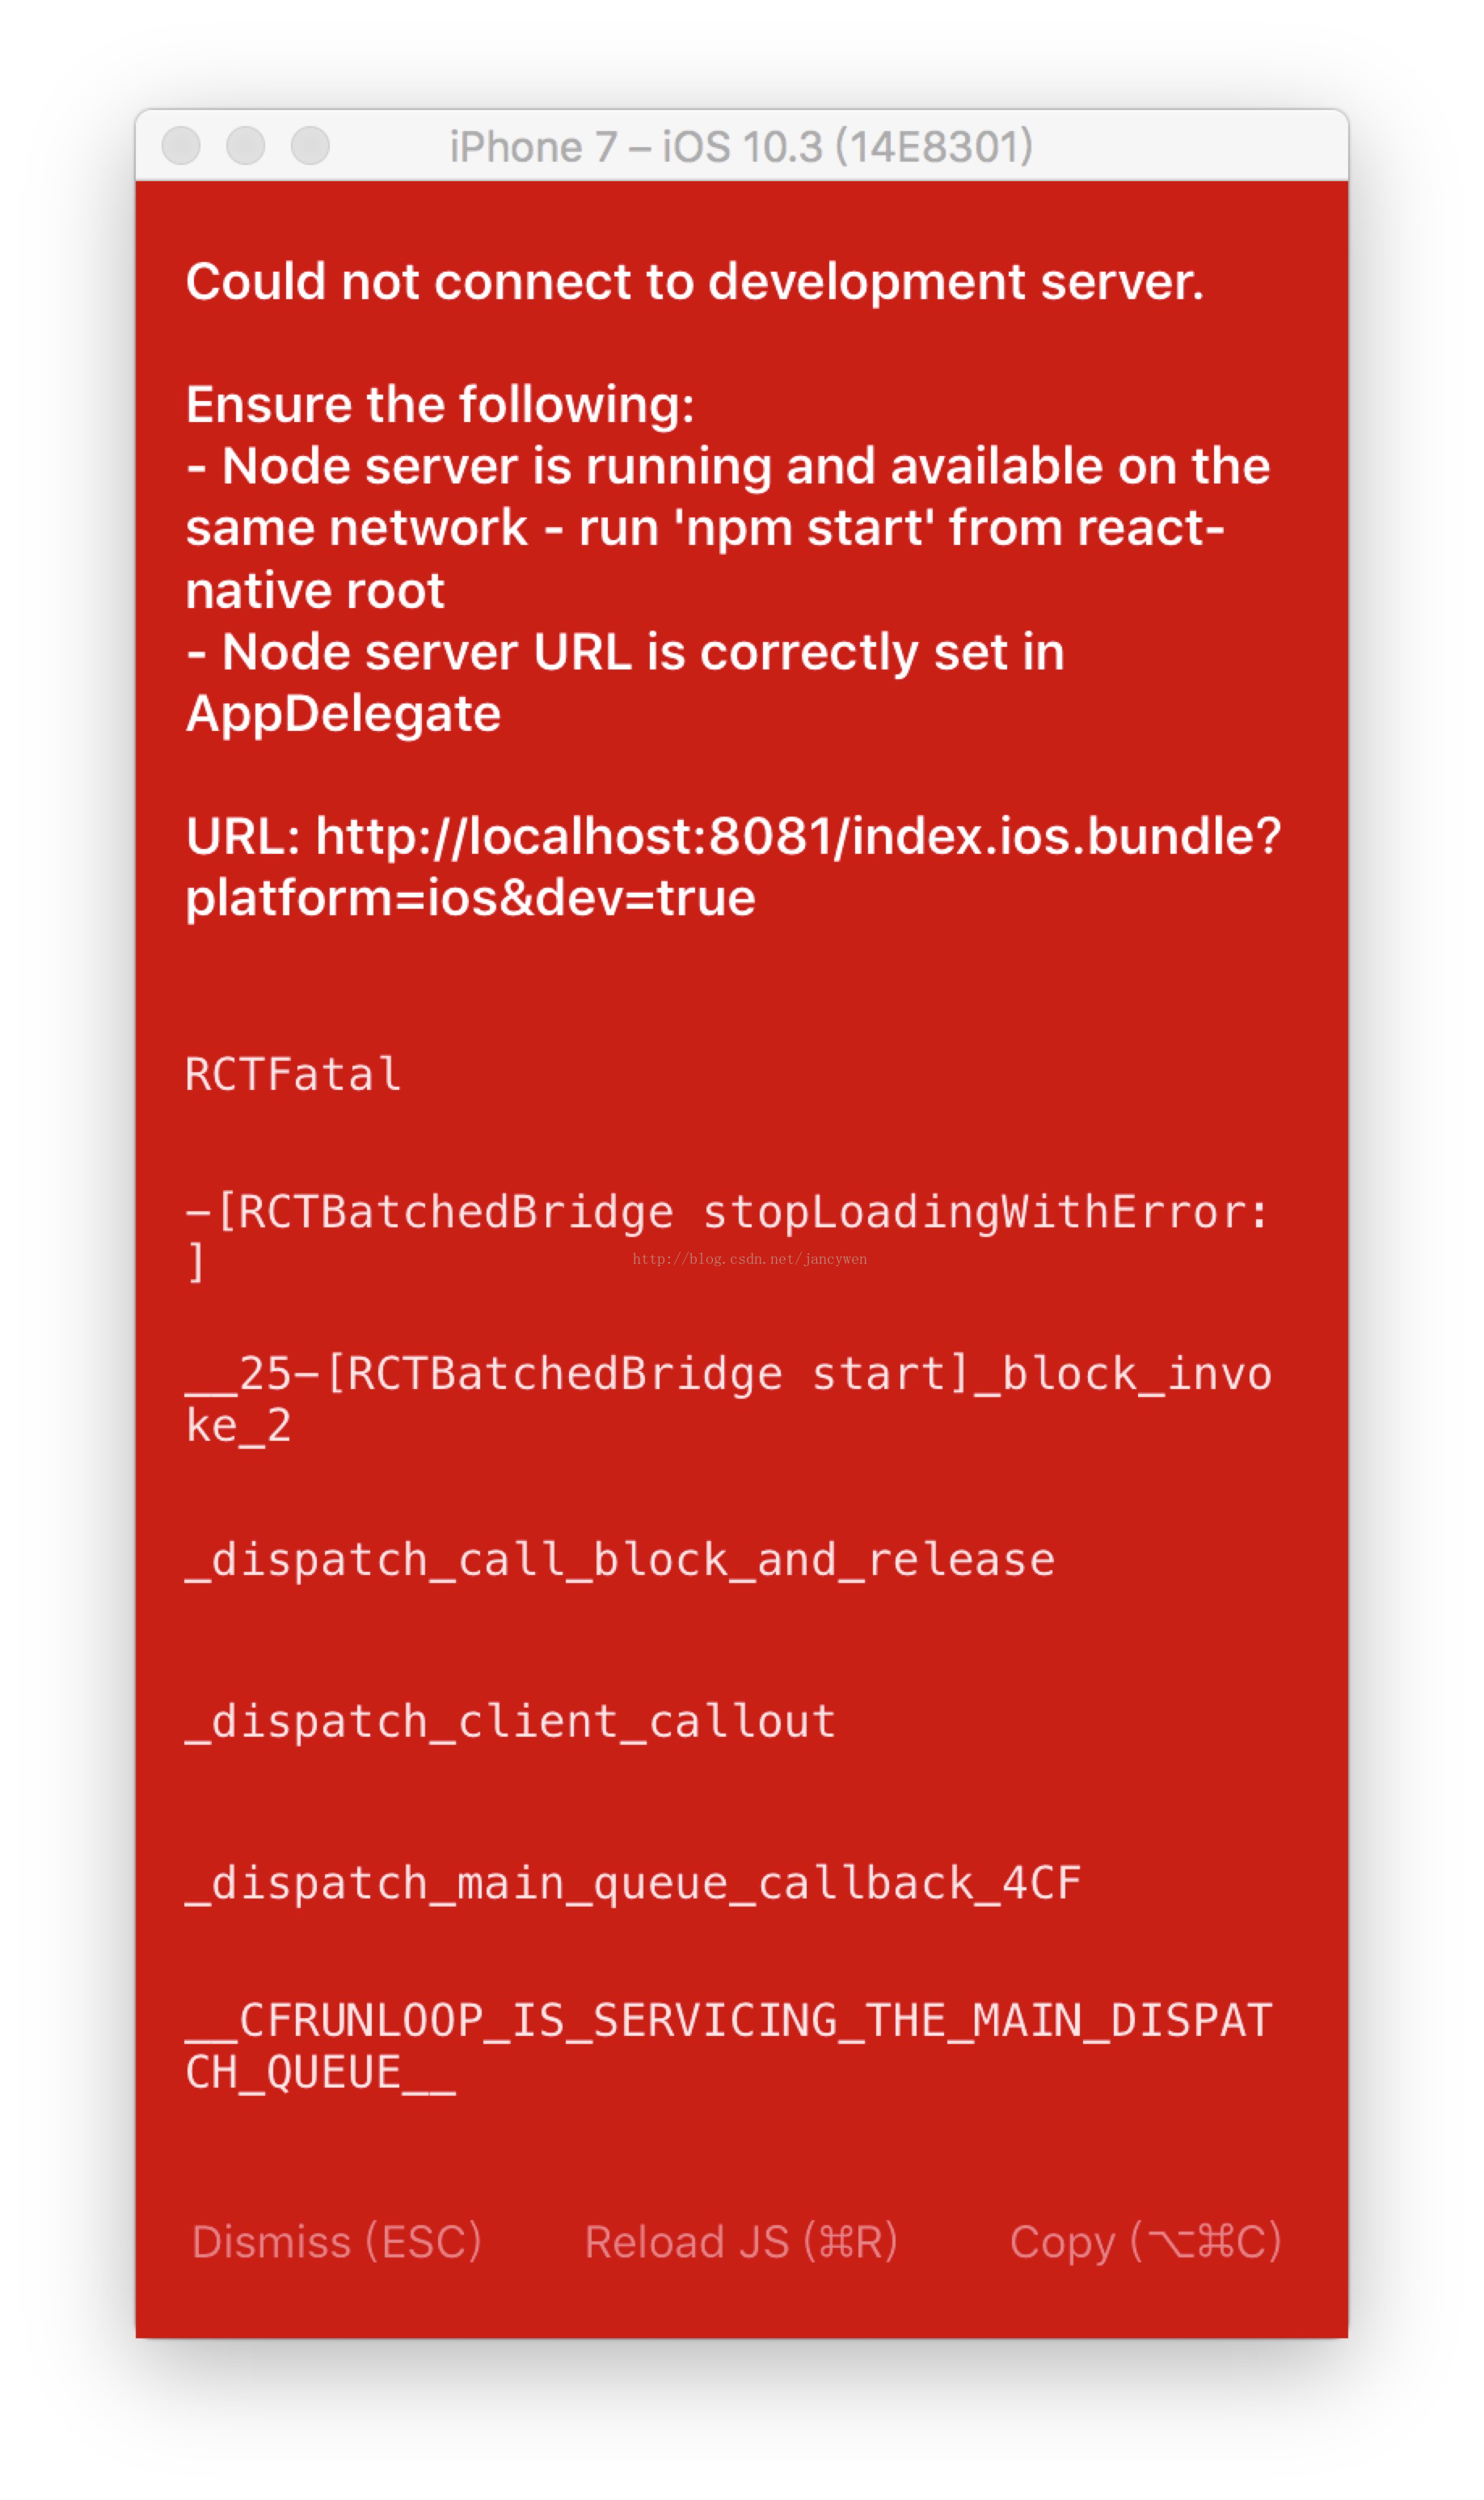
URL: http://localhost:8081/index.ios.bundle?platform=ios&dev=true, NSLocalizedFailureReason=The resource could not be loaded because the App Transport Security policy requires the use of a secure connection.}
2017-09-12 14:43:49.571 [fatal][tid:main] Could not connect to development server.

Ensure the following:
- Node server is running and available on the same network - run 'npm start' from react-native root
- Node server URL is correctly set in AppDelegate
解決辦法 將
let strUrl: String = "http:// localhost:8081/index.ios.bundle?platform=ios&dev=true"改為
let strUrl: String = "http://192.168.0.61:8081/index.ios.bundle?platform=ios&dev=true"原因之一:做本地區域網開發環境,大部分都會做伺服器對映處理,localhost 被指向特定的IP 而不是本機的192.168.0.61, 就會出現這樣的問題。
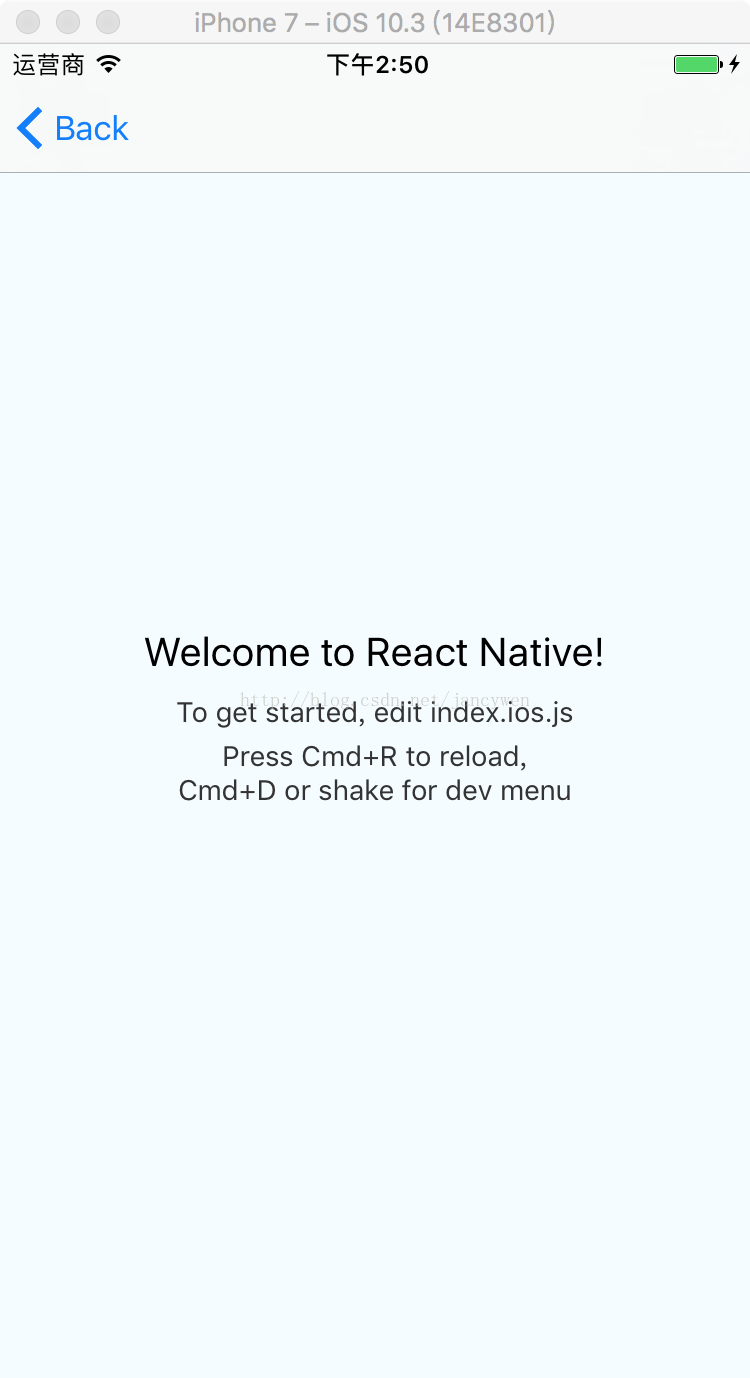
到這一步終於可以顯示RN的介面了
但是xcode會一直列印
2017-09-12 14:49:09.594815+0800 RNApp[16828:281355] [] nw_connection_get_connected_socket_block_invoke 3 Connection has no connected handler解決辦法如下
1. Xcode menu -> Product -> Edit Scheme...2. Environment Variables -> Add -> Name: "OS_ACTIVITY_MODE", Value:"disable"3. Run your app again, done! 這樣就沒問題了 大功告成!!!!!!