
Basic Introduction to Webpack 4
Basic Introduction to Webpack 4
Webpack is one of the most popular JavaScript technologies out there. Webpack is described as a “static module bundler for modern JavaScript applications” - (Webpack’s official site). Image that you have two JavaScript files:

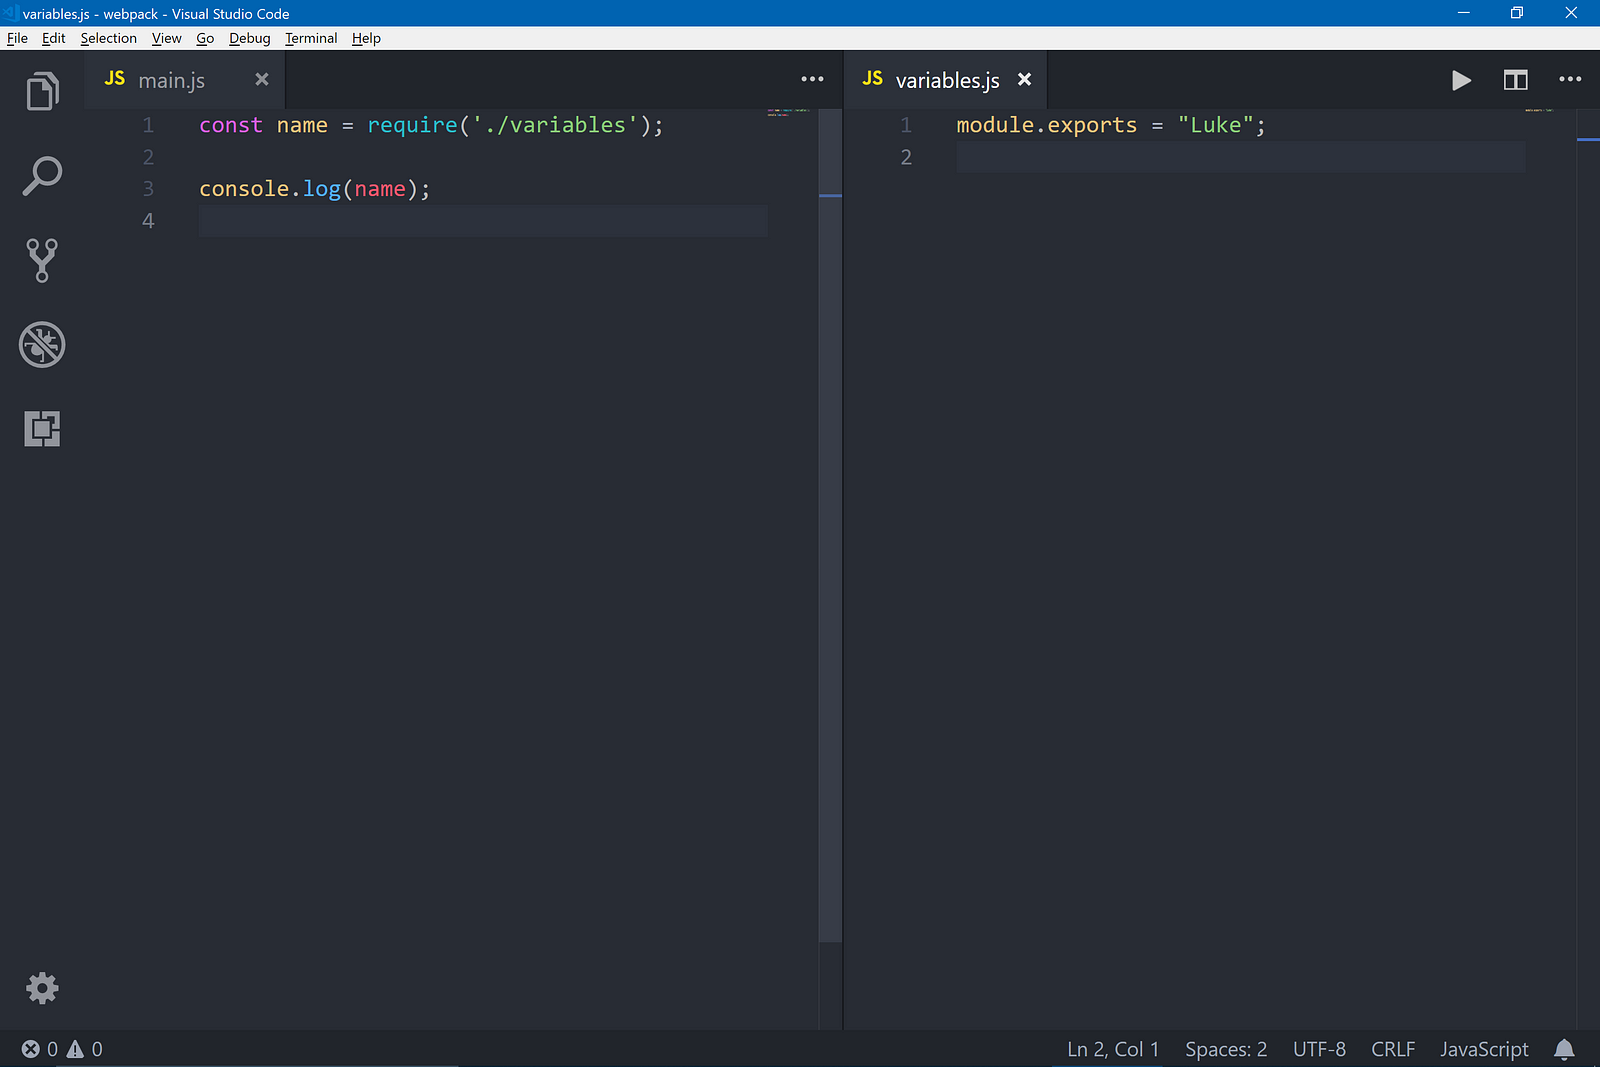
Webpack takes an input file (‘main.js’), finds all the files it depends on (‘variables.js’), and outputs a bundled file that contains all the code in our application. But Webpack can do so much more! With it we can import CSS and image files directly into our JavaScript. We can compile CoffeeScript, TypeScript, SASS, and LESS. We can also compile ES6 syntax to browser friendly JavaScript. But first, we need to actually install and configure it.
Installing Webpack
“npm i webpack webpack-cli”
Configuring Webpack
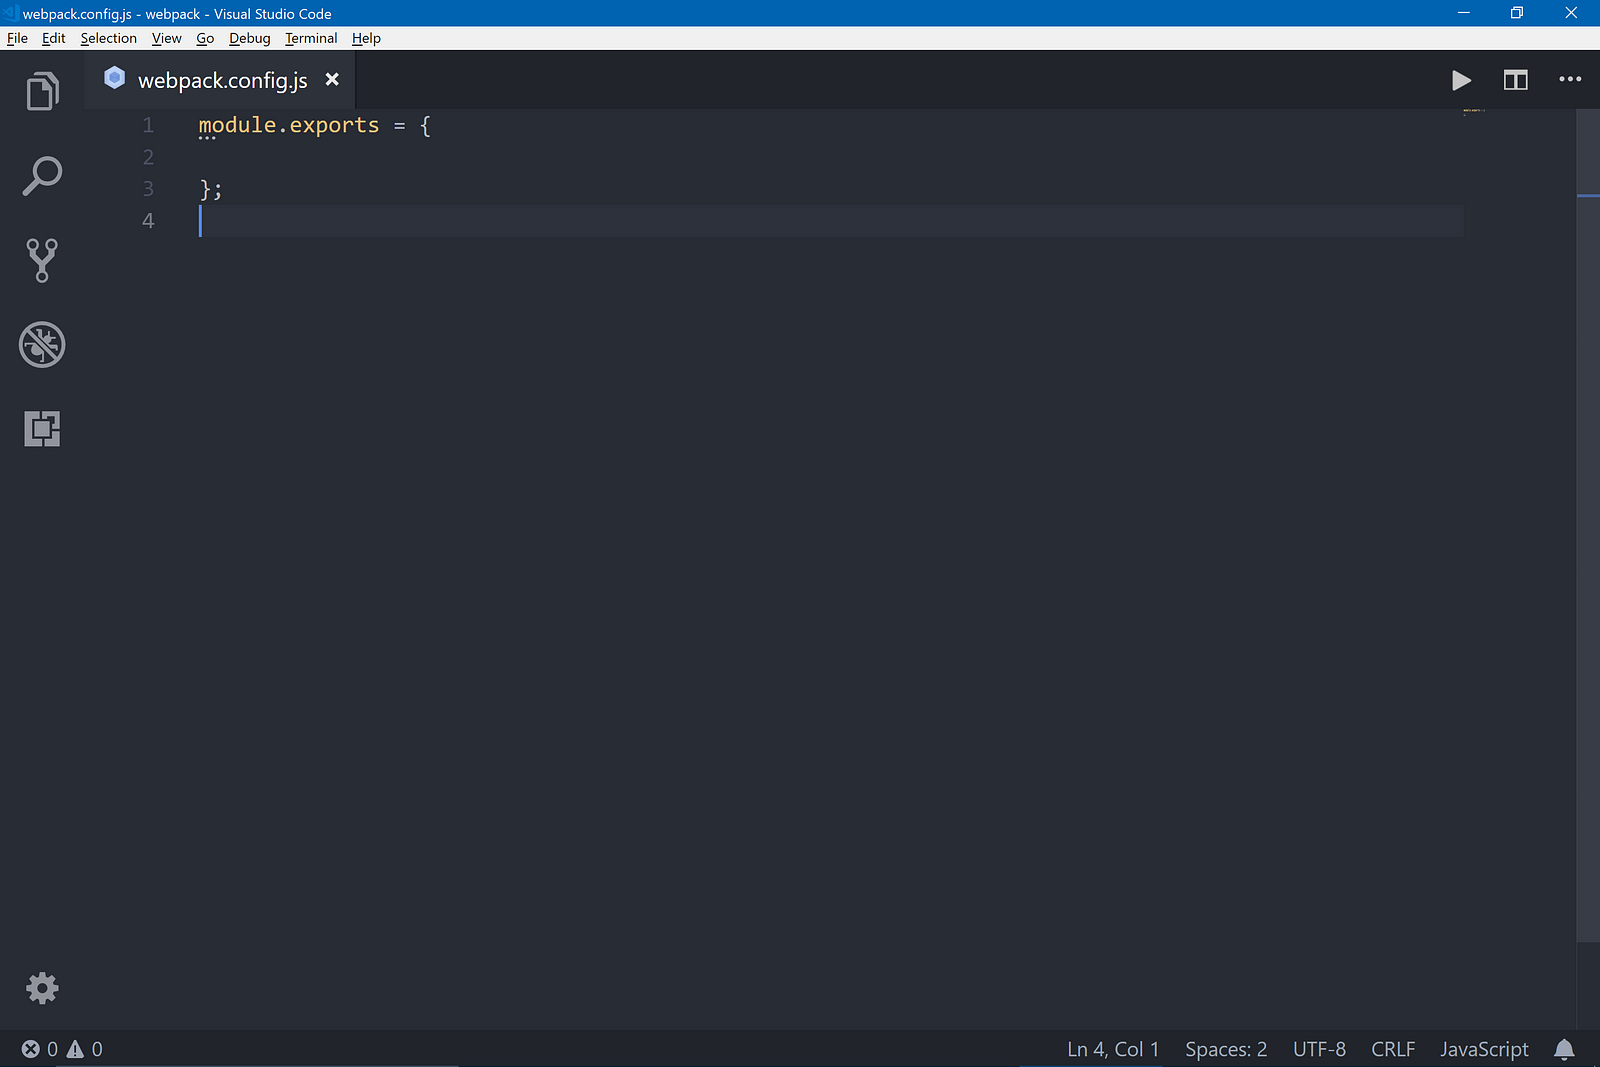
It’s technically possible to run Webpack from the command line with all the options we need included. But in practice we would create a webpack.config.js file in our projects root directory:

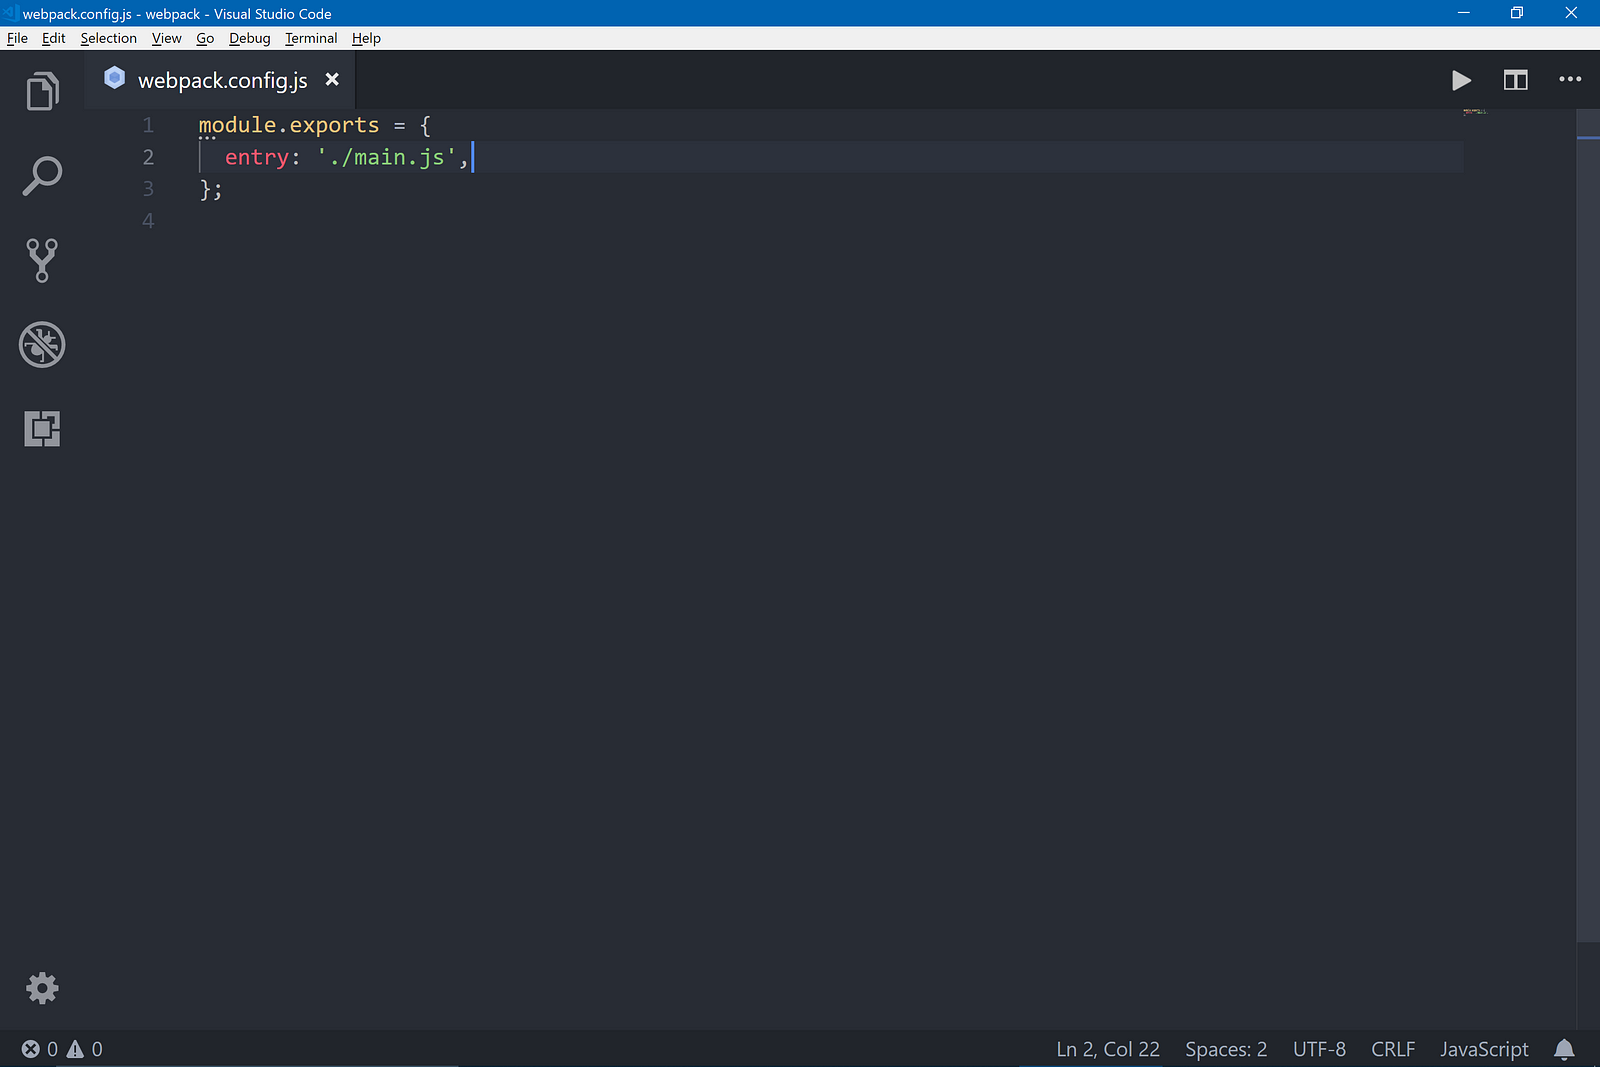
The first property we need is the input property. This specifies the file that is the entry point for our application:

The next property is output. This property is an object that takes at least two properties: path (where the bundled file will be created), and filename (the name of the bundled file):

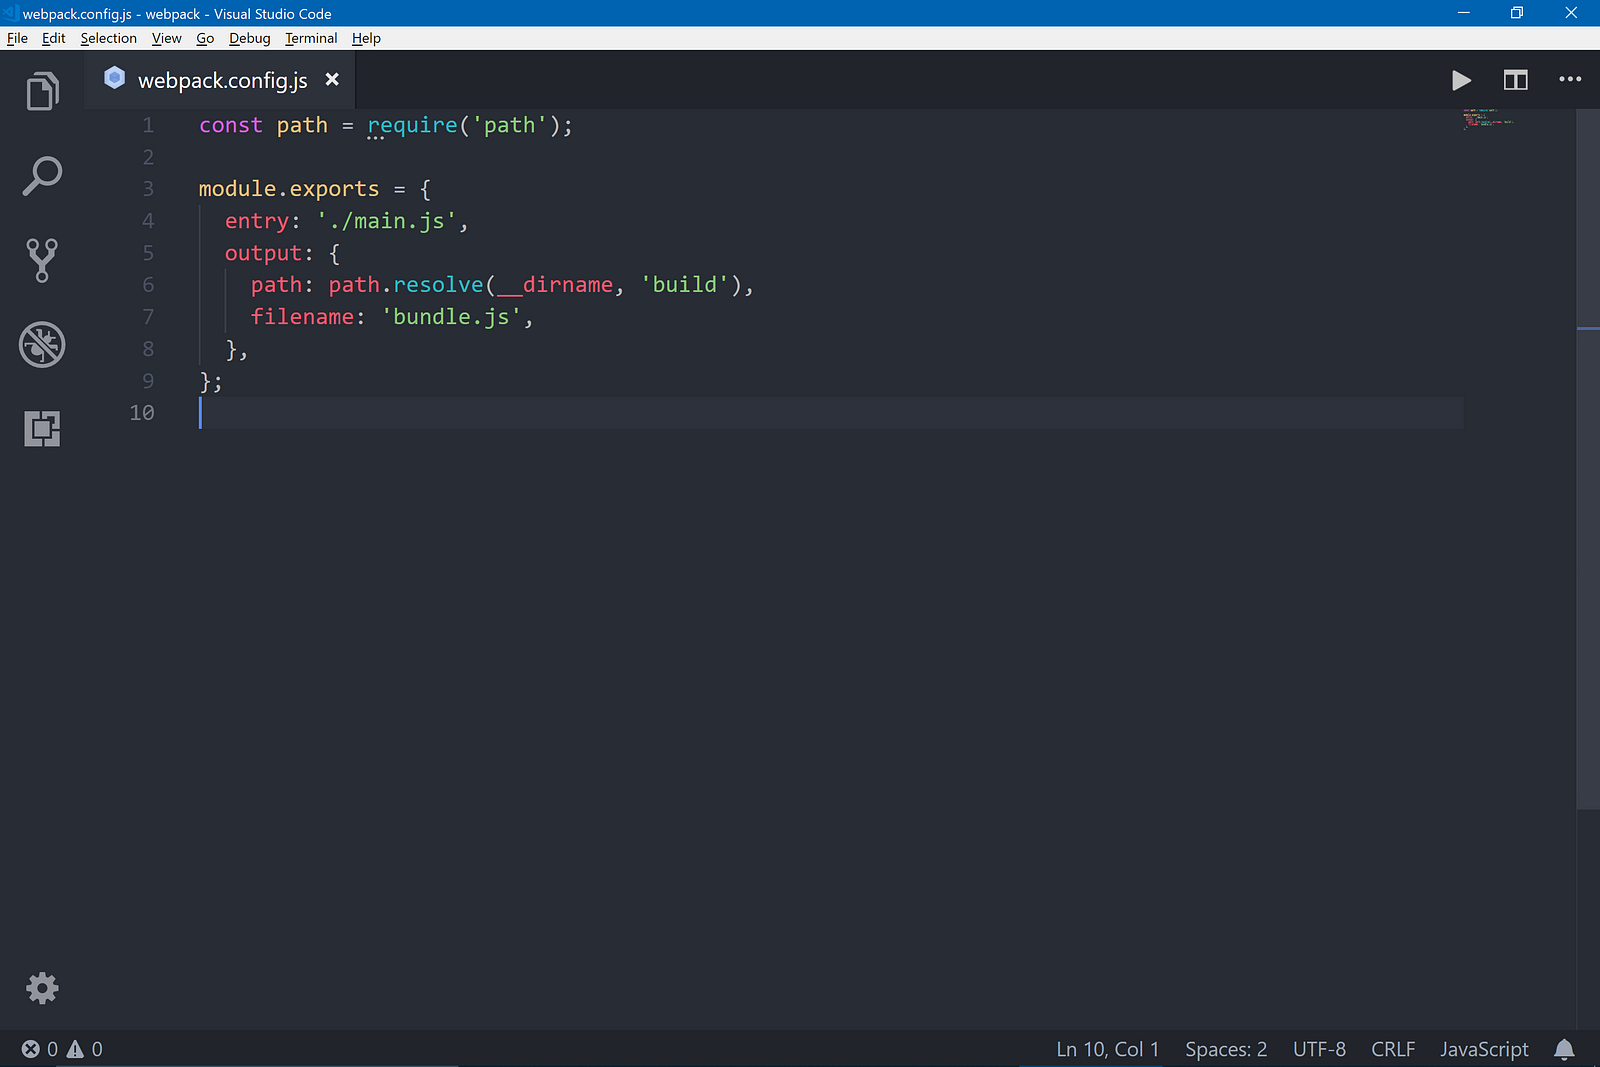
The output.path property requires an absolute path. So we use the path module built into Node.js to resolve the absolute path to our desired output directory (‘build’) which will be created by Webpack.
Now we can create a build script. Open your package.json file (or run ‘npm init’ to create one). Let’s add our build script:

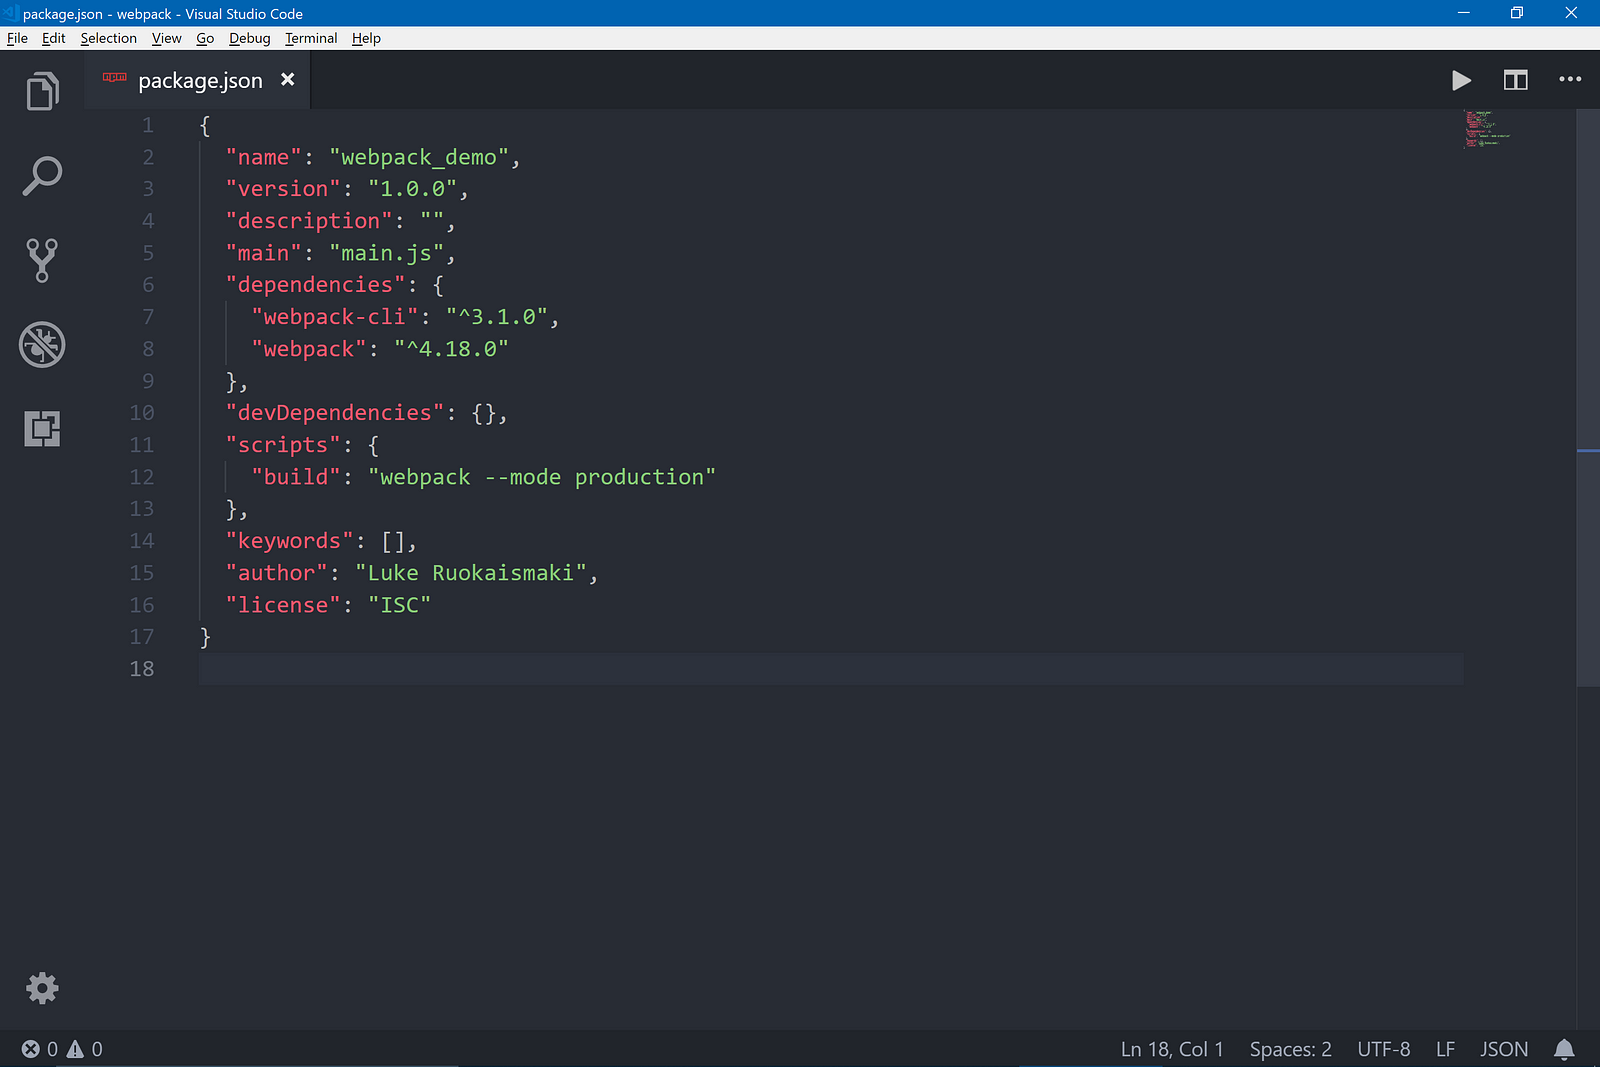
Note we’ve added the ‘ — mode production’ flag to the ‘webpack’ command. This tells Webpack to create a production ready bundle. Now let’s run ‘npm run build’:

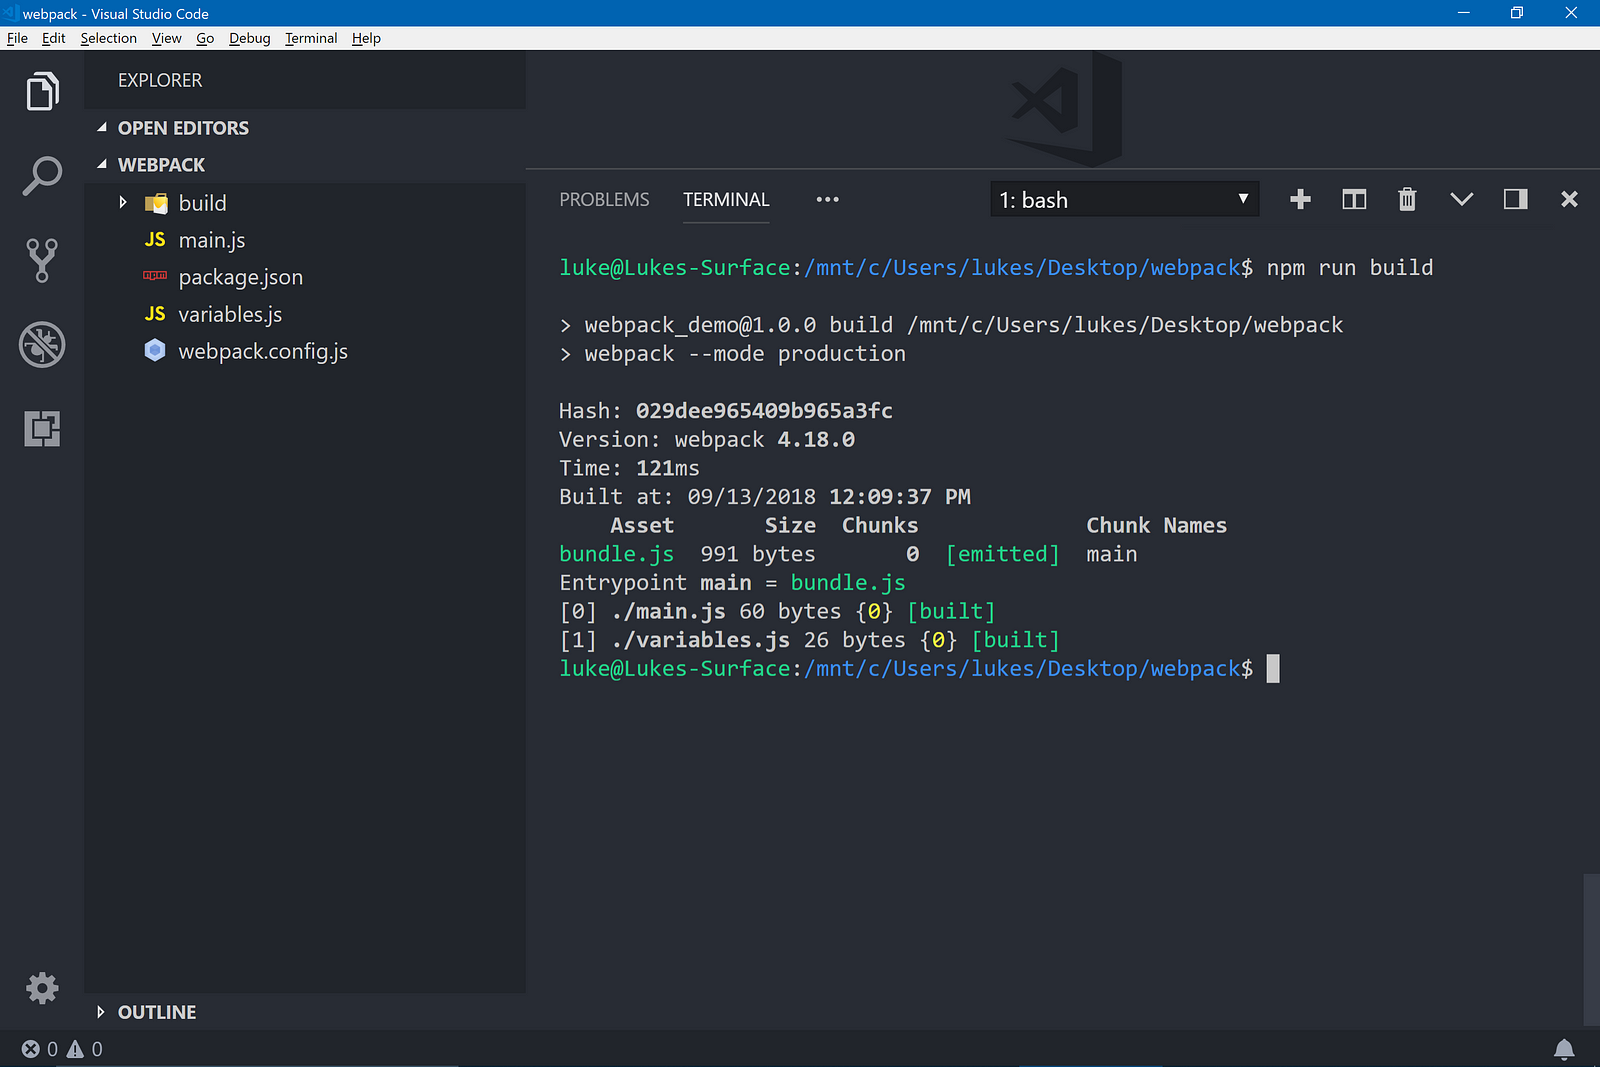
Notice Webpack automatically created our ‘build’ folder. If you open the ‘bundle.js’ file you’ll also notice the code is minified.