
CentOS7安裝MySQL8社群版
阿新 • • 發佈:2019-01-02
1、從官網下載rpm安裝包

2、上傳壓縮包並解壓

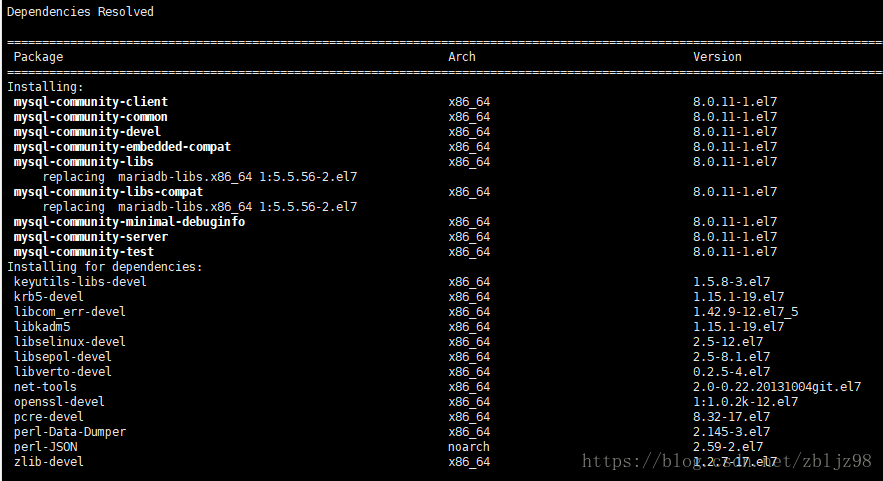
3、刪除其中的minimal-server後執行安裝
yum localinstall ./* -y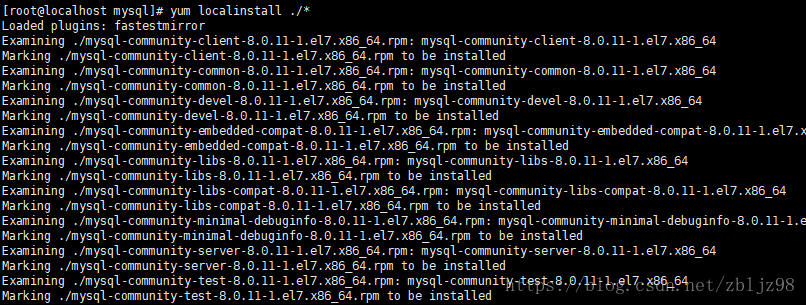
4、檢視server包中service檔名稱
rpm -qa | egrep -i mysql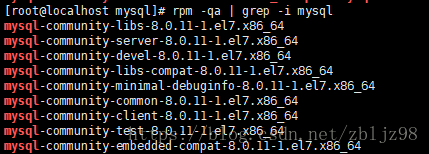
rpm -ql mysql-community-server | egrep -i *.service
5、啟動mysql
systemctl start mysqld6、通過log檔案,檢視生成的臨時密碼
cat /var/log/mysqld.log | egrep -i password
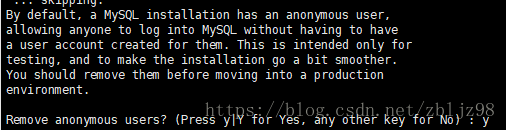
7、初始化資料庫
mysql_secure_installation重新設定root的密碼
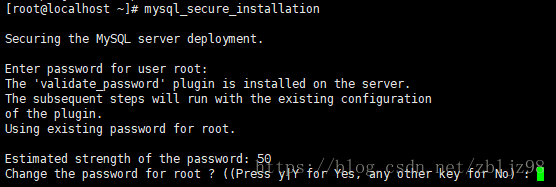
移除匿名使用者
禁止root使用者遠端連線

移除測試資料庫

重新載入許可權表

8、修改資料庫密碼安裝設定
先登陸資料庫
show variables like '%password%';
其中policy為安全級別,length為密碼長度
set global validate_password.policy = 0;
set global validate_password.length = 4;