
spring boot整合OAuth2保證api介面安全
1、 OAuth 概念
OAuth 是一個開放標準,允許使用者讓第三方應用訪問該使用者在某一網站上儲存的私密的資源(如照片,視訊,聯絡人列表),而不需要將使用者名稱和密碼提供給第三方應用。OAuth允許使用者提供一個令牌,而不是使用者名稱和密碼來訪問他們存放在特定服務提供者的資料。每一個令牌授權一個特定的網站在特定的時段內訪問特定的資源。這樣,OAuth讓使用者可以授權第三方網站訪問他們儲存在另外服務提供者的某些特定資訊,而非所有內容。
- 1
- 2
2、OAuth 2.0 認證流程
第一步:得到授權碼 code
首先直接跳轉至使用者授權地址,即圖示 Request User Url ,提示使用者進行登入,並給予相關資源授權,得到唯一的 Auth code ,這裡注意的是 code 只有 10 分鐘的有效期,對於安全考慮,相對於 OAuth 1.0 省了一步獲取臨時的 Token ,並且有效期也進行了控制,比 1.0 認證簡化了很多,並安全一些;
第二步:獲取 access token
得到授權 code 後,就是請求 access token ,通過圖示 Request access url ,生成得到資料 Token ;
第三步:通過 access token, 獲取 OpenID
通過 Access Token 請求 OpenID , OpenID 是使用者在此平臺的唯一標識,通過圖示 Request info url 請求,然後得到 OpenID ;
第四步:通過 access token 及 OpenID 呼叫 API,獲取使用者授權資訊
通過第二步得到的資料 Token 、第三步得到的 OpenID 及相關 API ,進行請求,獲取使用者授權資源資訊。
3、OAuth 授權模式
OAuth2.0 定義了 四種授權模式。分別為:
- 授權碼模式
- 簡化模式
- 密碼模式
- 客戶端模式
4、oauth2 例項
可以分為簡易的分為三個步驟
- 配置資源伺服器
- 配置認證伺服器
- 配置spring security
4.1、構建工程
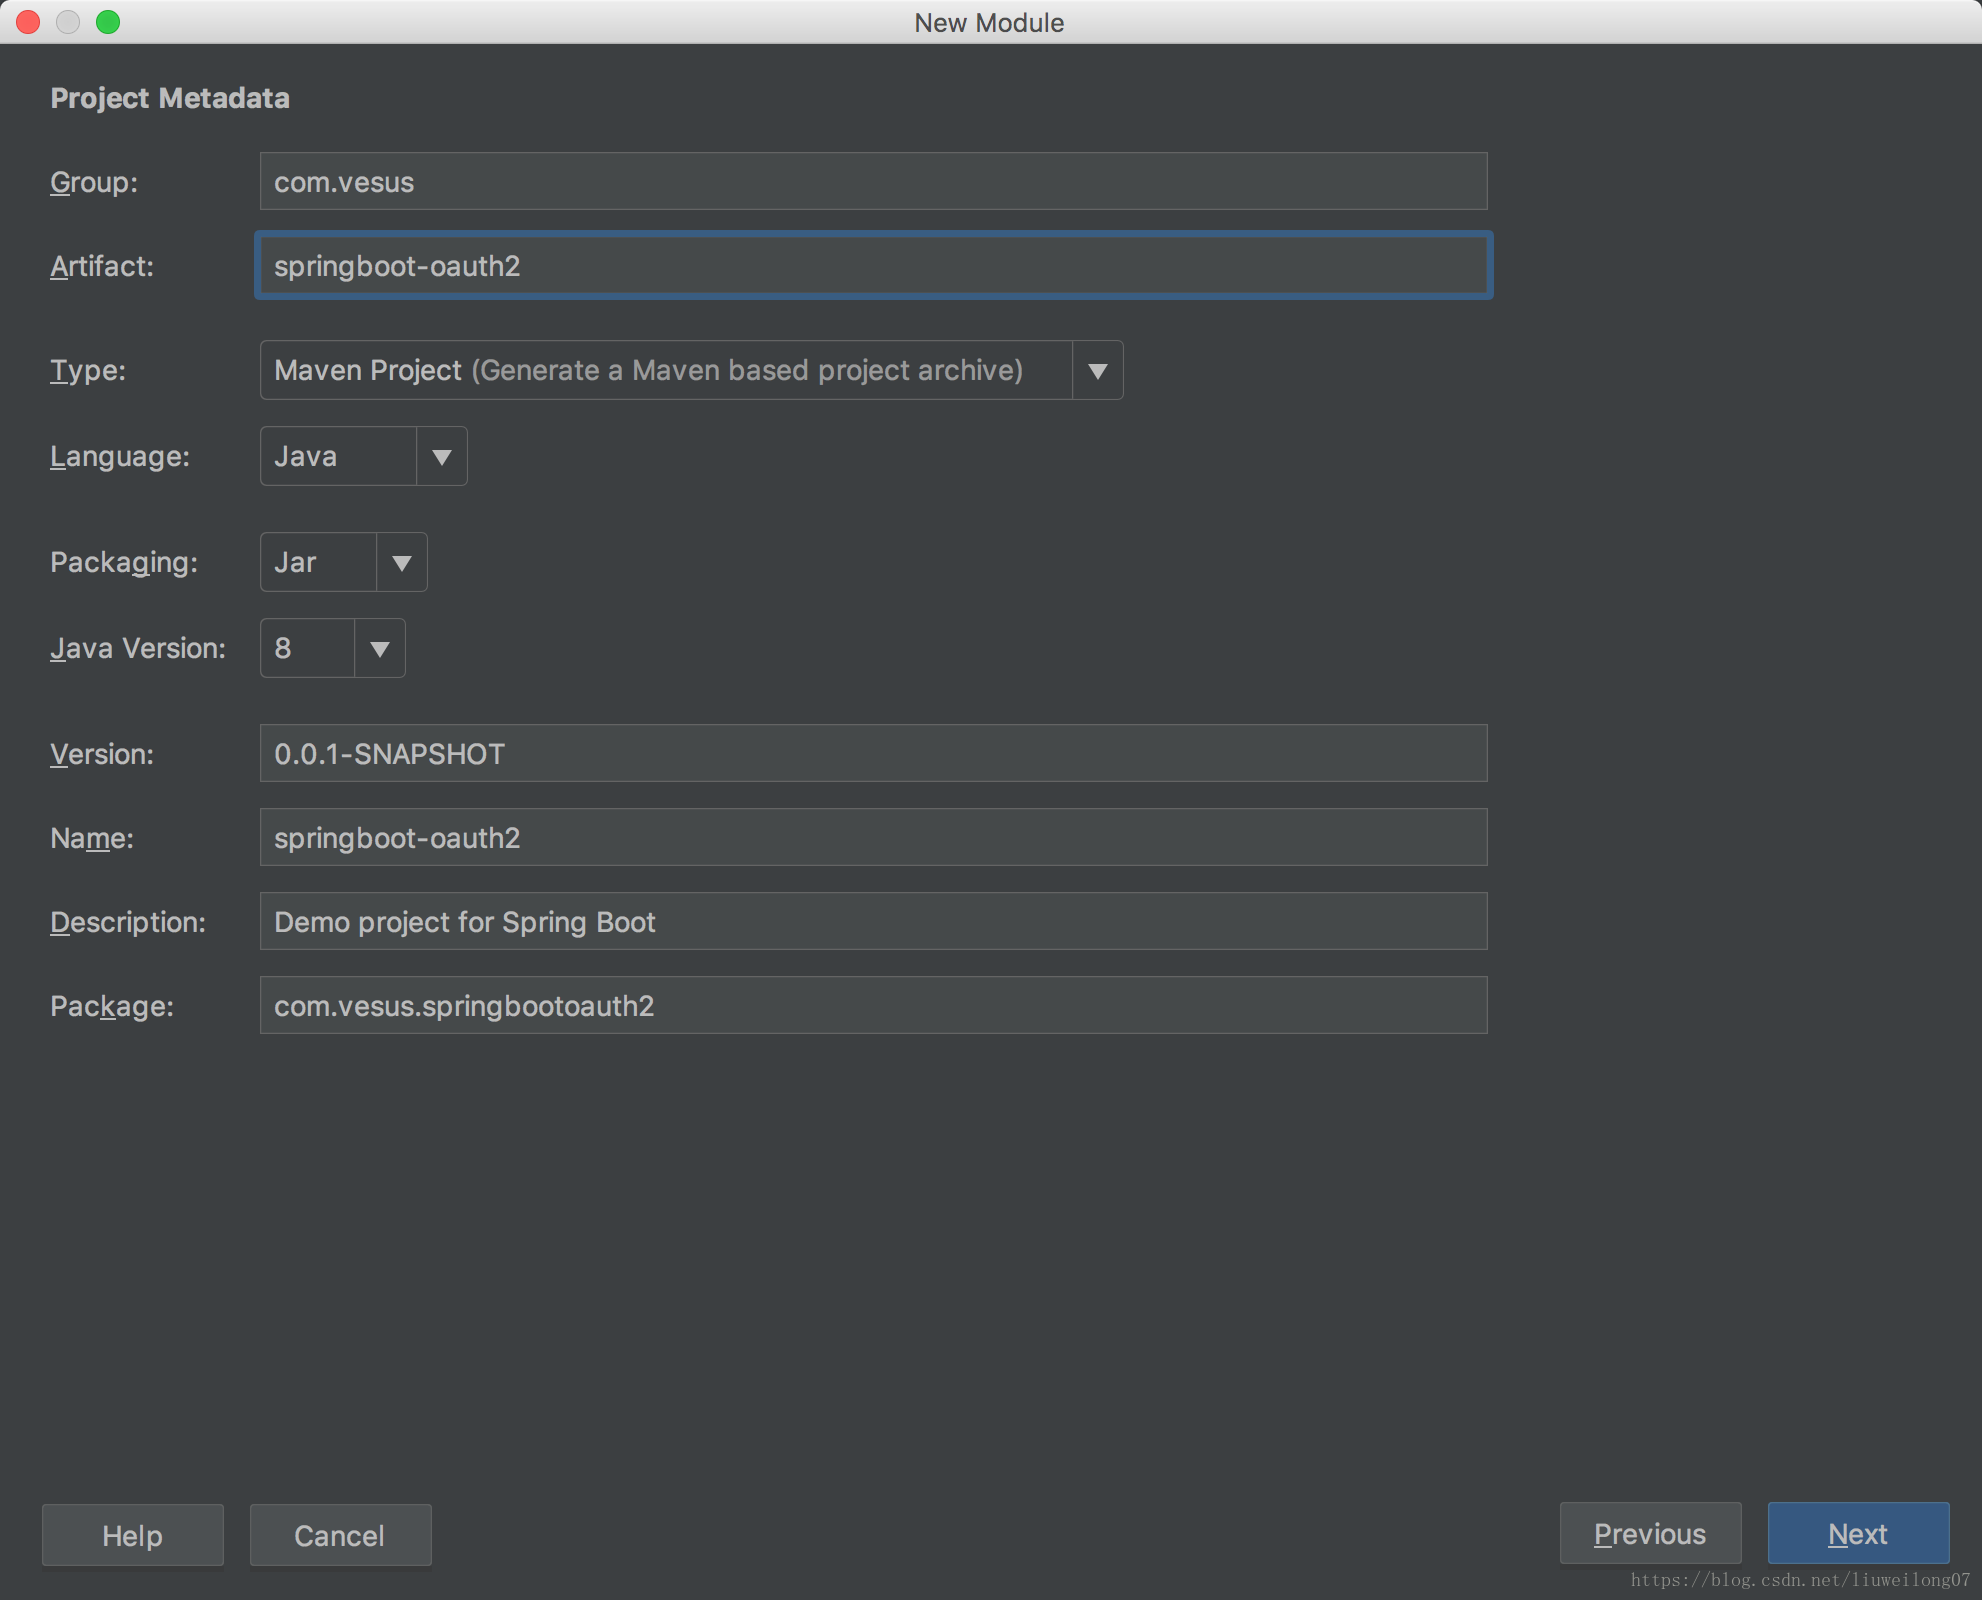
pom檔案新增oauth2依賴
<dependency>
<groupId>org.springframework.boot</groupId>
<artifactId>spring-boot-starter-security</artifactId - 1
- 2
- 3
- 4
- 5
- 6
- 7
- 8
- 9
4.2、配置資源伺服器
@EnableResourceServer註解來開啟資源伺服器
package com.vesus.springbootoauth2.config;

import org.slf4j.Logger;
import org.slf4j.LoggerFactory;
import org.springframework.beans.factory.annotation.Autowired;
import org.springframework.context.annotation.Bean;
import org.springframework.context.annotation.Configuration;
import org.springframework.security.config.annotation.web.builders.HttpSecurity;
import org.springframework.security.oauth2.config.annotation.web.configuration.EnableResourceServer;
import org.springframework.security.oauth2.config.annotation.web.configuration.ResourceServerConfigurerAdapter;

@Configuration
@EnableResourceServer
public class ResourceServerConfiguration extends ResourceServerConfigurerAdapter {

    private Logger logger = LoggerFactory.getLogger(ResourceServerConfiguration.class);

    @Autowired
    private CustomAuthenticationEntryPoint customAuthenticationEntryPoint ;

    @Bean
    public CustomLogoutSuccessHandler customLogoutSuccessHandler(){
        return new CustomLogoutSuccessHandler();
    } ;

    @Override
    public void configure(HttpSecurity http) throws Exception {
        logger.info("=========================111111111=========");
       http.exceptionHandling()
               .authenticationEntryPoint(customAuthenticationEntryPoint)
               .and()
               .logout()
               .logoutUrl("/oauth/logout")
               .logoutSuccessHandler(customLogoutSuccessHandler())
               .and()
               .authorizeRequests()
               .antMatchers("/hello/").permitAll()
               .antMatchers("/secure/**").authenticated();
    }
}
- 1
- 2
- 3
- 4
- 5
- 6
- 7
- 8
- 9
- 10
- 11
- 12
- 13
- 14
- 15
- 16
- 17
- 18
- 19
- 20
- 21
- 22
- 23
- 24
- 25
- 26
- 27
- 28
- 29
- 30
- 31
- 32
- 33
- 34
- 35
- 36
- 37
- 38
- 39
- 40
- 41
4.3、自定義401錯誤碼內容
package com.vesus.springbootoauth2.config;

import org.slf4j.Logger;
import org.slf4j.LoggerFactory;
import org.springframework.security.core.AuthenticationException;
import org.springframework.security.web.AuthenticationEntryPoint;
import org.springframework.stereotype.Component;

import javax.servlet.ServletException;
import javax.servlet.http.HttpServletRequest;
import javax.servlet.http.HttpServletResponse;
import java.io.IOException;

@Component
public class CustomAuthenticationEntryPoint implements AuthenticationEntryPoint {

    private final Logger log = LoggerFactory.getLogger(CustomAuthenticationEntryPoint.class);


    @Override
    public void commence(HttpServletRequest request, HttpServletResponse response, AuthenticationException authException) throws IOException, ServletException {
        log.info("Pre-authenticated entry point called. Rejecting access");
        response.sendError(HttpServletResponse.SC_UNAUTHORIZED,"Access Denied");
    }
}
- 1
- 2
- 3
- 4
- 5
- 6
- 7
- 8
- 9
- 10
- 11
- 12
- 13
- 14
- 15
- 16
- 17
- 18
- 19
- 20
- 21
- 22
- 23
- 24
- 25
- 26
4.4、定義登出控制
退出系統時需要訪問SpringSecrutiy的logout方法來清空對應的token資訊
package com.vesus.springbootoauth2.config;

import org.springframework.beans.factory.annotation.Autowired;
import org.springframework.security.core.Authentication;
import org.springframework.security.oauth2.common.OAuth2AccessToken;
import org.springframework.security.oauth2.provider.token.TokenStore;
import org.springframework.security.web.authentication.AbstractAuthenticationTargetUrlRequestHandler;
import org.springframework.security.web.authentication.logout.LogoutSuccessHandler;

import javax.servlet.ServletException;
import javax.servlet.http.HttpServletRequest;
import javax.servlet.http.HttpServletResponse;
import java.io.IOException;

public class CustomLogoutSuccessHandler extends AbstractAuthenticationTargetUrlRequestHandler implements LogoutSuccessHandler {

    private static final String BEARER_AUTHENTICATION = "Bearer ";
    private static final String HEADER_AUTHORIZATION = "authorization";

    @Autowired
    private TokenStore tokenStore ;

    @Override
    public void onLogoutSuccess(HttpServletRequest request, HttpServletResponse response, Authentication authentication) throws IOException, ServletException {
        String token = request.getHeader(HEADER_AUTHORIZATION);
        if (token!=null&&token.startsWith(BEARER_AUTHENTICATION)){
            OAuth2AccessToken oAuth2AccessToken = tokenStore.readAccessToken(token.split(" ")[0]);
            if (oAuth2AccessToken!=null){
                tokenStore.removeAccessToken(oAuth2AccessToken);
            }
        }

        response.setStatus(HttpServletResponse.SC_OK);
    }
}
- 1
- 2
- 3
- 4
- 5
- 6
- 7
- 8
- 9
- 10
- 11
- 12
- 13
- 14
- 15
- 16
- 17
- 18
- 19
- 20
- 21
- 22
- 23
- 24
- 25
- 26
- 27
- 28
- 29
- 30
- 31
- 32
- 33
- 34
- 35
- 36
4.5、配置OAuth2驗證伺服器
@EnableAuthorizationServer註解開啟驗證伺服器
package com.vesus.springbootoauth2.config;

import org.slf4j.Logger;
import org.slf4j.LoggerFactory;
import org.springframework.beans.factory.annotation.Autowired;
import org.springframework.beans.factory.annotation.Qualifier;
import org.springframework.boot.bind.RelaxedPropertyResolver;
import org.springframework.context.EnvironmentAware;
import org.springframework.context.annotation.Bean;
import org.springframework.context.annotation.Configuration;
import org.springframework.core.env.Environment;
import org.springframework.security.authentication.AuthenticationManager;
import org.springframework.security.oauth2.config.annotation.configurers.ClientDetailsServiceConfigurer;
import org.springframework.security.oauth2.config.annotation.web.configuration.AuthorizationServerConfigurerAdapter;
import org.springframework.security.oauth2.config.annotation.web.configuration.EnableAuthorizationServer;
import org.springframework.security.oauth2.config.annotation.web.configurers.AuthorizationServerEndpointsConfigurer;
import org.springframework.security.oauth2.provider.token.TokenStore;
import org.springframework.security.oauth2.provider.token.store.JdbcTokenStore;

import javax.sql.DataSource;

@Configuration
@EnableAuthorizationServer
public class AuthorizationServerConfiguration extends AuthorizationServerConfigurerAdapter implements EnvironmentAware {

    private Logger logger = LoggerFactory.getLogger(AuthorizationServerConfiguration.class);

    private static final String ENV_OAUTH = "authentication.oauth.";
    private static final String PROP_CLIENTID = "clientid";
    private static final String PROP_SECRET = "secret";
    private static final String PROP_TOKEN_VALIDITY_SECONDS = "tokenValidityInSeconds";

    private RelaxedPropertyResolver propertyResolver ;

    @Autowired
    private DataSource dataSource ;

    @Bean
    public TokenStore tokenStore(){

        //這個是基於JDBC的實現,令牌(Access Token)會儲存到資料庫
        return new JdbcTokenStore(dataSource);
    }

    @Autowired
    @Qualifier("authenticationManagerBean")//認證方式
    private AuthenticationManager authenticationManager ;

    @Override
    public void configure(AuthorizationServerEndpointsConfigurer endpoints) throws Exception {
        endpoints.tokenStore(tokenStore())
                .authenticationManager(authenticationManager) ;
    }

    public void configure(ClientDetailsServiceConfigurer clients) throws Exception {
        clients.inMemory() // 使用in-memory儲存
                .withClient(propertyResolver.getProperty(PROP_CLIENTID))//client_id用來標識客戶的Id
                .scopes("read", "write") //允許授權範圍
                .authorities("ROLE_ADMIN","ROLE_USER")//客戶端可以使用的許可權
                .authorizedGrantTypes("password", "refresh_token")//允許授權型別
                .secret(propertyResolver.getProperty(PROP_SECRET))//secret客戶端安全碼
                .accessTokenValiditySeconds(propertyResolver.getProperty(PROP_TOKEN_VALIDITY_SECONDS, Integer.class, 1800));

    }


    @Override
    public void setEnvironment(Environment environment) {
        //獲取到字首是"authentication.oauth." 的屬性列表值.
        this.propertyResolver = new RelaxedPropertyResolver(environment, ENV_OAUTH);
    }
}
- 1
- 2
- 3
- 4
- 5
- 6
- 7
- 8
- 9
- 10
- 11
- 12
- 13
- 14
- 15
- 16
- 17
- 18
- 19
- 20
- 21
- 22
- 23
- 24
- 25
- 26
- 27
- 28
- 29
- 30
- 31
- 32
- 33
- 34
- 35
- 36
- 37
- 38
- 39
- 40
- 41
- 42
- 43
- 44
- 45
- 46
- 47
- 48
- 49
- 50
- 51
- 52
- 53
- 54
- 55
- 56
- 57
- 58
- 59
- 60
- 61
- 62
- 63
- 64
- 65
- 66
- 67
- 68
- 69
- 70
- 71
- 72
- 73
4.6、安全配置
package com.vesus.springbootoauth2.config;

import com.vesus.springbootoauth2.service.impl.CustomUserService;
import org.springframework.beans.factory.annotation.Autowired;
import org.springframework.context.annotation.Bean;
import org.springframework.context.annotation.Configuration;
import org.springframework.security.access.expression.method.MethodSecurityExpressionHandler;
import org.springframework.security.authentication.AuthenticationManager;
import org.springframework.security.config.annotation.authentication.builders.AuthenticationManagerBuilder;
import org.springframework.security.config.annotation.method.configuration.EnableGlobalMethodSecurity;
import org.springframework.security.config.annotation.method.configuration.GlobalMethodSecurityConfiguration;
import org.springframework.security.config.annotation.web.builders.WebSecurity;
import org.springframework.security.config.annotation.web.configuration.EnableWebSecurity;
import org.springframework.security.config.annotation.web.configuration.WebSecurityConfigurerAdapter;
import org.springframework.security.core.userdetails.UserDetailsService;
import org.springframework.security.oauth2.provider.expression.OAuth2MethodSecurityExpressionHandler;

@Configuration
@EnableWebSecurity
public class WebSecurityConfig extends WebSecurityConfigurerAdapter {

    @Bean
    UserDetailsService customUserService(){
        return new CustomUserService();
    }

    //配置全域性設定
    @Autowired
    public void configureGlobal(AuthenticationManagerBuilder auth) throws Exception {
        //設定UserDetailsService以及密碼規則
        auth.userDetailsService(customUserService());
    }

    @Override
    public void configure(WebSecurity web) throws Exception {
        web.ignoring().antMatchers("/hello") ;
    }

    @Bean
    public AuthenticationManager authenticationManagerBean() throws Exception {
        return super.authenticationManagerBean() ;
    }

    //開啟全域性方法攔截
    @EnableGlobalMethodSecurity(prePostEnabled = true, jsr250Enabled = true)
    public static class GlobalSecurityConfiguration extends GlobalMethodSecurityConfiguration {
        @Override
        protected MethodSecurityExpressionHandler createExpressionHandler() {
            return new OAuth2MethodSecurityExpressionHandler();
        }

    }
}
- 1
- 2
- 3
- 4
- 5
- 6
- 7
- 8
- 9
- 10
- 11
- 12
- 13
- 14
- 15
- 16
- 17
- 18
- 19
- 20
- 21
- 22
- 23
- 24
- 25
- 26
- 27
- 28
- 29
- 30
- 31
- 32
- 33
- 34
- 35
- 36
- 37
- 38
- 39
- 40
- 41
- 42
- 43
- 44
- 45
- 46
- 47
- 48
- 49
- 50
- 51
- 52
- 53
- 54
4.7、啟動
訪問localhost:8080/hello
hello
- 1
- 2
使用postman訪問localhost:8080/oauth/token?username=admin&password=admin&grant_type=password

{
    "access_token": "acf03e60-ed0a-4809-9ee0-240b81aab2d1",
    "token_type": "bearer",
    "refresh_token": "5b4a562e-704d-442a-9dfe-4aebad930e9d",
    "expires_in": 1799,
    "scope": "read write"
}
- 1
- 2
- 3
- 4
- 5
- 6
- 7
- 8
login
- 1
- 2
相關推薦
spring boot整合OAuth2保證api介面安全
1、 OAuth 概念 OAuth 是一個開放標準,允許使用者讓第三方應用訪問該使用者在某一網站上儲存的私密的資源(如照片,視訊,聯絡人列表),而不需要將使用者名稱和密碼提供給第三方應用。OAuth允許使用者提供一個令牌,而不是使用者名稱和密碼來訪問他們存放在特定服
spring boot 開發—第八篇整合OAuth2保證api介面安全
1、 OAuth 概念 OAuth 是一個開放標準,允許使用者讓第三方應用訪問該使用者在某一網站上儲存的私密的資源(如照片,視訊,聯絡人列表),而不需要將使用者名稱和密碼提供給第三方應用。OAuth允許使用者提供一個令牌,而不是使用者名稱和密碼來訪問他
spring boot 開發—第七篇使用JWT保證api介面安全
1、jwt簡介 JWT是一種用於雙方之間傳遞安全資訊的簡潔的、URL安全的表述性宣告規範。JWT作為一個開放的標準(RFC 7519),定義了一種簡潔的,自包含的方法用於通訊雙方之間以Json物件的形式安全的傳遞資訊。因為數字簽名的存在,這些資訊是可信的,JW
Spring boot 整合 swagger生成api文件(轉換成markdown格式)
spring boot 整合 swagger 步驟 1. 匯入jar包 2. 新增配置類 3. 新增介面類 3. 啟動伺服器 4. 訪問UI頁面,可線上測試介面 5. 匯出swagger原始檔 6. 轉換成markdown格式檔案 1,匯入jar包 gradl
spring boot整合activiti rest api詳細教程
1.匯入依賴 <dependency> <groupId>org.activiti</groupId> <artifactId>activiti-rest</artifac
Spring專案整合apidoc生成api介面文件
一、背景需求 JavaWeb/spring專案寫成的api介面,需要自動生成api文件,甚至需要線上測試介面。考慮實現的方案有swagger,apidoc,spring rest docs。在之後的專案都有一一嘗試,最終還是覺得apidoc的方式比較合適,雖然有一些問題(針對線上
第九篇: 用spring boot整合swagger2建立API文件
簡介: Swagger的目標是為REST APIs 定義一個標準的,與語言無關的介面,使人和計算機在看不到原始碼或者看不到文件或者不能通過網路流量檢測的情況下能發現和理解各種服務的功能。當服務通過Swagger定義,消費者就能與遠端的服務互動通過少量的實現邏輯。類似於低階程
Spring-Boot -- RESTFUL風格的API介面的三種呼叫方式【測試】
專案目錄結構圖: 說明:博主所有基於學習的內容全部基於上圖中的Spring-Boot框架,專案暫時不會上傳,因為還在完善,而且內容都比較離散,都是學習中遇到哪個知識點就往裡面加,因此,我只拆分
用Spring Boot開發一個web API 介面返回資料
需求:開發微信小程式無法直接獲取到伺服器資料庫資料,所以需要一個API返回 開發軟體:IntelliJ IDEA 框架:Spring Boot 第一步 新建一個Spri
Spring Boot 整合 Swagger,生成介面文件就這麼簡單!
開發十年,就只剩下這套架構體系了! >>>
Spring Boot整合JWT&Spring Security進行介面安全認證
一,協議 token驗證未通過 返回: { "header": { "errorinfo": "無效的token", "errorcode": "8001" } } 頁面上對這種情況的處理,都跳轉到
spring boot 整合 swagger2 並定製RestFul API介面
1、新增maven依賴: <dependency> <groupId>io.springfox</groupId> <artifactId>springfox-swagger2</artifactId> <versi
Spring Boot 整合 swagger2 自動生成 RESTFul API 文檔
pat turn ket config 文件 pen 用戶 配置文件 方式 1)首先編輯pom.xml添加依賴 <dependency> <groupId>io.springfox</groupId> <artifactI
【小家Spring】藉助Springfox整合Swagger(API介面神器)和SpringBoot
背景 隨著網際網路技術的發展,現在的網站架構基本都由原來的後端渲染,變成了:前端渲染、先後端分離的形態,而且前端技術和後端技術在各自的道路上越走越遠。 前端和後端的唯一聯絡,變成了API介面;API文件變成了前後端開發人員聯絡的紐帶,變得越來越重要,swagger就是一款讓你更好
第六篇:Spring Boot整合Swagger2構建RESTful API文件
由於Spring Boot有快速開發、便捷部署等特性,所以很大一部分Spring Boot的使用者會用來構建RESTfulAPI。而我們構建RESTfulAPI的目的通常都是由於多終端的原因,這些終端會共用很多底層業務邏輯,因此我們會抽象出這樣一層來同時服務於多個移動端或者Web前端。
二十、Spring boot整合Jpa API
(一)新增依賴 <dependency> <groupId>org.springframework.boot</groupId> <artifactId>spring-boot-starter-da
Spring Boot整合swagger2,搭建Restful API線上文件
Swagger,中文“拽”的意思,它是一個強大的線上API文件的框架,目前它的版本是2.x,所以稱為“swagger2”。swagger2提供了線上文件的查閱和測試功能。利用Swagger2很容易構建RESTf
Maven專案中,關於Spring Boot 整合MyBatis時,Service層無法找到mapper介面的問題解決
mybatis: mapperlocations: classpath:com/xxx/xxx/dao/mapper/*.xml -----掃描對映檔案 config-location: classpath:mybatis-config.xml ------掃描配置檔案注意:路徑要以/ 分割3 M
Spring Boot整合持久化Quartz定時任務管理和介面展示
前言 本文是對之前的一篇文章Spring+SpringMVC+mybatis+Quartz整合程式碼部分做的一個修改和補充, 其中最大的變化就是後臺框架變成了Spring Boot。 本工程所用到的技術或工具有: Spring Boot Mybatis
Spring Boot 整合 Swagger2 與配置 OAuth2.0 授權
Spring Boot 整合 Swagger2 很簡單,由於介面採用了OAuth2.0 & JWT 協議做了安全驗證,使用過程中也遇到了很多小的問題,多次嘗試下述配置可以正常使用。 Maven <!-- swagger2 --> <dependen