
spring4與Thymeleaf整合一個簡單示例
1、spring使用的版本是spring4.0.0:從spring4.0.0裡解壓出來的libs檔案裡的所有jar包。
2、thymeleaf版本是thymeleaf-3.0.9.RELEASE:從thymeleaf-3.0.9.RELEASE解壓出來後,在lib資料夾裡找到slf4j-api-1.7.25.jar、attoparser-2.0.4.RELEASE.jar包和從dist資料夾下找到thymeleaf-3.0.9.RELEASE.jar和thymeleaf-spring4-3.0.9.RELEASE.jar包。
3、其他包unbescape-1.0.jar,是一個轉義庫包。
1、這裡使用idea建立一個web工程專案如下圖:
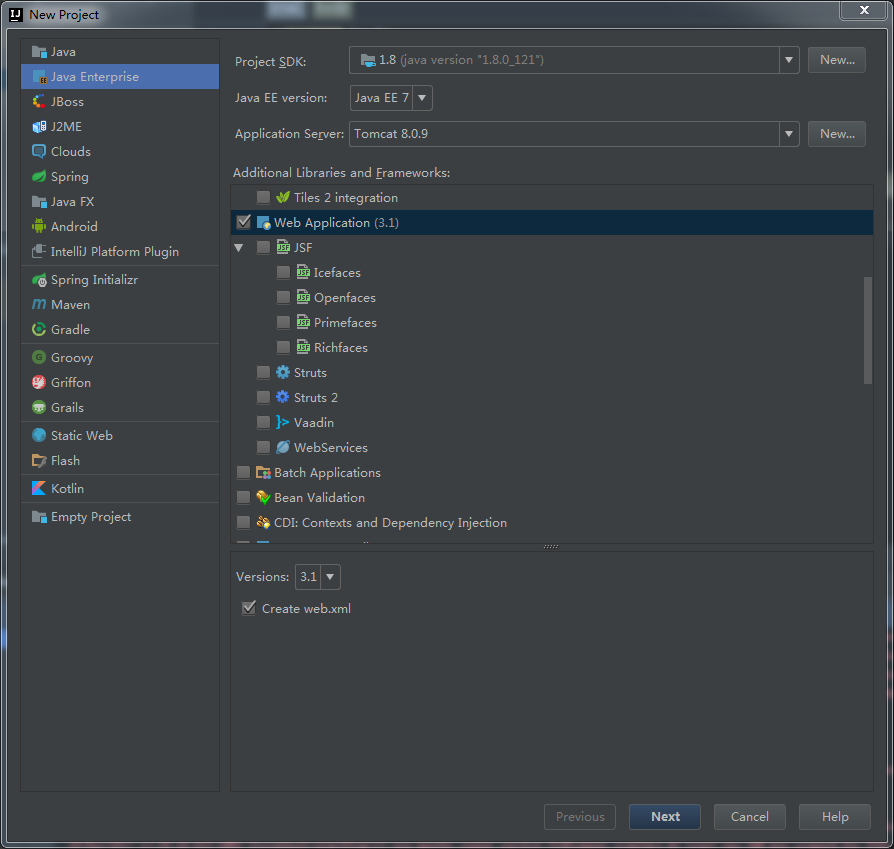
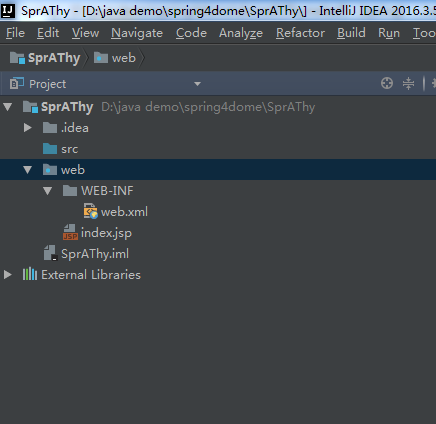
下一步輸入專案名稱:SprAThy。完成。新建的工程如下:
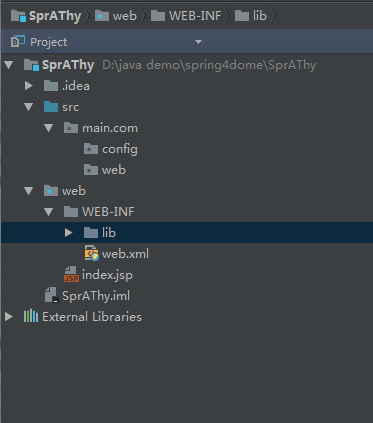
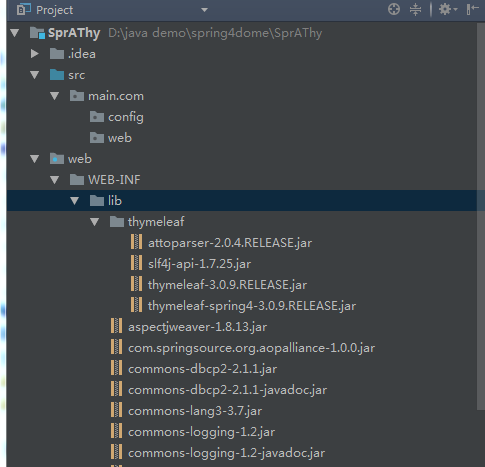
2、建立一下工程存放類和jar包的資料夾最終結果如下:
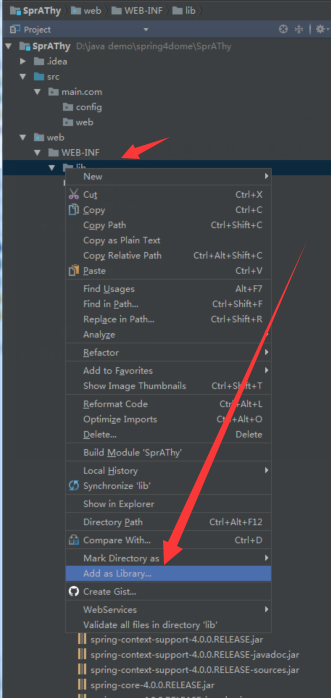
3、新增jar包。把spring的jar包放到lib資料夾裡,然後有機lib資料夾——add as library,就把lib新增到工程裡了。Thymeleaf的幾個jar包也一樣新增進來,
unbescape-1.0.jar包也一起放到lib資料夾裡。下面的一些包不屬於spring和thymeleaf需要自己下載
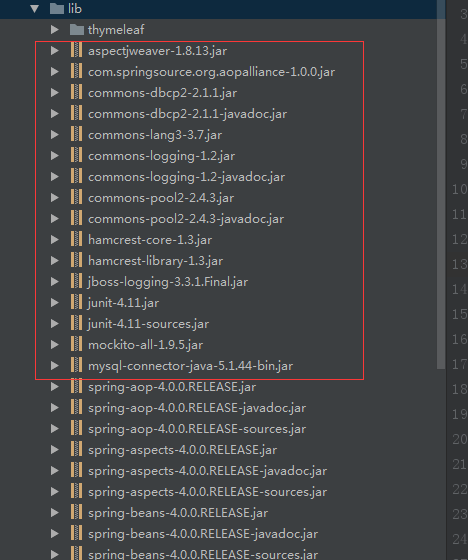
最終如下右圖:
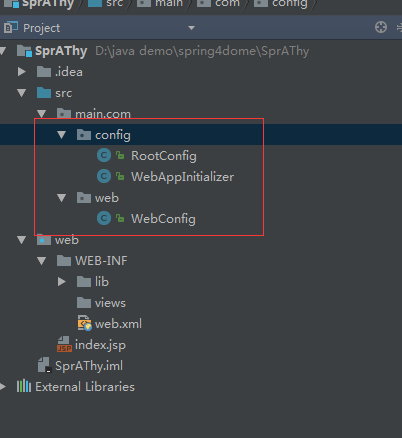
4、建立類檔案RootConfig、WebAppInitializer、WebConfig三個類。如下圖
RootConfig.java檔案如下:
package main.com.config; import org.springframework.context.annotation.ComponentScan; import org.springframework.context.annotation.Configuration; import org.springframework.context.annotation.FilterType; import org.springframework.web.servlet.config.annotation.EnableWebMvc; /** * Created by IBM on 2017/12/18.*/ @Configuration @ComponentScan(basePackages={"main.com"}, excludeFilters={ //@Filter(type=FilterType.CUSTOM, value=RootConfig.WebPackage.class) @ComponentScan.Filter(type= FilterType.ANNOTATION, value=EnableWebMvc.class) }) public class RootConfig { }
WebAppInitialzer.java檔案如下:
package main.com.config;
import main.com.web.WebConfig;
import org.springframework.web.servlet.support.AbstractAnnotationConfigDispatcherServletInitializer;
/**
 * Created by IBM on 2017/12/18.
 */
public class WebAppInitializer extends AbstractAnnotationConfigDispatcherServletInitializer {
    @Override
protected Class<?>[] getRootConfigClasses() {
        return new Class<?>[] { RootConfig.class };
}

    @Override
protected Class<?>[] getServletConfigClasses() {
        return new Class<?>[] { WebConfig.class };
}

    @Override
protected String[] getServletMappings() {
        return new String[] { "/" };
}
}
WebConfig.java檔案如下:
package main.com.web;
import org.springframework.context.annotation.Bean;
import org.springframework.context.annotation.ComponentScan;
import org.springframework.context.annotation.Configuration;
import org.springframework.web.context.ContextLoader;
import org.springframework.web.context.WebApplicationContext;
import org.springframework.web.servlet.ViewResolver;
import org.springframework.web.servlet.config.annotation.DefaultServletHandlerConfigurer;
import org.springframework.web.servlet.config.annotation.EnableWebMvc;
import org.springframework.web.servlet.config.annotation.WebMvcConfigurerAdapter;
import org.thymeleaf.spring4.SpringTemplateEngine;
import org.thymeleaf.spring4.view.ThymeleafViewResolver;
import org.thymeleaf.templateresolver.ITemplateResolver;
import org.thymeleaf.templateresolver.ServletContextTemplateResolver;
/**
 * Created by IBM on 2017/12/11.
 * Adapter介面卡
 * ViewResolver檢視解析器
 * InternalResourceViewResolver網路檢視解析器
 */
@Configuration
@EnableWebMvc//啟用SpringMVC
@ComponentScan(basePackages = "main.com.web")//啟動自動裝配bean
public class WebConfig extends WebMvcConfigurerAdapter {

    //配置靜態資源的處理
@Override
public void configureDefaultServletHandling(DefaultServletHandlerConfigurer configurer) {
        configurer.enable();
}

    @Bean // 配置生成模板解析器
public ITemplateResolver templateResolver() {
        WebApplicationContext webApplicationContext = ContextLoader.getCurrentWebApplicationContext();
// ServletContextTemplateResolver需要一個ServletContext作為構造引數,可通過<span style="font-family:Arial, Helvetica, sans-serif;">WebApplicationContext 的方法獲得</span>
ServletContextTemplateResolver templateResolver = new ServletContextTemplateResolver(
                webApplicationContext.getServletContext());
templateResolver.setPrefix("/WEB-INF/views/");
templateResolver.setSuffix(".html");
//        templateResolver.setCharacterEncoding("UTF-8");
        // 設定模板模式,也可用字串"HTML"代替,此處不建議使用HTML5,原因看下圖原始碼
//        templateResolver.setTemplateMode(TemplateMode.HTML);
templateResolver.setTemplateMode("HTML5");
        return templateResolver;
}

    @Bean // 生成模板引擎併為模板引擎注入模板解析器
public SpringTemplateEngine templateEngine(ITemplateResolver templateResolver) {
        SpringTemplateEngine templateEngine = new SpringTemplateEngine();
templateEngine.setTemplateResolver(templateResolver);
        return templateEngine;
}

    @Bean // 生成檢視解析器並未解析器注入模板引擎
public ViewResolver viewResolver(SpringTemplateEngine templateEngine) {
        ThymeleafViewResolver viewResolver = new ThymeleafViewResolver();
viewResolver.setContentType("text/html; charset=utf-8");
viewResolver.setTemplateEngine(templateEngine);
        return viewResolver;
}
}
5、編寫控制器類HomeController.java,防治web資料夾下,與WebConfig.java檔案在同一資料夾。
HomeController.java檔案如下:
package main.com.web;
import org.springframework.context.annotation.Configuration;
import org.springframework.stereotype.Controller;
import org.springframework.web.bind.annotation.RequestMapping;
import static org.springframework.web.bind.annotation.RequestMethod.GET;
@Configuration
@Controller//宣告為一個控制器
/**
 * Created by IBM on 2017/12/18.
 */
public class HomeController {

    @RequestMapping(value = "/home",method = GET)//處理對“/”的GET請求。請求這個檢視:http://localhost:8080/home
public String home() {
        return "home";
}
}
6、在WEB-INF資料夾下建立views資料夾,這個資料夾用於存放檢視html檔案,和WebConfig.java中templateResolver()函式中配置的路徑一樣。
新建home.html檔案
home.html檔案如下
<!DOCTYPE html>
<html xmlns="http://www.w3.org/1999/xhtml"
xmlns:th="http://www.thymeleaf.org"><!--宣告thymeleaf名稱空間-->
<link>
<meta charset="UTF-8">
<title>Welcome to Home</title>
</head>
<body>
<h1>Welcome to Home</h1>
<h1>Welcome to Home</h1>
</body>
</html>
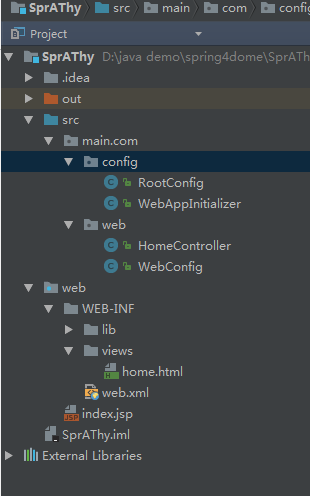
整個專案完成對目錄如下:
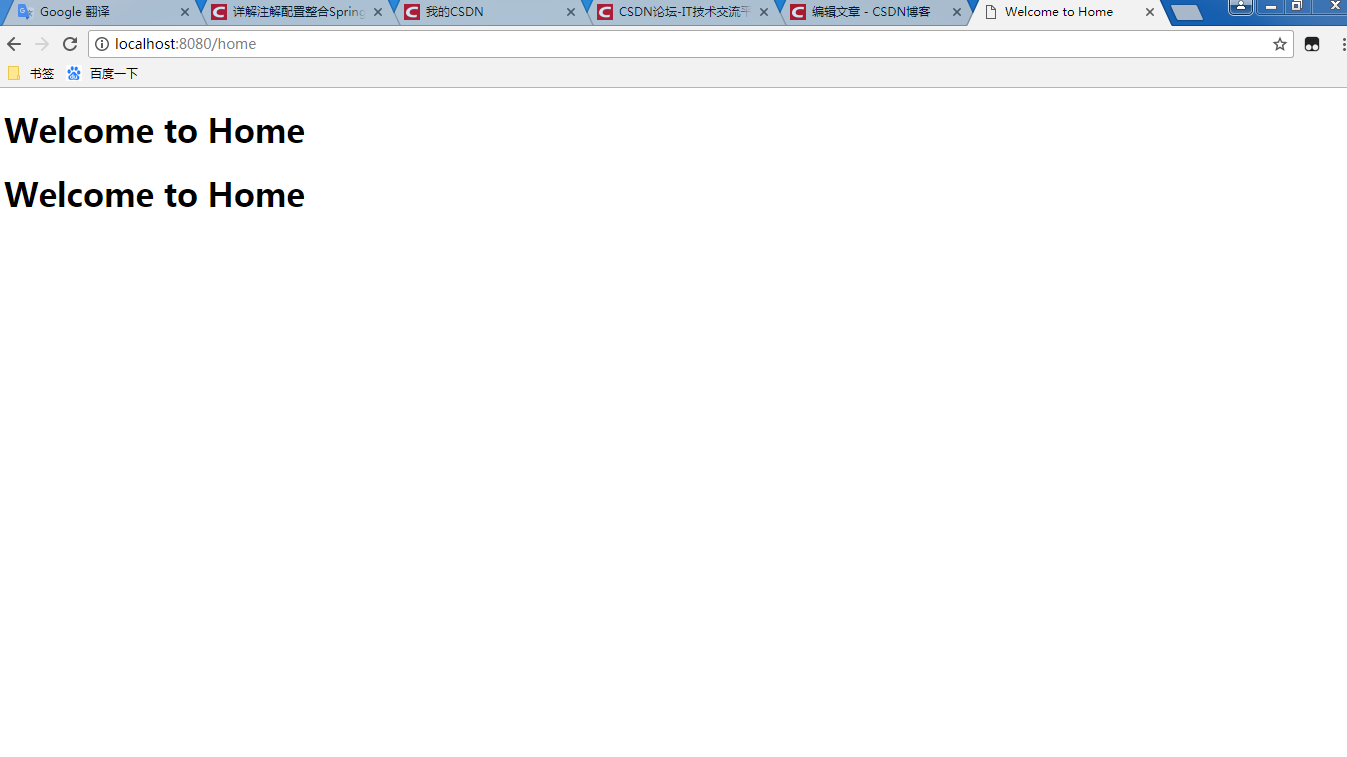
7、配置tomcat,然後執行專案
如下圖:
示例下載地址:
http://download.csdn.net/download/u014572215/10163214