SpringBoot整合Spring Security入門體驗
阿新 • • 發佈:2019-10-01
一、前言
Spring Security 和 Apache Shiro 都是安全框架,為Java應用程式提供身份認證和授權。
二者區別
- Spring Security:
重量級安全框架 - Apache Shiro:
輕量級安全框架
關於shiro的許可權認證與授權可參考小編的另外一篇文章 : SpringBoot整合Shiro 實現動態載入許可權
二、SpringBoot整合Spring Security入門體驗
基本環境 : springboot 2.1.8
1、引入Spring Security依賴
<dependency>
    <groupId>org.springframework.boot</groupId>
    <artifactId>spring-boot-starter-security</artifactId>
</dependency>
2、新建一個controller測試訪問
@RestController
public class IndexController {
    @GetMapping("/index")
    public String index() {
        return "Hello World ~";
    }
}
3、執行專案訪問 http://127.0.0.1:8080/index
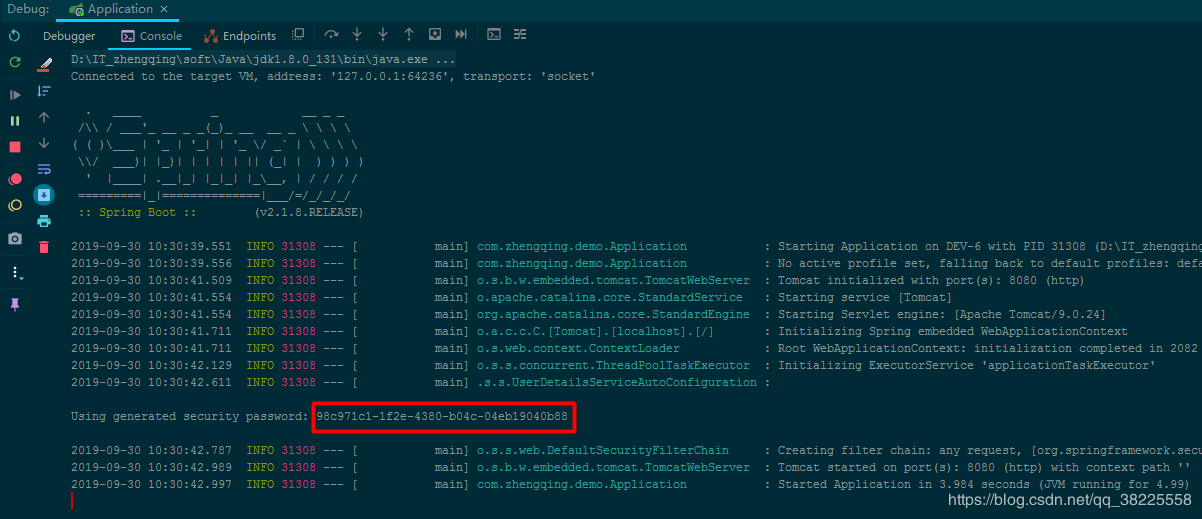
溫馨小提示:在不進行任何配置的情況下,Spring Security 給出的預設使用者名稱為user 密碼則是專案在啟動執行時隨機生成的一串字串,會列印在控制檯,如下圖:
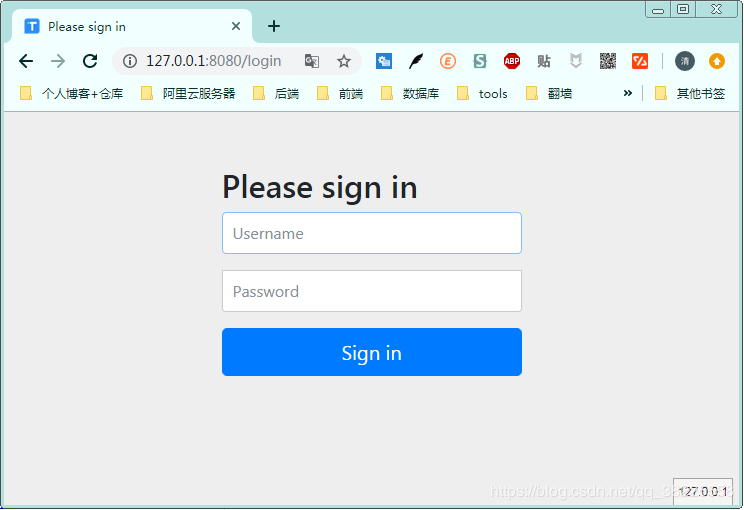
 當我們訪問index首頁的時候,系統會預設跳轉到login頁面進行登入認證
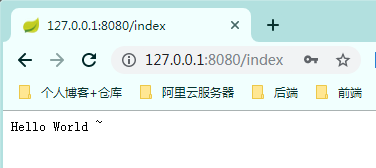
 認證成功之後才會跳轉到我們的index頁面

三、Spring Security使用者密碼配置
除了上面Spring Security在不進行任何配置下預設給出的使用者user 密碼隨專案啟動生成隨機字串,我們還可以通過以下方式配置
1、springboot配置檔案中配置
spring:
  security:
    user:
      name: admin  # 使用者名稱
      password: 123456  # 密碼
2、java程式碼在記憶體中配置
新建Security 核心配置類繼承WebSecurityConfigurerAdapter
@Configuration
@EnableWebSecurity // 啟用Spring Security的Web安全支援
public class SecurityConfig extends WebSecurityConfigurerAdapter {

    /**
     * 將使用者設定在記憶體中
     * @param auth
     * @throws Exception
     */
    @Autowired
    public void config(AuthenticationManagerBuilder auth) throws Exception {
        // 在記憶體中配置使用者,配置多個使用者呼叫`and()`方法
        auth.inMemoryAuthentication()
                .passwordEncoder(passwordEncoder()) // 指定加密方式
                .withUser("admin").password(passwordEncoder().encode("123456")).roles("ADMIN")
                .and()
                .withUser("test").password(passwordEncoder().encode("123456")).roles("USER");
    }

    @Bean
    public PasswordEncoder passwordEncoder() {
        // BCryptPasswordEncoder:Spring Security 提供的加密工具,可快速實現加密加鹽
        return new BCryptPasswordEncoder();
    }

}
3、從資料庫中獲取使用者賬號、密碼資訊
這種方式也就是我們專案中通常使用的方式,這個留到後面的文章再說
四、Spring Security 登入處理 與 忽略攔截
相關程式碼都有註釋相信很容易理解
@Configuration
@EnableWebSecurity
public class SecurityConfig extends WebSecurityConfigurerAdapter {

    /**
     * 登入處理
     * @param http
     * @throws Exception
     */
    @Override
    protected void configure(HttpSecurity http) throws Exception {
        // 開啟登入配置
        http.authorizeRequests()
                // 標識訪問 `/index` 這個介面,需要具備`ADMIN`角色
                .antMatchers("/index").hasRole("ADMIN")
                // 允許匿名的url - 可理解為放行介面 - 多個介面使用,分割
                .antMatchers("/", "/home").permitAll()
                // 其餘所有請求都需要認證
                .anyRequest().authenticated()
                .and()
                // 設定登入認證頁面
                .formLogin().loginPage("/login")
                // 登入成功後的處理介面 - 方式①
                .loginProcessingUrl("/home")
                // 自定義登陸使用者名稱和密碼屬性名,預設為 username和password
                .usernameParameter("username")
                .passwordParameter("password")
                // 登入成功後的處理器  - 方式②
//                .successHandler((req, resp, authentication) -> {
//                    resp.setContentType("application/json;charset=utf-8");
//                    PrintWriter out = resp.getWriter();
//                    out.write("登入成功...");
//                    out.flush();
//                })
                // 配置登入失敗的回撥
                .failureHandler((req, resp, exception) -> {
                    resp.setContentType("application/json;charset=utf-8");
                    PrintWriter out = resp.getWriter();
                    out.write("登入失敗...");
                    out.flush();
                })
                .permitAll()//和表單登入相關的介面統統都直接通過
                .and()
                .logout().logoutUrl("/logout")
                // 配置登出成功的回撥
                .logoutSuccessHandler((req, resp, authentication) -> {
                    resp.setContentType("application/json;charset=utf-8");
                    PrintWriter out = resp.getWriter();
                    out.write("登出成功...");
                    out.flush();
                })
                .permitAll()
                .and()
                .httpBasic()
                .and()
                // 關閉CSRF跨域
                .csrf().disable();

    }

    /**
     * 忽略攔截
     * @param web
     * @throws Exception
     */
    @Override
    public void configure(WebSecurity web) throws Exception {
        // 設定攔截忽略url - 會直接過濾該url - 將不會經過Spring Security過濾器鏈
        web.ignoring().antMatchers("/getUserInfo");
        // 設定攔截忽略資料夾,可以對靜態資源放行
        web.ignoring().antMatchers("/css/**", "/js/**");
    }

}
五、總結
- 專案引入Spring Security依賴
- 自定義Security核心配置類繼承
WebSecurityConfigurerAdapter - 賬號密碼配置
- 登入處理
- 忽略攔截
