
阿里雲伺服器配置mysql
阿里雲伺服器配置mysql 5.7版本
購買伺服器後使用Xshell登入(需要重置伺服器密碼)
1.安裝MySQL官方的yum repository
wget http://dev.mysql.com/get/mysql57-community-release-el7-10.noarch.rpm
2.下載rpm包
yum -y install mysql57-community-release-el7-10.noarch.rpm
3.安裝MySQL服務 注意mysql的安裝路徑
yum -y install mysql-community-server
安裝MySQL服務報錯
All matches were filtered out by modular filtering for argument: mysql-community-server
Error: Unable to find a match: mysql-community-server
解決辦法:
先執行:yum module disable mysql
再執行:yum install mysql-community-server
4.安裝後進入mysql
mysql -u root
初始進入mysql 不需要密碼報錯:
ERROR 2002 (HY000): Can't connect to local MySQL server through socket '/var/lib/mysql/mysql.sock' (2)
原因是/var/lib/mysql的訪問許可權問題,賦權給mysqlq許可權命令 chmod 777 /var/lib/mysql -r
重啟mysql服務
service mysqld restart
mysql -u root //直接回車進入mysql控制檯
如果報找不到初始密碼錯誤
ERROR 1045 (28000): Access denied for user 'root'@'localhost' (using password: NO)
解決:
1.停止MySQL服務
service mysqld stop
2.既然是密碼錯誤,那麼就先跳過密碼驗證的步驟
vim /etc/my.cnf (注:windows系統下修改的是my.ini)
找到[mysqld],在 [mysqld] 底下新增語句:
skip-grant-tables
(注:skip-grant-tables:不啟動grant-tables授權表,作為啟動引數的作用:MYSQL伺服器不載入許可權判斷,任何使用者都能訪問資料庫)
3.重新啟動MySQL服務
service mysqld start
4.進入MySQL
mysql -u root -p
出現密碼輸入時,不用輸入直接按回車,就可以不用密碼就能登入
5.修改MySQL資料庫配置檔案無密碼登入後,修改密碼:
alter user'root'@'localhost' identified by '新密碼'; //直接修改密碼。注:密碼需英文+數字
如果報錯:
ERROR 1290 (HY000): The MySQL server is running with the --skip-grant-tables option so it cannot execute this statement
解決:
先執行:
flush privileges;
再修改密碼:
set password for root@localhost=password('你的密碼');
或
update user set password=password(“新密碼”) where user=”使用者名稱”;
(*注意不同的mysql版本有不同的解決本辦法)
例:ERROR 1054(42S22) Unknown column 'password' in 'field list'
原因: 5.7版本下的mysql資料庫下已經沒有password這個欄位了,password欄位改成了authentication_string
update user set authentication_string=password(“新密碼”) where user=”使用者名稱”;
flush privileges;
6.遠端連線
1.遠端連結需要資料庫root許可權,進入資料庫:
先執行授權:
grant all privileges on *.* to 'root'@'%' identified by '資料庫密碼';
flush privileges;//這個是重新整理授權的意思,使授權立刻生效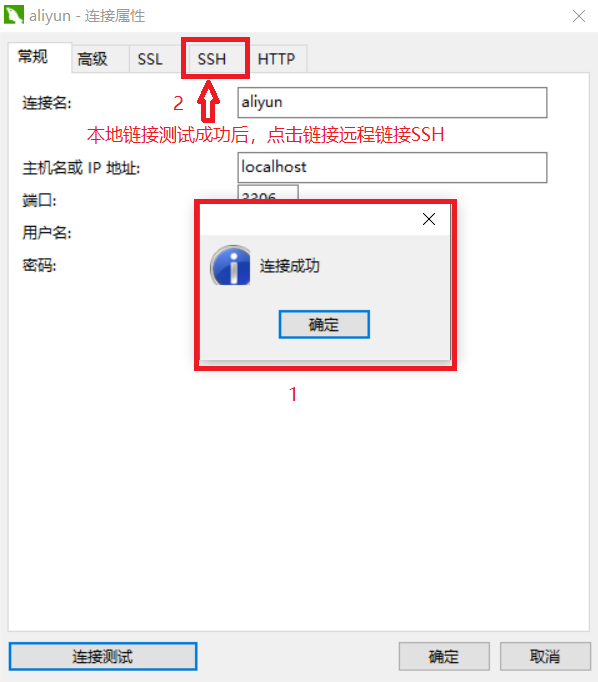
2.然後用navicat登陸mysql進行遠端連結:
測試連結成功,點選確定遠端連結就部署好了