
簡單測試 APISIX2.6 閘道器
Apache APISIX是一個動態的、實時的、高效能的 API 閘道器。它提供豐富的流量管理功能,例如負載均衡、動態上游服務、金絲雀釋出、斷路、身份驗證、可觀察性等。您可以使用 Apache APISIX 來處理傳統的南北流量,以及服務之間的東西流量。2019 年 10 月份,深圳支流科技把閘道器 APISIX 貢獻給 Apache 基金會,他們提供商業版本,以下內容基於社群版本。
APISIX地址:https://github.com/apache/apisix
DashBoard:https://github.com/apache/apisix-dashboard
中文文件地址:https://apisix.apache.org/zh/docs/apisix/getting-started/
1、安裝APISIX 和 APISIX Dashboard
官方文件介紹了原始碼包、RPM 包、Docker 以及Helm Chart安裝方式,這裡我們在K8s 環境下使用 apisix, 所以選擇使用Helm Chart方式安裝,安裝文件參見 https://apisix.apache.org/zh/docs/helm-chart/apisix/ 。
日前支流科技提供了一個線上 Helm Charts 倉庫 https://charts.apiseven.com, 使用者可通過該倉庫輕鬆安裝 Apache APISIX、Apache apisix-dashboard 和 Apache apisix-ingress-controller (而不需要提前 clone 對應的專案)。
一共有3個Helm Chart:
- Apache APISIX Helm Chart :https://apisix.apache.org/zh/docs/helm-chart/apisix/
- Apache APISIX Dashboard Helm Chart: https://apisix.apache.org/zh/docs/helm-chart/apisix-dashboard
- Apache APISIX Ingress Controller Helm Chart: https://apisix.apache.org/zh/docs/helm-chart/apisix-ingress-controller
新增倉庫並獲取更新
helm repo add apisix
檢視倉庫中可用的 Charts 包
helm search repo apisix> helm search repo apisix
NAME CHART VERSION APP VERSION DESCRIPTION
apisix/apisix 0.3.4 2.6.0 A Helm chart for Apache APISIX
apisix/apisix-dashboard 0.1.4 2.6.0 A Helm chart for Apache APISIX Dashboard
apisix/apisix-ingress-controller 0.4.2 0.6.0 Apache APISIX Ingress Controller for Kubernetes
安裝 Apache APISIX 到目標 Kubernetes 叢集中
helm install apisix apisix/apisix --set gateway.type = NodePort --set admin.allow.ipList="{0.0.0.0/0}" --namespace ingress-apisix
建立了四個Service資源,apisix-etcd 和 apisix-etcd-headless是etcd服務, 一個是處理真實流量的apisix-gateway,;另一個是充當控制平面來處理所有配置更改的服務apisix-admin。
閘道器服務型別設定為NodePort,以便客戶端可以通過節點 IP 和分配的埠訪問 Apache APISIX。
還有一點需要注意的是,該allow.ipList欄位要根據Pod CIDR設定進行自定義,請注意我這裡偷懶把所有的ip 都打開了,這個在生產環境下是不推薦這麼幹的。這樣apisix-ingress-controller例項才能訪問APISIX例項
安裝apisix-dashboard也建議通過 Helm Charts 安裝,將其安裝在與 Apache APISIX 相同的名稱空間中
helm install apisix-dashboard apisix/apisix-dashboard --namespace ingress-apisix
安裝 apisix-ingress-controller
通過 Helm Charts 安裝 apisix-ingress-controller,建議將其安裝在與 Apache APISIX 相同的名稱空間中。
helm install apisix-ingress-controller apisix/apisix-ingress-controller --set config.apisix.baseURL=http://apisix-admin:9180/apisix/admin --set config.apisix.adminKey=edd1c9f034335f136f87ad84b625c8f1 --namespace apisix-gateway
上述命令中使用的管理金鑰是預設的,如果您在部署 APISIX 時更改了管理金鑰配置,請記住在此處更改。將image.tag 更改為您想要的 apisix-ingress-controller 版本。
kubectl get service --namespace apisix-gateway 檢測一下是否成功安裝了:
訪問apisix-dashboard 的預設使用者名稱/密碼是admin/admin:
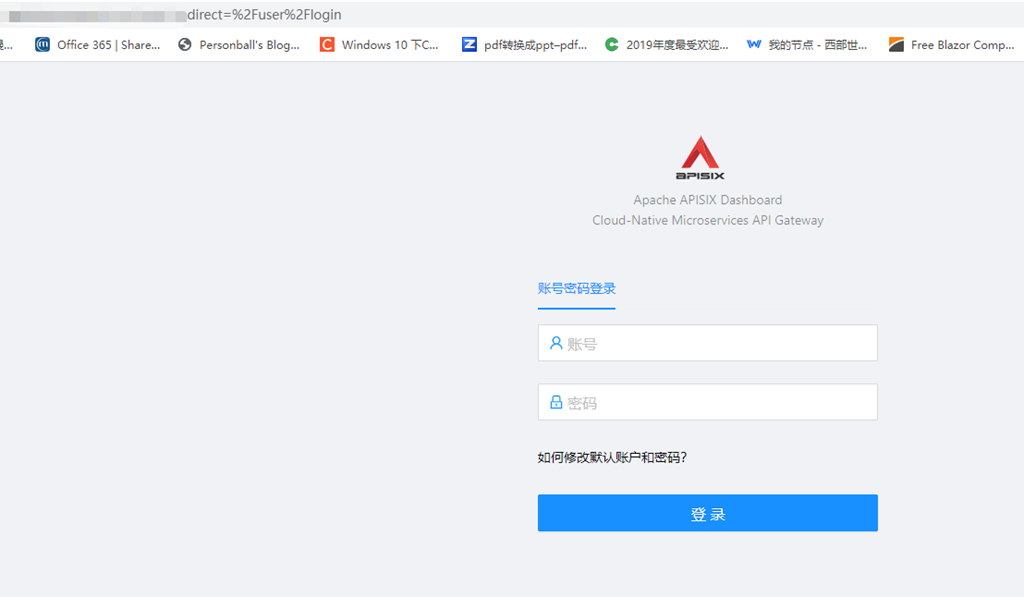
登入成功進入控制檯
我們下面部署一個asp.net core應用程式來測試一下apisix:
我選用asp.net core 的官方示例:https://github.com/dotnet/dotnet-docker/tree/main/samples/aspnetapp ,建立一個 Deployment:aspnetappdemo 和 Service:aspnetdemo
apiVersion: apps/v1
kind: Deployment
metadata:
annotations:
deployment.kubernetes.io/revision: "1"
name: aspnetappdemo
namespace: default
spec:
progressDeadlineSeconds: 600
replicas: 1
revisionHistoryLimit: 10
selector:
matchLabels:
workload.user.cattle.io/workloadselector: apps.deployment-default-aspnetappdemo
strategy:
rollingUpdate:
maxSurge: 25%
maxUnavailable: 25%
type: RollingUpdate
template:
metadata:
labels:
workload.user.cattle.io/workloadselector: apps.deployment-default-aspnetappdemo
spec:
containers:
- image: mcr.microsoft.com/dotnet/samples:aspnetapp
imagePullPolicy: Always
name: container-0
resources: {}
terminationMessagePath: /dev/termination-log
terminationMessagePolicy: File
dnsPolicy: ClusterFirst
restartPolicy: Always
schedulerName: default-scheduler
securityContext: {}
terminationGracePeriodSeconds: 30
----------------------------------------------------------------------------------------------------
apiVersion: v1
kind: Service
metadata:
name: aspnetdemo
namespace: default
spec:
clusterIP: 10.43.240.212
clusterIPs:
- 10.43.240.212
externalTrafficPolicy: Cluster
ports:
- name: asphttp
nodePort: 30002
port: 80
protocol: TCP
targetPort: 80
selector:
workload.user.cattle.io/workloadselector: apps.deployment-default-aspnetappdemo
sessionAffinity: None
type: LoadBalancer
使用apisix-dashboard 建立一個上游服務代表我們的aspnetdemo:aspnetdemo.default.svc.cluster.local,在 APISIX 控制檯的「上游」選單中,建立一個 APISIX Upstream。如下圖所示:
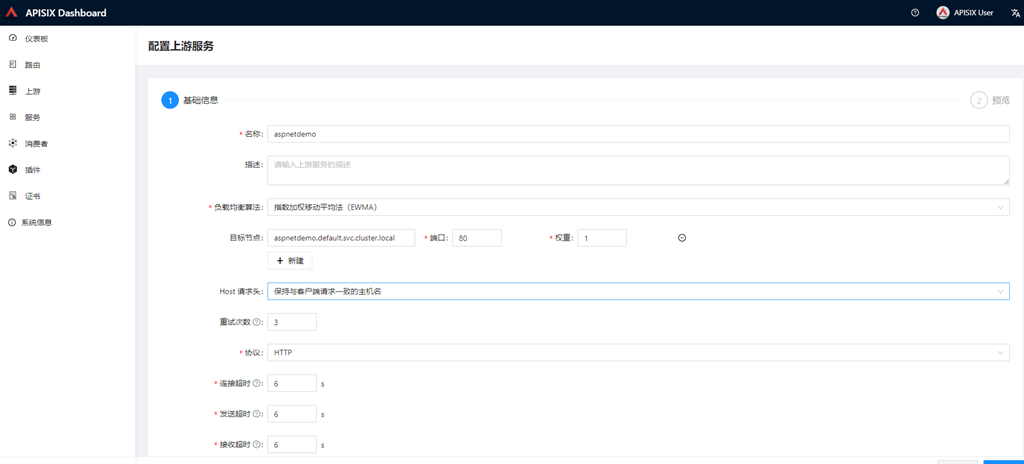
接下來就是建立一個APISIX Route,字面意思就是路由,通過定義一些規則來匹配客戶端的請求,然後根據匹配結果載入並執行相應的 外掛,並把請求轉發給到指定 Upstream。
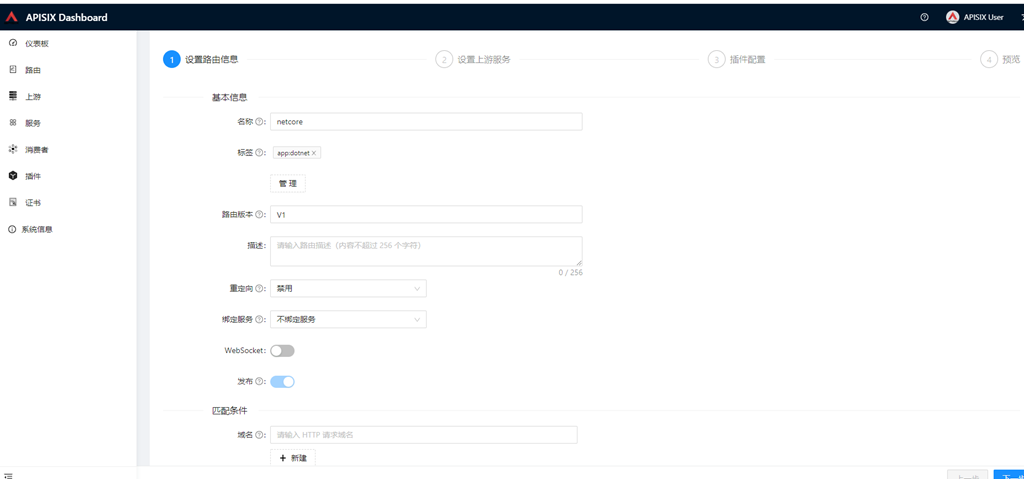
點選下一步,選擇上游服務aspnetdemo:
點選下一步,關於外掛部門後面的問題後續會陸續更新。
現在,我們來請求 APISIX 閘道器,轉發請求到後端服務。 http://13.72.208.130:31856/
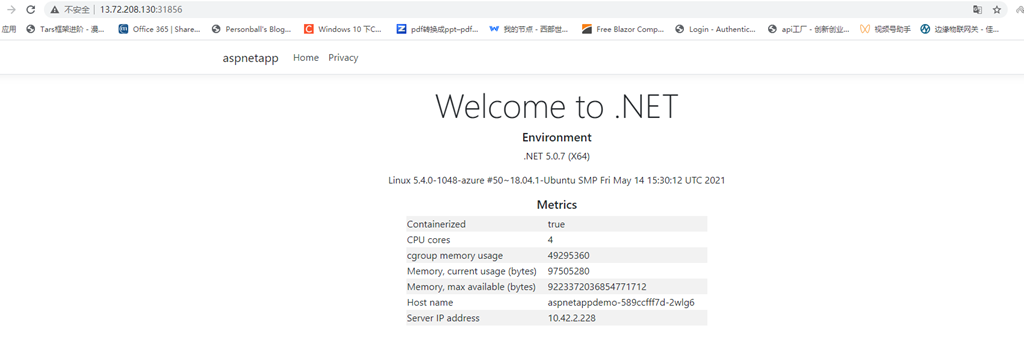
好了,暫時先了解到這裡。