
AWS CodeArtifact 如何設定使用者的 TOKEN
阿新 • • 發佈:2020-11-17
在你建立了 Repositories 之後,你會在介面中看到一個檢視連結指南的選項。
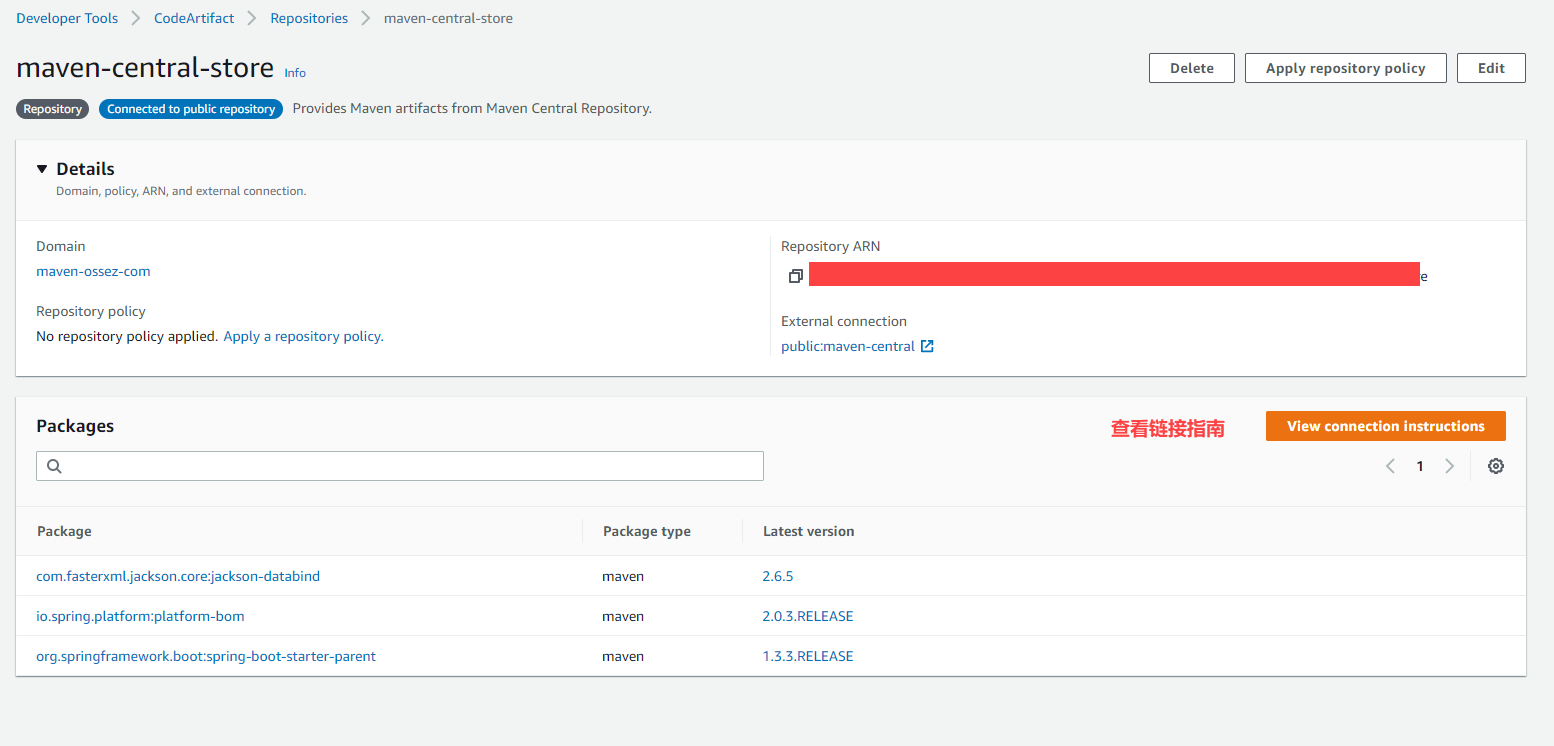
單擊這個檢視連結指南的選項,你會看到一個彈出介面。
在這個彈出介面中,你可用選擇使用 mvn
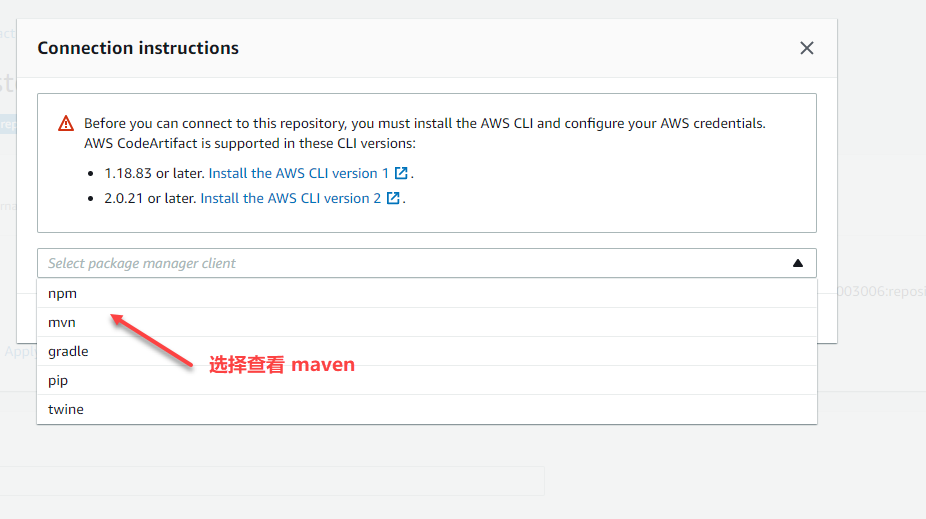
然後在介面中將會顯示配置的選項。
第一步就是配置 Token。
如果你在 Windows 上直接拷貝上面的程式碼是沒有辦法執行的,因為上面的程式碼是針對 Linux 的。
根據官方的指南:
• macOS or Linux:
export CODEARTIFACT_TOKEN=`aws codeartifact get-authorization-token --domain mydomain --domain-owner domain-owner-id --query authorizationToken --output text`
• Windows (using default command shell):
for /f %i in ('aws codeartifact get-authorization-token --domain my-domain --
domain-owner domain-owner-id --query authorizationToken --output text') do set
 CODEARTIFACT_TOKEN=%i
• Windows PowerShell:
$CODEARTIFACT_TOKEN = aws codeartifact get-authorization-token --domain my-domain --
domain-owner domain-owner-id --query authorizationToken --output text
你需要將介面中的 export 配置的
–domain
–domain-owner
2 個引數替換成你配置的引數。
通過上面的命令就會生成 Token, 然後將這個 token 儲存到系統變數中。
如果一切順利,你將會看到你的螢幕中輸出上面的字串,上面的字串就是你 Maven 登入使用的 token。