NetApp 7MTT 工具進行存儲數據的遷移
阿新 • • 發佈:2017-05-23
blank target
1 NetApp 7MTT 工具進行存儲數據的遷移
1.1 7MTT的遷移流程 |
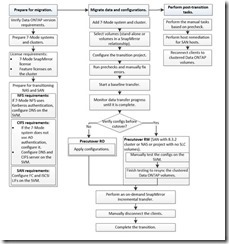
提前準備虛擬機一臺用於安裝7MTT工具。
1.2 配置要求 |
- Dual-core x64 processor, 1.0 GHz or more
- 8 GB RAM
- 40 GB free space on the HDD
系統要求:
- Windows 7 Enterprise
- Windows 7 Enterprise SP1
- Windows Server 2008 Standard
- Windows Server 2008 R2 Standard
- Windows Server 2008 R2 Enterprise with SP1
- Windows Server 2012 Standard
- Windows Server 2012 R2 Standard
- Windows 8.1 Enterprise
1.3 兼容性檢查 |
7MTT工具版本為3.2
登陸http://mysupport.netapp.com/matrix/ 檢查7MTT的兼容性

把Data ONTAP 8.1.2 7-Mode 遷移至 ONTAP 9.1 是在兼容性列表中的。。
1.4 遷移設置步驟 |
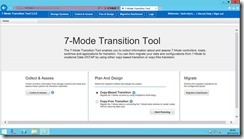
打開7MTT工具,選擇中間的ccopy-based transition
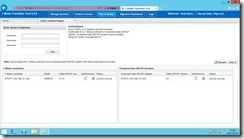
分別填入 netapp 7mode及c mode 的管理地址及用戶名密碼
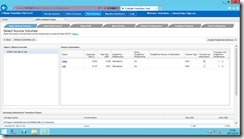
勾選需要遷移的卷
創建此次遷移的project名車
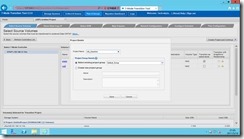
設置用來傳輸數據的ip地址
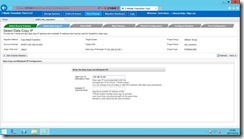
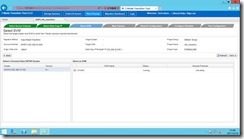
選擇目的端的聚合等信息
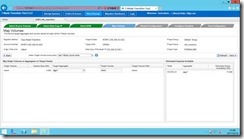
此步驟默認即可。
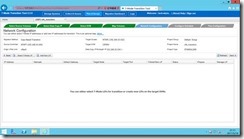
創建傳輸的Schedule
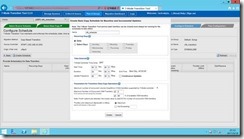
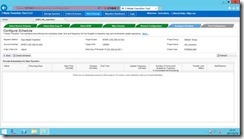 定義這個schedule的策略。
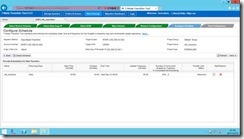
選擇需要遷移的配置
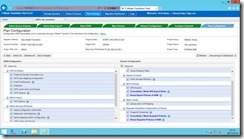
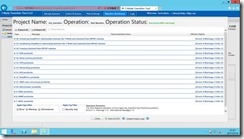
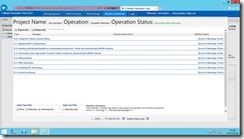
點擊run precheck,預檢查是否有問題。然後更具報錯進行相應的修改
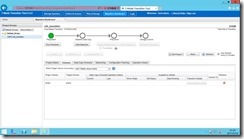
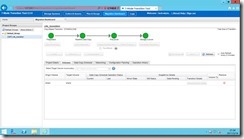
開始基線傳輸(第一次復制)
點擊apply configuration同步相關配置
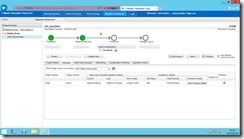
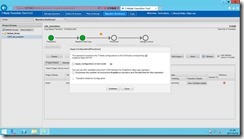
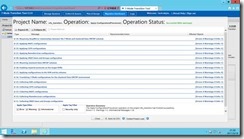
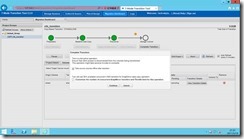
點擊complete transition完成此preject的傳輸
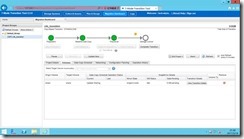
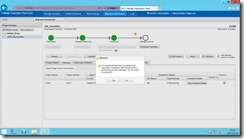
最後選擇是否把源卷offline。啟用新存儲上的卷
1.5 CIFS切換步驟 |
1. 提前計劃相應的停機時間
2. 斷開所有用戶連接
3. 在DNS中把CIFS的共享IP指向新的存儲
4. 測試連接是否正常
測試權限是否正常
NetApp 7MTT 工具進行存儲數據的遷移
