centos6.8安裝Elasticsearch和Kibana
註: Elasticsearch Kibana 的下載地址統一為https://www.elastic.co/downloads/
需要相應的安裝軟件可以加本人微信:WJT1356973472(戰神)
一:安裝Elasticsearch
下載elasticsearch-2.0.0.tar.gz,執行tar -zxvf elasticsearch-2.0.0.tar.gz解壓
進入目錄,修改配置文件config/elasticsearch.yml 【xx.yml格式:註意頂格,有空格】
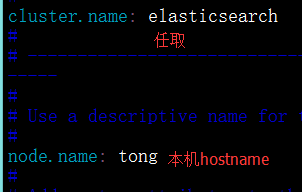
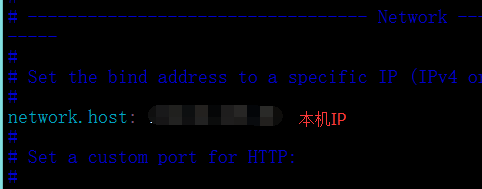
如果要配置集群需要兩個節點上的elasticsearch配置的cluster.name相同,都啟動可以自動組成集群,這裏如果不改cluster.name則默認是cluster.name=elasticsearch,
啟動:不能用root來啟動
[[email protected] config]# ../bin/elasticsearch
Exception in thread "main"java.lang.RuntimeException: don‘t run elasticsearch asroot.
用普通用戶啟動:tong
註意:因為elasticsearch有遠程執行腳本的功能所以容易中木馬病毒,所以不允許用root用戶啟動,root用戶是起不來的,賦權限,用一般的用戶啟動
[root@tongelasticsearch-2.2.0]# chown -R tong:tong ../
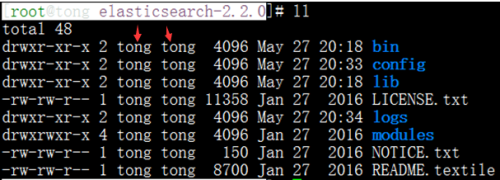
再次啟動[tong@tongelasticsearch-2.2.0]$ bin/elasticsearch 啟動時就定格在那,不動了
瀏覽器訪問:http://IP:9200
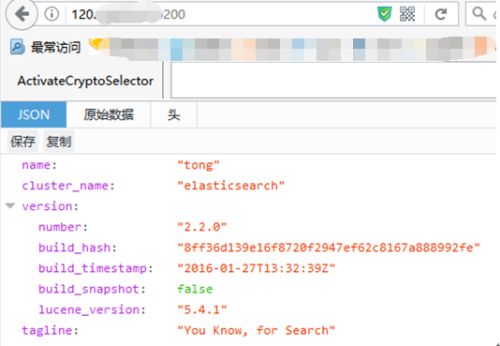
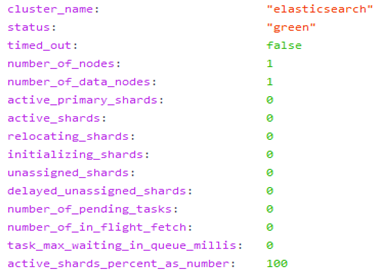
http://120.24.222.65:9200/_cluster/health?preth 看單機(集群)的狀態
二:安裝Kibana
解壓安裝,修改配置文件vi config/kibana.yml的elasticsearch.url屬性即可

三:安裝Marvel
[[email protected] elasticsearch-2.2.0]#
bin/plugin install license
bin/plugin installmarvel-agent
[[email protected] kibana-4.4.1-linux-x64]#上傳marvel裏的文件到installedPlugins/marvel/ 需要軟件,請加微信,見開頭
bin/kibana plugin --install elasticsearch/marvel/latest(不用)
[[email protected] elasticsearch-2.2.0]#bin/elasticsearch(還是普通用戶tong啟動) 先
[[email protected] kibana-4.4.1-linux-x64]#bin/kibana 後
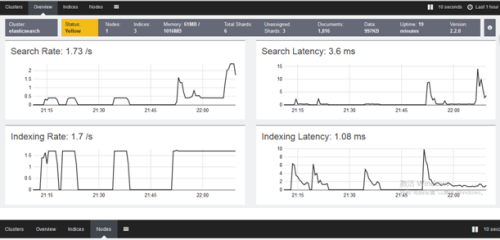
瀏覽器:http://IP:5601


到此安裝就結束了,謝謝!!
本文出自 “不忘初心” 博客,轉載請與作者聯系!
centos6.8安裝Elasticsearch和Kibana
