TWaver初學實戰——2D機房之機櫃篇
阿新 • • 發佈:2017-08-12
為什麽 leave color 資源 call || log awb reat
前一段參與了一個2D機房的項目,但是這種“命題作文”總感覺憋屈,那就回咱這主場再發揮發揮!
第一篇,咱就從機櫃下手。
……機櫃似乎有點太簡單了,因為
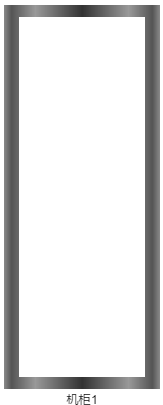
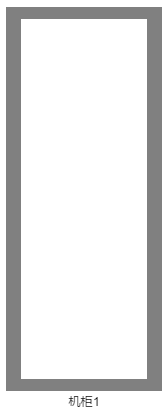
機櫃就是個大灰框
drawBorder: function(ctx) { ctx.fillStyle = ‘gray‘; ctx.fillRect( this._rackX, this._rackY, this._rackOuterWidth, this._rackOuterHeight); ctx.clearRect(this._rackX + this._rackGapLR + this._rackInnerGapLR, this._rackY + this._rackGapTB + this._rackInnerGapTB, this._rackInnerWidth, this._rackInnerHeight); },
當然我不可能到此為止啊,起碼給大灰框加點過渡色吧:
this._gradient = this._ctx.createLinearGradient( this._rackX,this._rackY, this._rackX + this._rackOuterWidth, this._rackY); this._gradient.addColorStop(0, ‘#888888‘); this._gradient.addColorStop(0.05, ‘#555555‘); this._gradient.addColorStop(0.2, ‘#999999‘); this._gradient.addColorStop(0.5, ‘#333333‘);this._gradient.addColorStop(0.8, ‘#999999‘); this._gradient.addColorStop(0.95, ‘#555555‘); this._gradient.addColorStop(1, ‘#888888‘);

機櫃要有U位
    drawUspace: function(ctx) {
        ctx.lineWidth = 0.5;
        var uCount = this._uCount;
        while(uCount--) {
            ctx.strokeStyle = this._lineColor;
            ctx.lineWidth = 1;
            ctx.beginPath();
            ctx.moveTo(
                this._rackX + this._rackGapLR,
                this._rackY + this._rackGapTB + this._uHeight * uCount)
            ctx.lineTo(
                this._rackX + this._rackGapLR + this._uWidth,
                this._rackY + this._rackGapTB + this._uHeight * uCount)
            ctx.stroke();
        }
        ctx.lineWidth = this._lineWidth;
        ctx.strokeStyle = this._lineColor;
        ctx.strokeRect(
            this._rackX + this._rackGapLR,
            this._rackY + this._rackGapTB,
            this._uWidth,
            this._uHeight * this._uCount);
    },

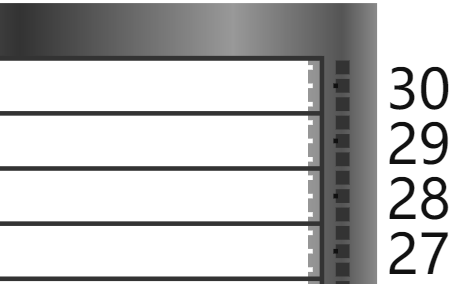
U位要有編號
        if(this._element._showUscale) {
            ctx.textAlign = ‘right‘;
            ctx.fillText(
                this._uCount - uCount,
                this._rackX - 2,
                this._rackY + this._rackGapTB + this._uHeight * uCount + this._uHeight / 2);
            ctx.textAlign = ‘left‘;
            ctx.fillText(
                this._uCount - uCount,
                this._rackX + this._rackOuterWidth + 2,
                this._rackY + this._rackGapTB + this._uHeight * uCount + this._uHeight / 2);

        }

再加點小細節
    drawGarnish: function(ctx) {
        var signCount = this._uCount * 3;
        while(signCount--) {
            ctx.fillStyle = ‘#333333‘;
            ctx.fillRect(
                this._rackX + this._rackGapLR - this._uHeight / 2,
                this._rackY + this._rackGapTB + 0.5 + this._uHeight / 3 * signCount,
                this._uHeight / 3 - 1,
                this._uHeight / 3 - 1);
            ctx.fillRect(
                this._rackX + this._rackGapLR + this._uWidth + this._uHeight / 6 + 1,
                this._rackY + this._rackGapTB + 0.5 + this._uHeight / 3 * signCount,
                this._uHeight / 3 - 1,
                this._uHeight / 3 - 1);
            ctx.beginPath();
            ctx.strokeStyle = ‘#FFFFFF‘;
            ctx.lineWidth = 1;
            ctx.moveTo(
                this._rackX + this._rackGapLR + 2,
                this._rackY + this._rackGapTB + ((this._uHeight / 3 - 1) / 2 + 0.5) + this._uHeight / 3 * signCount)
            ctx.lineTo(
                this._rackX + this._rackGapLR + this._uWidth - 2,
                this._rackY + this._rackGapTB + ((this._uHeight / 3 - 1) / 2 + 0.5) + this._uHeight / 3 * signCount)
            ctx.stroke();
        }
    },


交互式細節
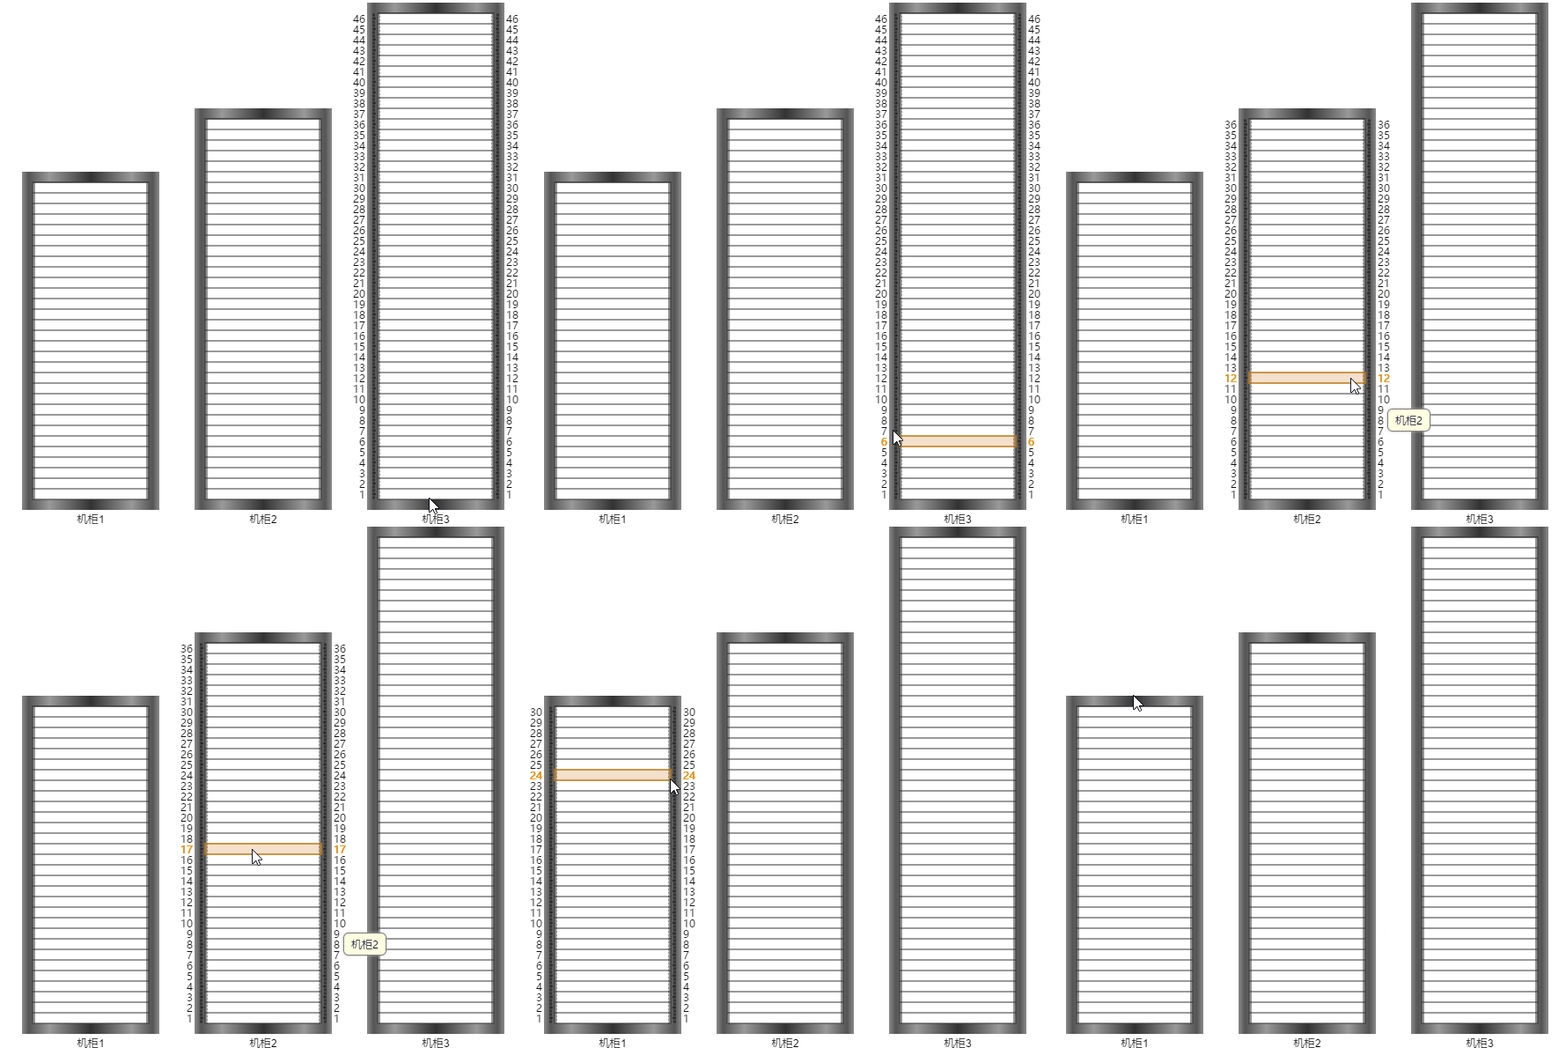
添加了細節雖然逼真了一些,但也會多消耗資源,還顯得有點亂,尤其是多個機櫃同時展示的時候。
能不能只有我關註的機櫃才顯示細節,而不關註的就清清爽爽的呢?當然可以,比如我們就把鼠標移入作為“關註”,鼠標移出就“不關註”:
    this.getView().addEventListener(‘mousemove‘, function(e) {
        var elements = self.getElementsAt(e) && self.getElementsAt(e)._as;
        var currentRack = getCurrentRack();
        if(currentRack) {
            if(currentRack != self._currentRack) {
                self._currentRack && self._currentRack.onMouseLeave(e);
                currentRack.onMouseEnter(e);
                self._currentRack = currentRack;
            }
        } else if (self._currentRack) {
            self._currentRack.onMouseLeave(e);
            self._currentRack = null;
        }
        function getCurrentRack() {
            if(elements && elements.length) {
                for(var i = 0; i < elements.length; i++) {
                    elements[i].onMouseMove(e);
                    if(elements[i] instanceof RackBin) {
                        return elements[i];
                    }
                }
                return null;
            }
            return null;
        }
    }, this);
    onMouseEnter: function(e) {
        this._showUscale = true;
        this._showGarnish = true;
        this._network.invalidateElementUIs();
    },
    onMouseLeave: function(e) {
        this._showUscale = false;
        this._showGarnish = false;
        this._network.invalidateElementUIs();
    },

交互式U位
如果鼠標在機櫃上移動,移到不同的U位就突出顯示一下當前U位,那必然是極好的。說幹就幹:
    onMouseMove: function(e) {
        var eLoc = this._network.zoomManager._getLogicalPoint(e);
        this.setFocusUnum(eLoc);
    },
    setFocusUnum: function(x, y) {
        if(x && (x.x || x.y || x.x == 0 || x.y == 0)) {
            y = x.y;
            x = x.x;
        }
        this._UI._focusUnum = this.getUnum(x, y);
        this._UI.checkRackUAttachment();
    },
    checkAttachments: function() {
        RackBinUI.superClass.checkAttachments.call(this);
        this.checkRackUAttachment();
    },
    checkRackUAttachment: function() {
        if(this._focusUnum) {
            var data = this._rackUdatas[this._focusUnum];
            if(data) {
                if(this._rackUAttachment) {
                    if(this._rackUAttachment._id != data.id) {
                        this._rackUAttachment.setData(data);
                        this._network.invalidateElementUI(this._element, true);
                    }
                } else {
                    this._rackUAttachment = new RackUAttachment(this, true, data);
                    this.addAttachment(this._rackUAttachment);
                    this._network.invalidateElementUI(this._element, true);
                }
            }
        } else {
            if(this._rackUAttachment) {
                this.removeAttachment(this._rackUAttachment, true);
                this._rackUAttachment = null;
            }
        }
    }

這裏的“當前U位”使用了自定義附件的方式,至於為什麽用這種方式……大概就是我會的太多了吧^-^
對了,我之前提到過什麽來著——
多機櫃展示
    arrangeRacks: function() {
        var count = this._racks.length;
        if(count) {
            var spacing = this._rackWidth + 40;
            var viewRect = this.getViewRect();
            var startX = viewRect.x + viewRect.width / 2 - this._rackWidth / 2;
            if(count > 1) {
                startX -= spacing * (count - 1) / 2;
            }
            if(startX < viewRect.x) {
                startX = viewRect.x + 20;
            }
            for(var i = 0; i < this._racks.length; i++) {
                var x = startX + spacing * i;
                var y = viewRect.y + viewRect.height / 2 + this._rackHeight / 2 - this._racks[i].getHeight();
                if(y < viewRect.y) {
                    y = viewRect.y + 10;
                }
                this._racks[i].setLocation(x, y);
            }
        }
    },

這樣的機櫃,可還入您的法眼?
TWaver初學實戰——2D機房之機櫃篇

