使用node自動刷房源並發送可入住房源到郵箱
阿新 • • 發佈:2017-08-18
腳本 配置 href 天上 option save pass true html
因為住的地方離公司太遠,每天上下班都要坐很久的班車,所以最近想搬到公司旁邊的皖水公寓住。去問了一下公寓的客服,客服說房源現在沒有了,只能等到別人退房,才能在網站上申請到。
如果純靠手動F5刷新瀏覽器,來撿漏可入住房源,那簡直是太難了。要知道很多人都在電腦前面按著F5,感覺和春運搶票一樣。
所以就準備寫一個腳本來監測房源,解放雙手。
平時對node.js用的比較多,所以就用node.js來寫,怎麽方便咱怎麽搞。
一.房源信息抓取
通過對公寓申請網站的數據分析,找到了房源列表的接口地址。
二.數據獲取
1.首先我們先要在電腦上安裝node,node安裝我就不寫了,網上一大堆教程。
2.新建文件夾,進入文件夾 然後用命令行 輸入
npm init
然後一路enter
2.按照必要的模塊
axios(接口請求)
nodemailer(用來發送郵件到自己郵箱) 在命令行輸入npm install axios -save
npm install nodemailer --save
3.開始寫代碼
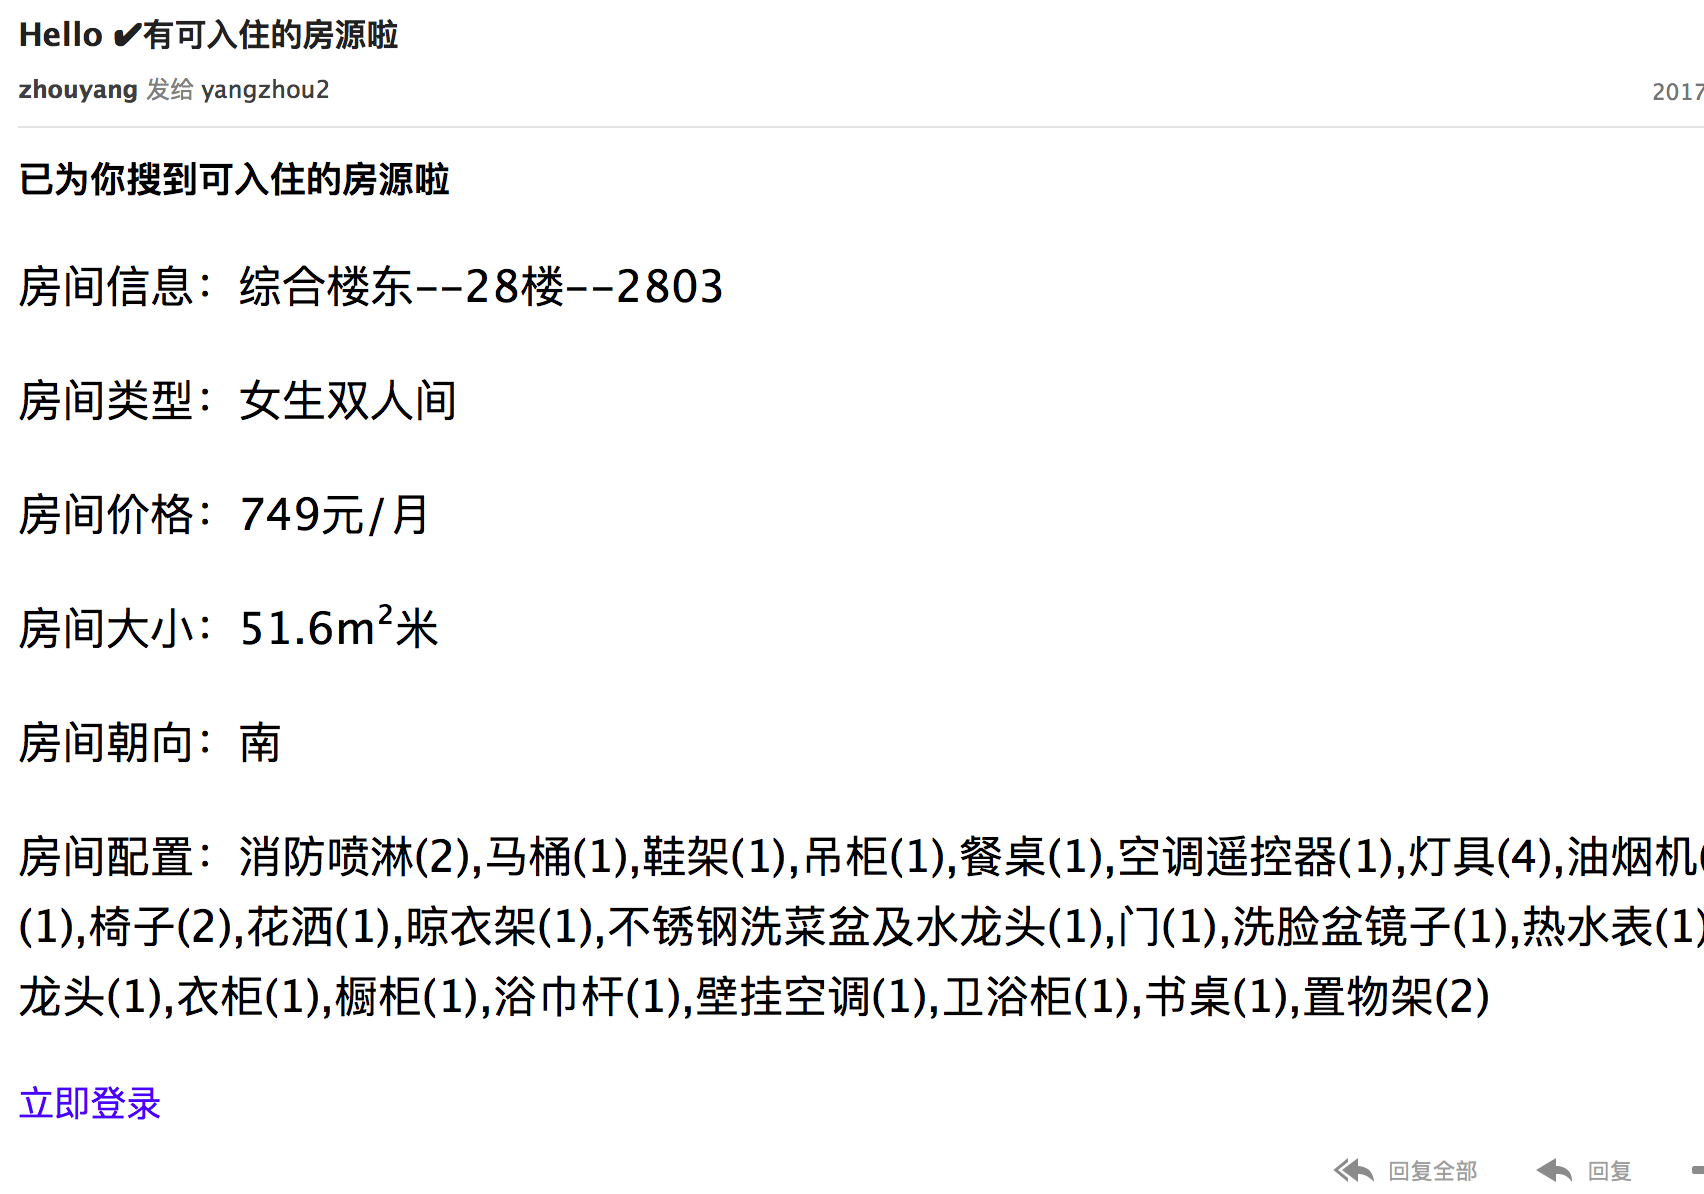
const nodemailer = require(‘nodemailer‘); const axios = require(‘axios‘) let i = 1; // setInterval(()=> { console.log(`可入住房源第${i}次查詢中...`) axios.get(‘http://117.71.57.99:9080/online/roomResource.xp?action=formList1&code=01&buildingCode=0011449816806945psc‘) .then(res=> { formatData(res.data.list, ‘1棟‘) }); axios.get(‘http://117.71.57.99:9080/online/roomResource.xp?action=formList1&code=01&buildingCode=0011449816830250MuI‘) .then(res=> { formatData(res.data.list, ‘2棟‘) }); axios.get(‘http://117.71.57.99:9080/online/roomResource.xp?action=formList1&code=01&buildingCode=0011449816876736sfx‘) .then(res=> { formatData(res.data.list, ‘綜合樓東‘) }); axios.get(‘http://117.71.57.99:9080/online/roomResource.xp?action=formList1&code=01&buildingCode=0011449816949458BXk‘) .then(res=> { formatData(res.data.list, ‘綜合樓西‘) }) i++ // }, 30000) function formatData(list, info) { for (var key in list) { for (var j = 0; j < list[key].length; j++) { const roomInfo = list[key][j] let {id,status,roomFloor,roomName,roomType} = roomInfo if (status == 02 || status == 01) { axios.get(`http://117.71.57.99:9080/online/roomConfig.xp?action=getRoomConfig&roomID=${id}`).then(res => { let {itemName,roomTypeName,price,roomArea} = res.data.info; let roomDirection = res.data.roomDirection; sendEmail(info, roomFloor, roomName,roomDirection,roomTypeName,price,roomArea,itemName) }) } } } } function sendEmail(info, roomFloor, roomName,roomDirection,roomTypeName,price,roomArea,itemName) { // 開啟一個 SMTP 連接池 let transporter = nodemailer.createTransport({ host: ‘smtp.163.com‘, secureConnection: true, // use SSL port: 465, secure: true, // secure:true for port 465, secure:false for port 587 auth: { user: ‘‘, // 你的郵箱賬號 pass: ‘‘ // QQ郵箱需要使用授權碼 //郵箱密碼 } }); // 設置郵件內容(誰發送什麽給誰) let mailOptions = { from: ‘"xxx" <[email protected]>‘, // 發件人 to: [email protected], // 收件人 subject: `Hello ?有可入住的房源啦`, // 主題 text: ‘search house‘, // plain text body html: `<b style="font-size:18px;">已為你搜到可入住的房源啦</b> <br> <p style="font-size:22px">房間信息:${info}--${roomFloor}樓--${roomName}</p> <p style="font-size:22px;color‘#db384c‘">房間類型:${roomTypeName}</p> <p style="font-size:22px">房間價格:${price}元/月</p> <p style="font-size:22px">房間大小:${roomArea}m²米</p> <p style="font-size:22px">房間朝向:${roomDirection}</p> <p style="font-size:22px">房間配置:${itemName}</p> <a style="font-size:18px;color:blue" href="http://117.71.57.99:9080/online/gzflogin.jtml?action=login&accountCode=xxx&accountPass=xxx">立即登錄</a>`, }; // 使用先前創建的傳輸器的 sendMail 方法傳遞消息對象 transporter.sendMail(mailOptions, (error, info) => { if (error) { return console.log(error); } console.log(`Message: ${info.messageId}`); console.log(`sent: ${info.response}`); }); }
然後保存為 app.js
在命令行 輸入
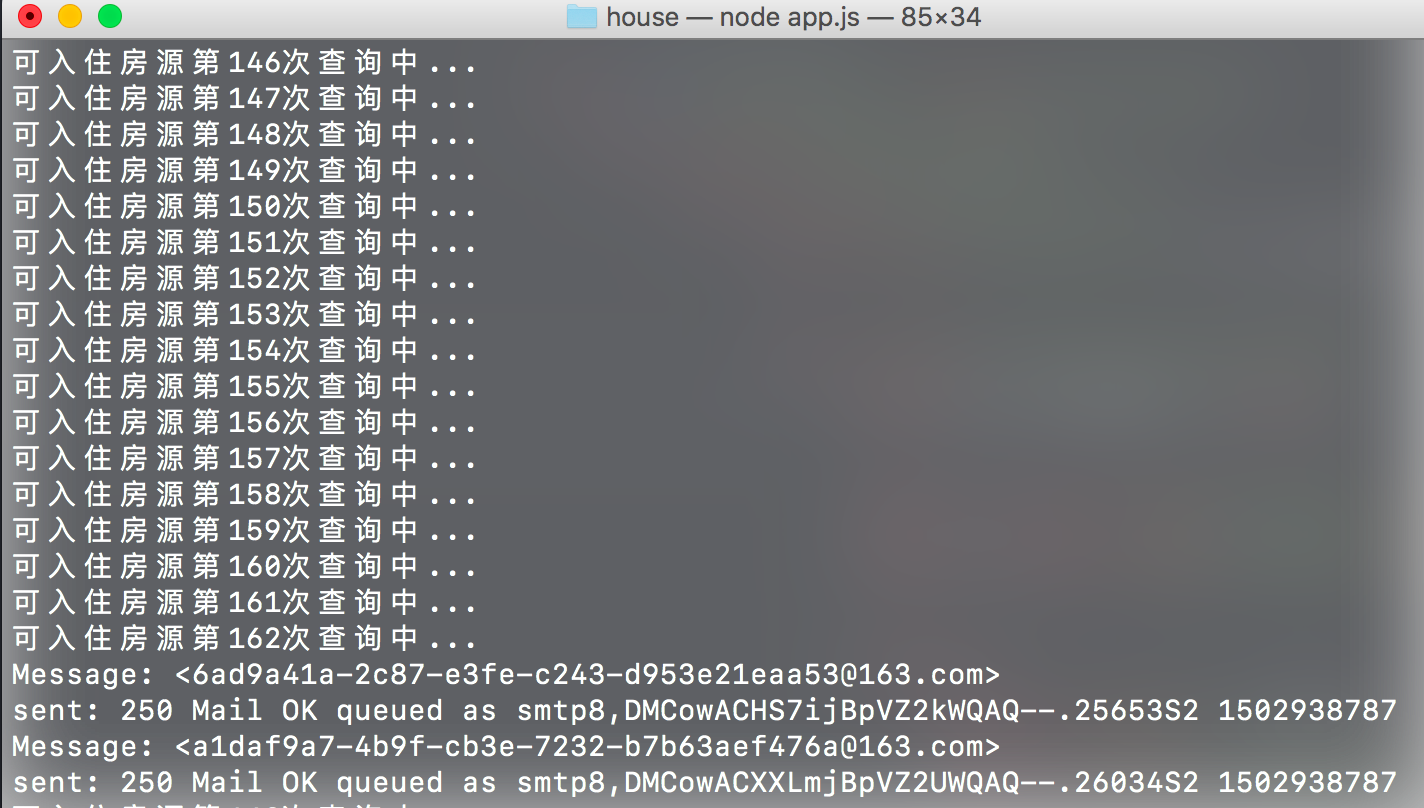
node app.js

這樣就可以自動刷房源了。
測試了一下,效果很好

使用node自動刷房源並發送可入住房源到郵箱
