
實現LNP基於fastcgi模式
阿新 • • 發佈:2018-03-25
實現LNP基於fastcgi模式實現LNP基於fastcgi模式
一,配置前端nginx,web服務器
1,修改nginx主配置文件,添加如下內容
    server {
            listen 80;                      #監聽端口
            root /nginx/html/;              #主網頁路徑
            server_name www.a.com;          #網站名
            location / {
                    fastcgi_pass 192.168.68.17:9000;
                    fastcgi_index index.php;
                    fastcgi_param  SCRIPT_FILENAME   /var/www/html/$fastcgi_script_name;
                    include        fastcgi_params; #指定fastcgi相關的所有參數
            }
    }

    指令解析:
            fastcgi_pass: #fastcgi程序所在主機,可用位置:location, if in location
            fastcgi_index:fastcgi默認的主頁資源
            fastcgi_param:指定php頁面的存放路徑,"註意:如果fastcgi是在遠程主機上那麽這個指定的路徑就必須是遠程主機的路徑",$fastcgi_script_name該變量所指的是用戶輸入的php頁面的文件
            include:包含的意思
2,重啟nginx服務
systemctl restart nginx二, 配置fastcgi 服務器
1,安裝php-fpm軟件包
yum install php-fpm2,修改php-fpm配置文件,註意:如若fastcgi程序跟nginx,web服務器在同一臺主機該配置不需要修改
    vim /etc/php-fpm.d/www.conf
    該如下兩行配置
        listen = 127.0.0.1:9000  -->listen = 9000 #表示監聽9000端口
        #listen.allowed_clients = 127.0.0.1 #這一行的意思是只允許本機訪問fastcgi程序,將這一行註釋掉就是允許所有人訪問
4,根據前端的nginx服務器指定的路徑添加php測試頁面
    1,創建存放php頁面目錄
        mkdir  /data/php/
    2,編寫php頁面文件
       vim /data/php/index.php

        <?php
            phpinfo();
        ?>
    #該頁面就是顯示一下php相關信息
3,啟動php-fpm服務
systemctl start php-fpm4,查看9000端口是否開始
     ss -ntl|grep 9000

        LISTEN     0      128          *:9000                     *:*
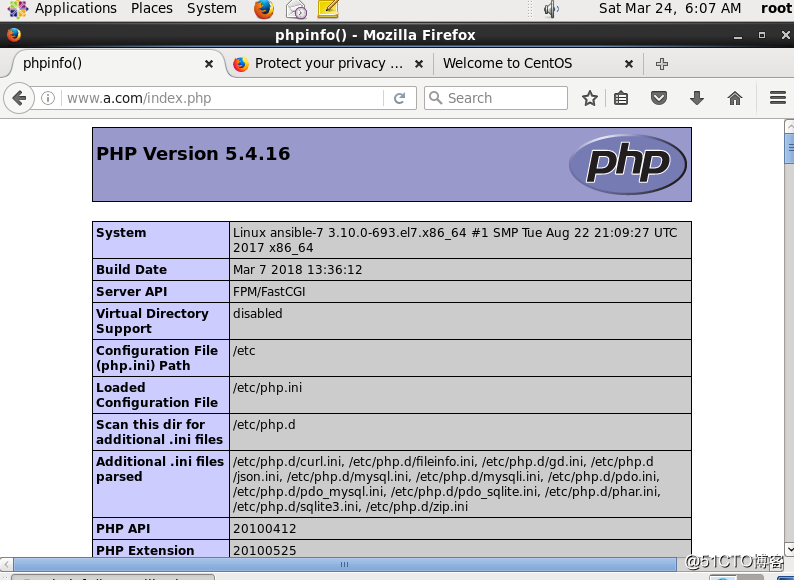
三,訪問測試出現如下頁面表示成功
實現LNP基於fastcgi模式