
Xdebug安裝對應版本與配置 - cxscode - 部落格園
阿新 • • 發佈:2018-10-31
Xdebug安裝地址https://xdebug.org/download.php,進入下載頁面後點擊custom installation instructions,可以找到適合的Xdebug版本。

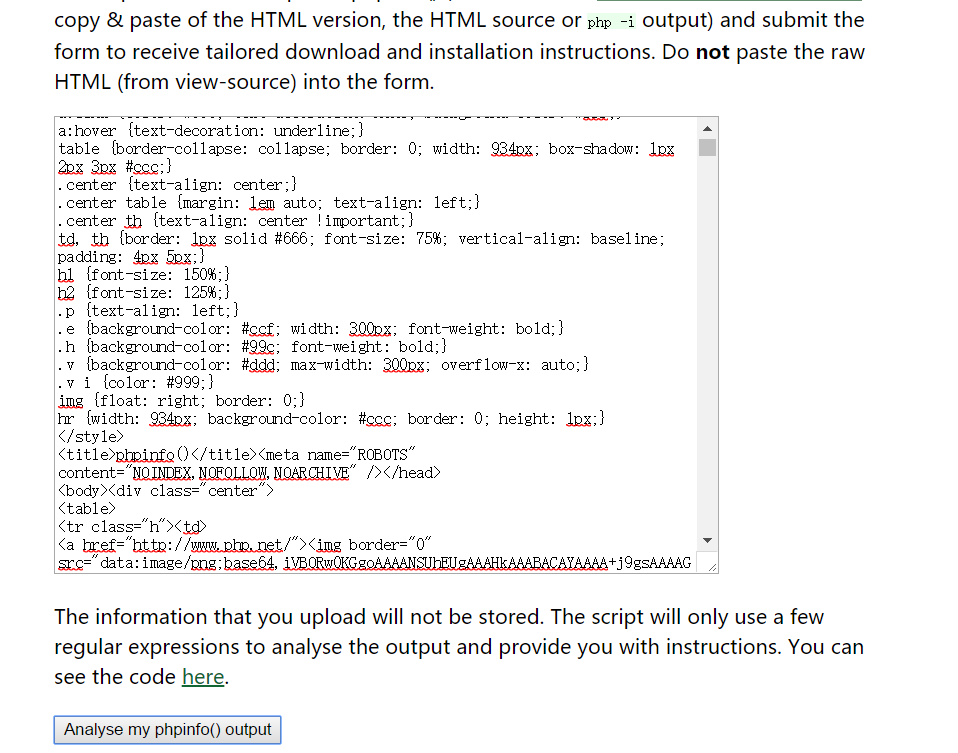
如果你點選了custom installation instructions,會進入下面的頁面,把本地執行phpinfo()後的頁面的html原始碼複製貼上到輸入框,點選下面的Analyse my phpinfo() output提交即可。
會跳到類似這樣的頁面,因為我已經安裝,所以顯示XDEBUG版本

1.下載php_xdebug-2.5.4-5.6-vc11-nts.dll
2.將下載的檔案移動到“C:\ Program Files(x86)\ PHP \ v5.6 \ ext”
3.更新C:\Program Files (x86)\PHP\v5.6\php.ini並更改行zend_extension = "C:\Program Files (x86)\PHP\v5.6\ext\php_xdebug-2.5.4-5.6-vc11-nts.dll"
4.重新啟動網路伺服器
通過phpinfo()可以看到xdebug已安裝!!!

附上本人在php.ini的XDebug的配置資訊
| 1 2 3 4 5 6 7 8 9 10 11 12 13 14 15 16 17 18 19 20 21 22 23 24 25 26 27 28 29 30 31 |
[XDebug]
;除錯功能模組兒
;extension=php_xdebug-2.2.5-5.3-vc9.dll
zend_extension =
"C:\Program Files (x86)\PHP\v5.6\ext\php_xdebug-2.5.4-5.6-vc11-nts.dll"
xdebug.remote_handler=dbgpxdebug.idekey=PHPSTORM
;開啟遠端除錯
xdebug.remote_enable = On
;遠端主機
xdebug.remote_host=localhost
;主機埠
xdebug.remote_port=9001
;開啟自動跟蹤
xdebug.auto_trace = On
;開啟異常跟蹤
xdebug.show_exception_trace = On
;開啟遠端除錯自動啟動
xdebug.remote_autostart = On
;收集變數
xdebug.collect_vars = On
;收集返回值
xdebug.collect_return = On
;收集引數
xdebug.collect_params = On
;臨時跟蹤資訊輸出
;xdebug.trace_output_dir=
"d:/PHP/php-5.3.28/temp"
;顯示區域性變數
xdebug.show_local_vars = On
xdebug.profiler_enable = On
;xdebug.profiler_output_dir =
"d:/PHP/php-5.3.28/temp"
xdebug.trace_enable_trigger =On
|

主機埠 xdebug.remote_port=9001
編輯器key xdebug.idekey=PHPSTORM
這兩個這麼配置是為了避免與fpm衝突和後面與phpstorm一同使用
phpstorm配置Xdebug連結:http://www.cnblogs.com/cxscode/p/7045944.html
版權宣告:本文為博主原創文章,未經博主允許不得轉載。