
SpringBoot入門03-轉發到Thymeleaf
前言
Spring Boot不提倡使用jsp和用View層,而是使用Thymeleaf代替jsp,因為效能可以得到提升。
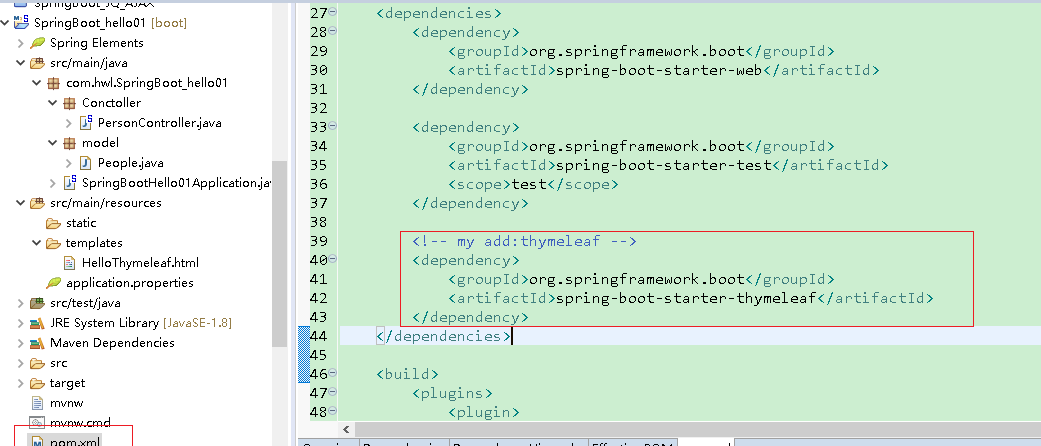
使用Thymeleaf要加入依賴
Thymeleaf不能直接被訪問,它嚴格遵守了MVC,只能被控制器訪問
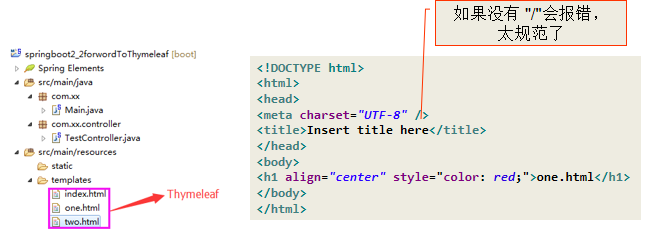
Thymeleaf嚴格遵守HTML5規範,比如所有的配置都必須有結束
依賴:
1 <dependency> 2 <groupId>org.springframework.boot</groupId> 3 <artifactId>spring-boot-starter-thymeleaf</artifactId> 4 </dependency>
使用
- 新增依賴
- 將寫好的HTML頁面存放到templates目錄下
注:Thymeleaf是使用html檔案的,需要放在templates目錄下
-
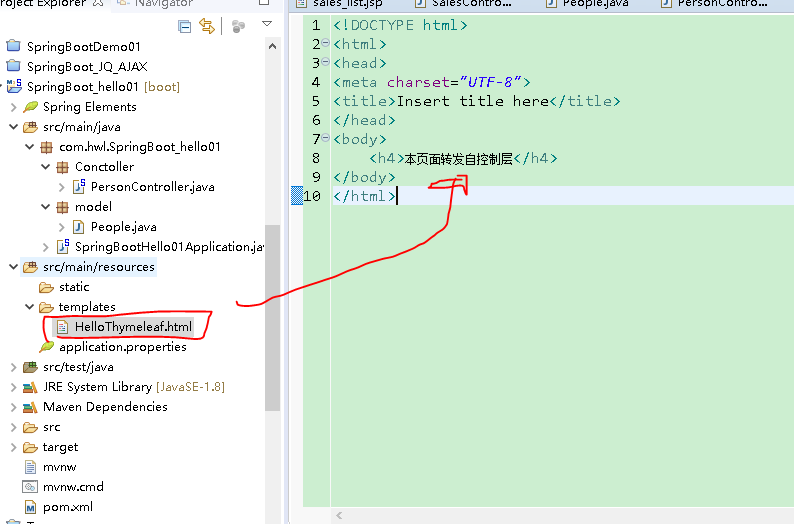
控制層轉發到Thymeleaf
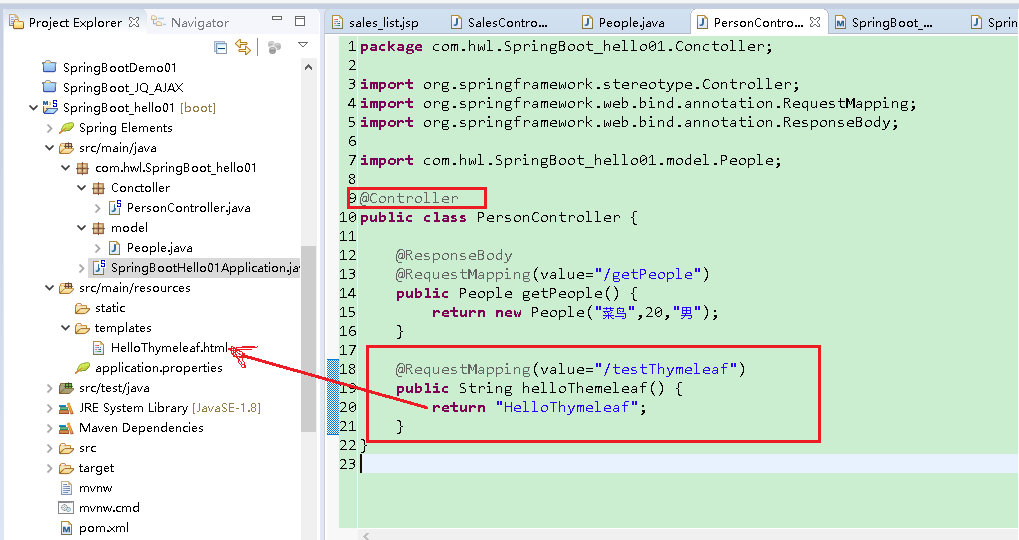
方式一:返回String實現轉發到頁面
控制層:
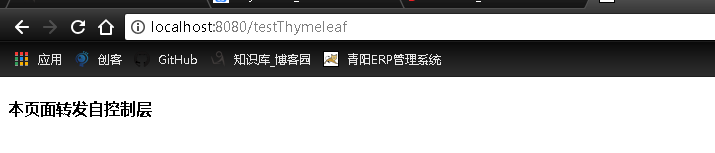
啟動並用瀏覽器訪問:
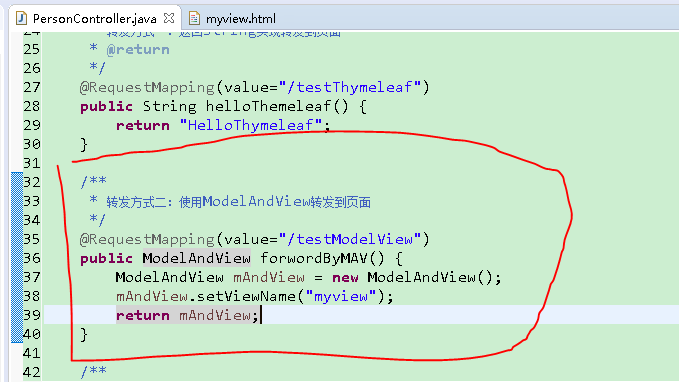
方式二,使用ModelAndView轉發到頁面
控制層:
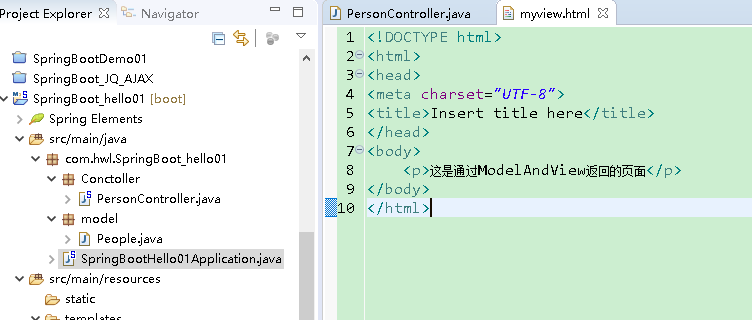
頁面:
訪問:

------------------------------------------------------------------------------------------------------------------------------------------------------------------------------------
------------------------------------------------------------------------------------------------------------------------------------------------------------------------------------
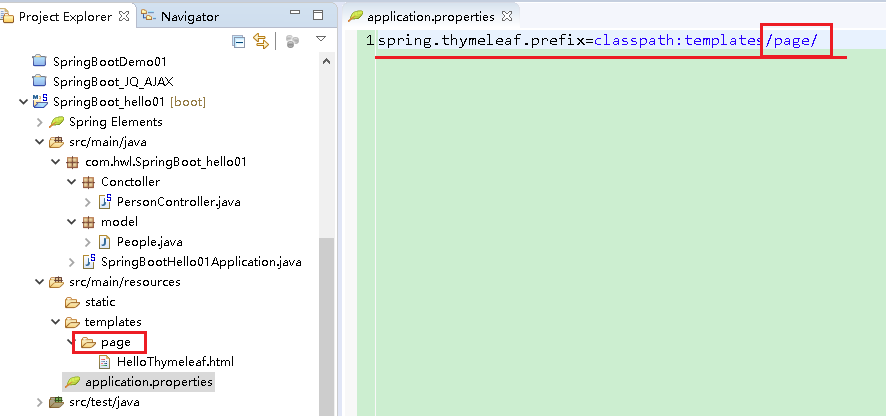
有時候想要更好更規範的管理html頁面,可以在templates目錄下新建自己的目錄來承放,但是記得需要修改Thymeleaf的路徑配置:
在application.properties中修改Thymeleaf檔案路徑:
application.properties檔案中初始情況是空的什麼也沒有,當使用自己的資料夾時,就是在這裡新增自己的路徑
比如我現在的目錄:

新增修改配置為:
spring.thymeleaf.prefix=classpath:templates/page/
補充:一、通過返回String重定向
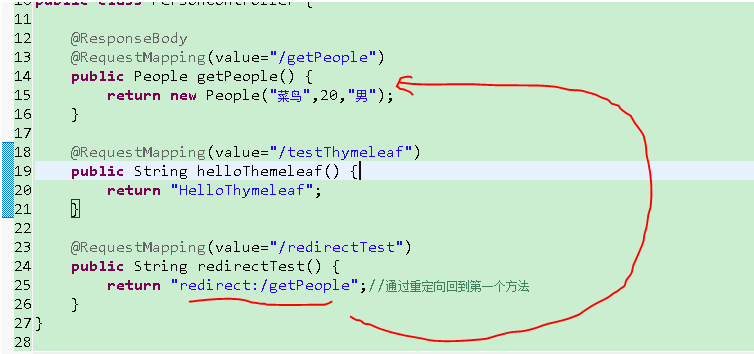
瀏覽器訪問:http://localhost:8080/redirectTest,將會跳轉到:http://localhost:8080/getPeople
效果如下:

二、通過ModelAndView重定向
