rhel6.5 oracle11g 安裝
系統:rhel6.5 server6 oracle11g
主機名解析 ip地址
因安轉oracle需要圖形故安裝圖形化
[[email protected] ~]# yum groupinstall "X 視窗系統" "KDE 桌面" "桌面"
#根據自己系統是否是英文 yum grouplist 檢視
[[email protected] ~]# yum install pdksh-5.2.14-37.el5_8.1.x86_64.rpm
#系統不帶需自行下載
[[email protected] ~]# yum install binutils compat-libstdc++-33 elfutils-libelf elfutils-libelf-devel gcc gcc-c++ glibc glibc-common glibc-devel glibc-headers kernel-headers ksh libaio liaio-devel libgcc libgomp libstdc++ libstdc++-devel make numactl-devel sysstat unixODBC unixODBC unixODBC-devel pdksh
[
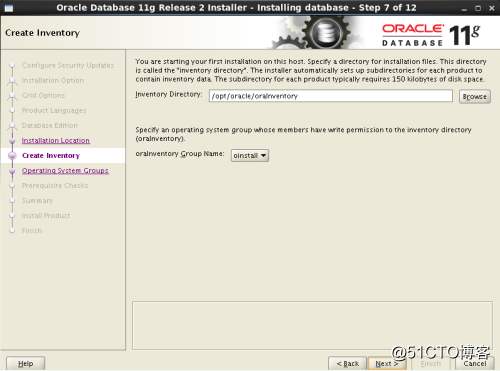
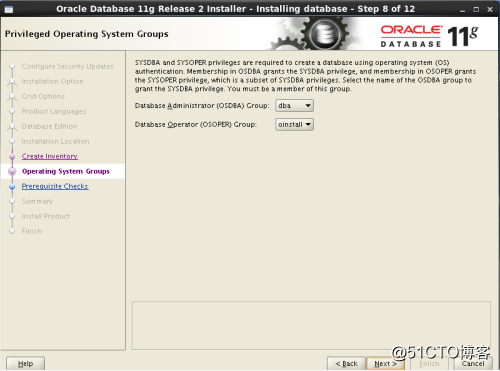
[[email protected] ~]# groupadd -g 500 oinstall
[[email protected] ~]# groupadd -g 501 dba
[[email protected] ~]# useradd -g oinstall -G dba oracle
[[email protected] ~]# echo "redhat" |passwd --stdin oracle
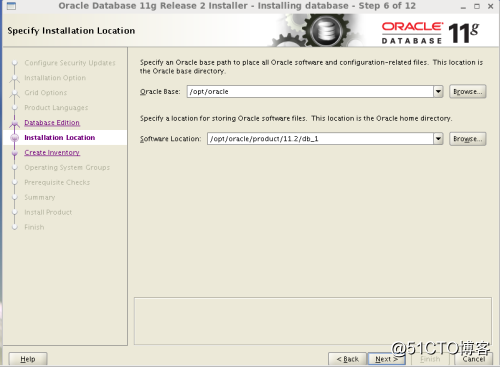
[[email protected] ~]# mkdir /opt/oracle
[
[[email protected] ~]# chmod -R 755 /opt/oracle/
[[email protected] ~]# vim ~oracle/.bash_profile #注意是oracle使用者變數
umask 022
export ORACLE_BASE=/opt/oracle
export ORACLE_HOME=$ORACLE_BASE/product/11.2/db_1
export ORACLE_SID=orcl
export PATH=$PATH:$HOME/bin:$ORACLE_HOME/bin
export LD_LIBRARY_PATH=$ORACLE_HOME/lib:/usr/lib
[[email protected] ~]# source ~oracle/.bash_profile
[[email protected] ~]# vim /etc/security/limits.conf #末尾新增
oracle soft nproc 2047
oracle hard nproc 16384
oracle soft nofile 1024
oracle hard nofile 65536
oracle hard stack 10240
[[email protected] ~]# vim /etc/profile #末尾新增
if [ $USER = "oracle" ]; then
if [ $SHELL = "/bin/ksh" ]; then
ulimit -p 16384
ulimit -n 65536
else
ulimit -u 16384 -n 65536
fi
fi
[[email protected] /]# unzip linux.x64_11gR2_database_1of2.zip
[[email protected] /]# unzip linux.x64_11gR2_database_2of2.zip
[[email protected] /]# cd database/
[[email protected] database]# ls
doc install response rpm runInstaller sshsetup stage welcome.html
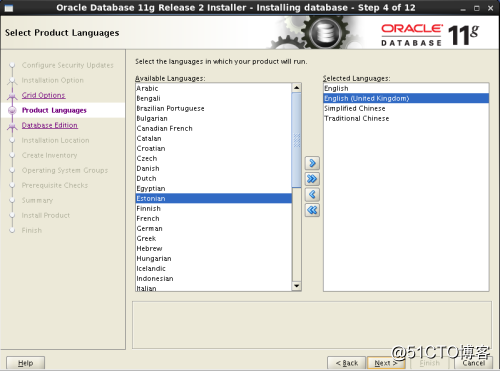
進oracle 使用者圖形化介面:
點選 runlnstaller 進行安裝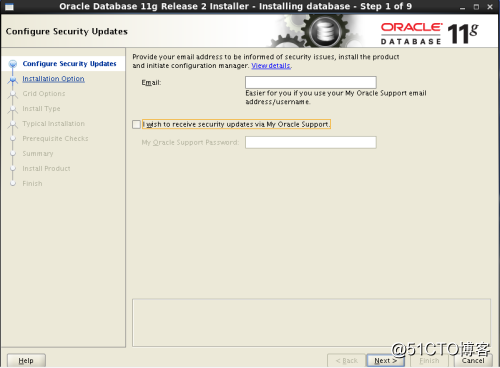
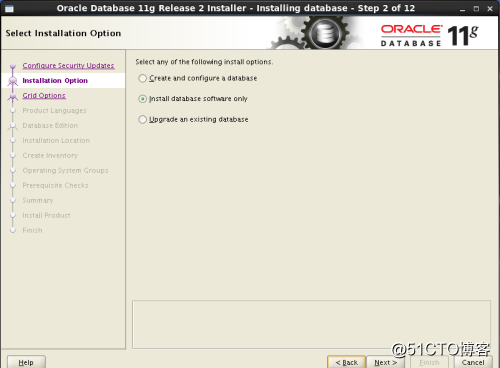

點選ignore all忽略所有就行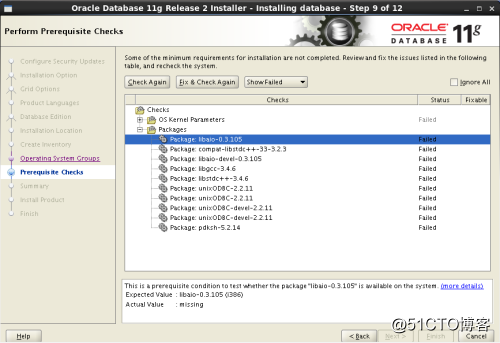
安裝完成後,系統會提示你需要用root許可權執行2個shell指令碼。按照其提示的路徑,開啟一個新的客戶端找到其所在的位置執行就行,記住是用root使用者來執行的: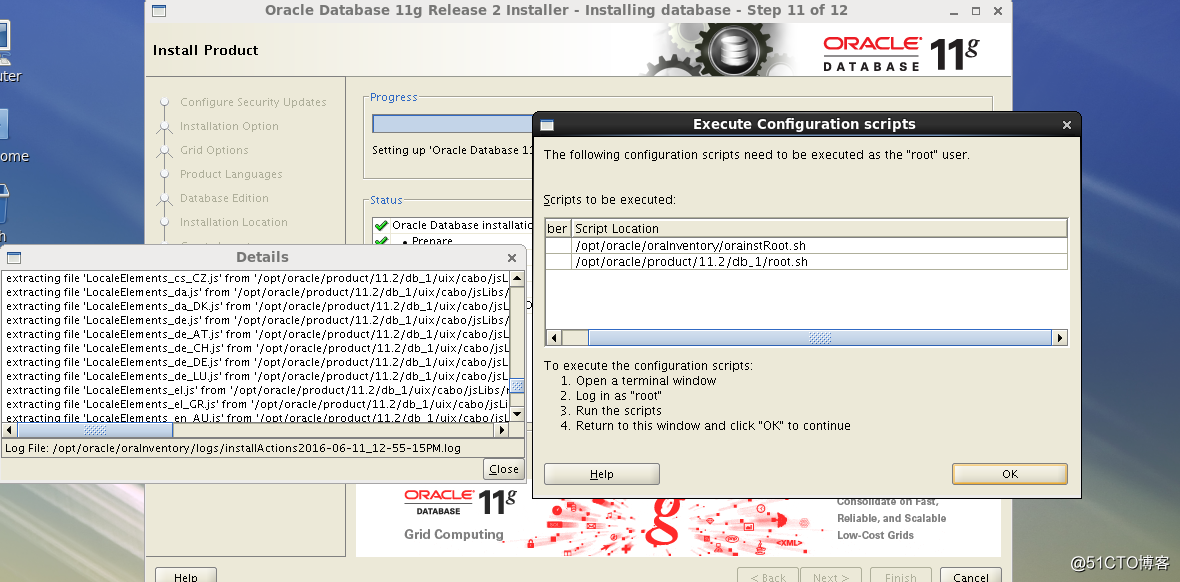
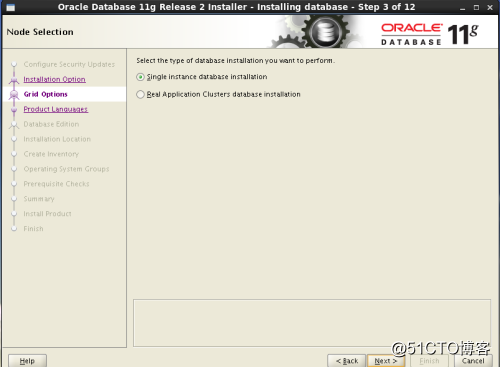
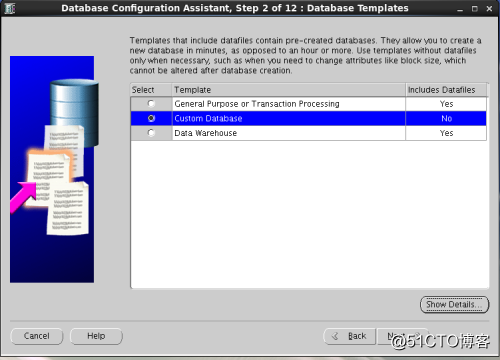
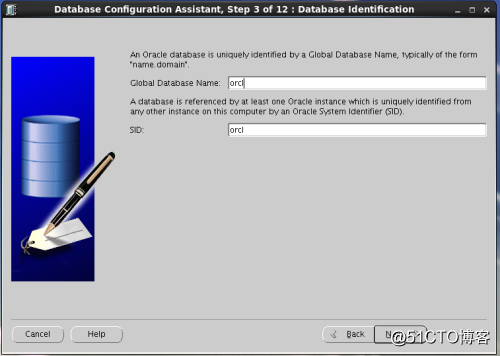
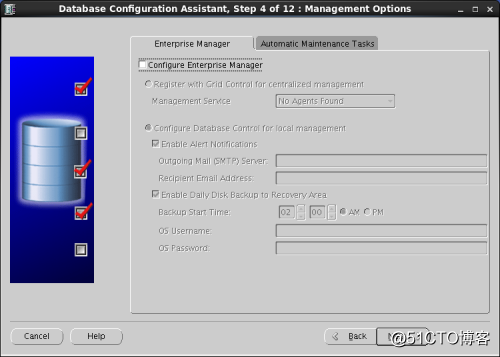
1在oracle使用者的圖形介面oracle使用者中,新開啟一個終端,輸入命令dbca: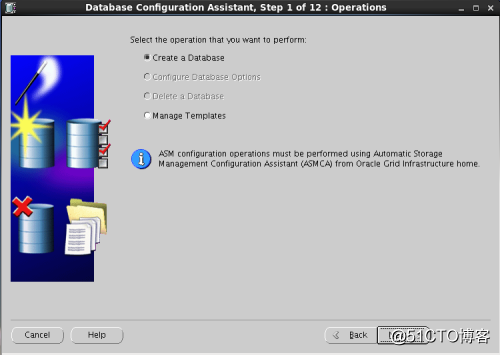
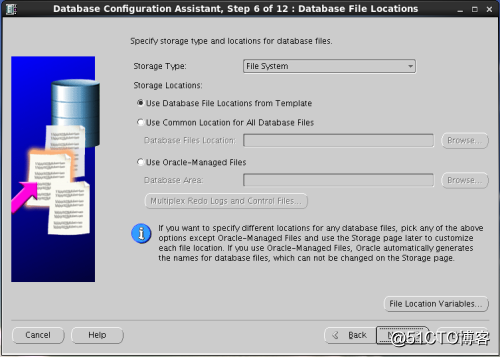
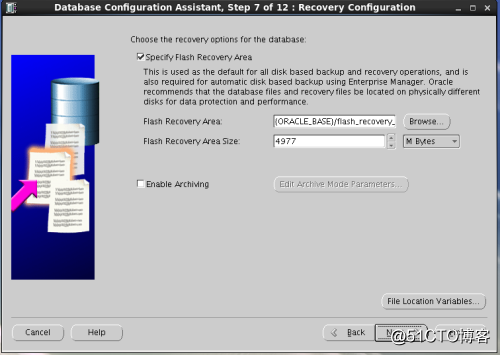
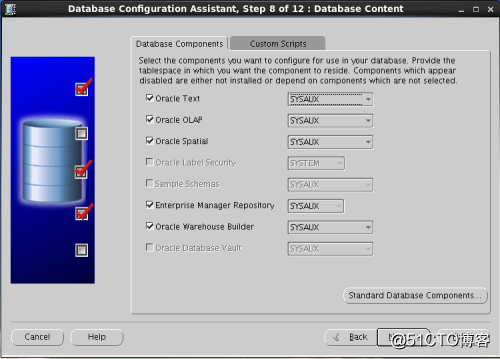
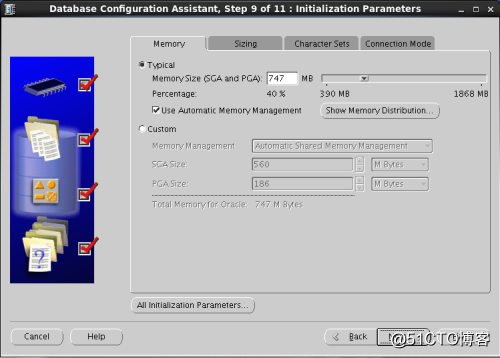
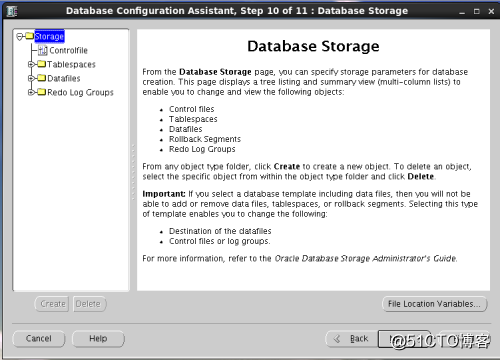
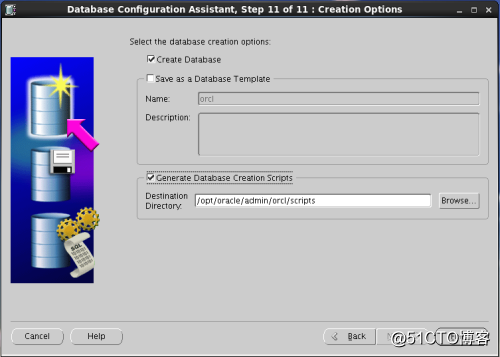
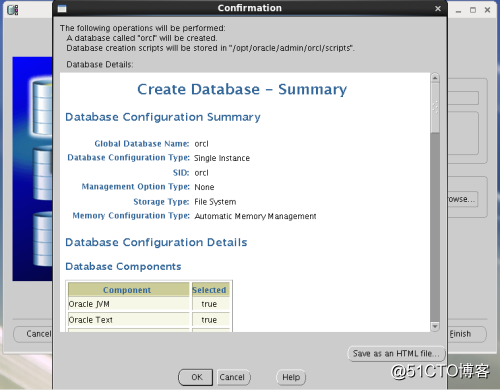
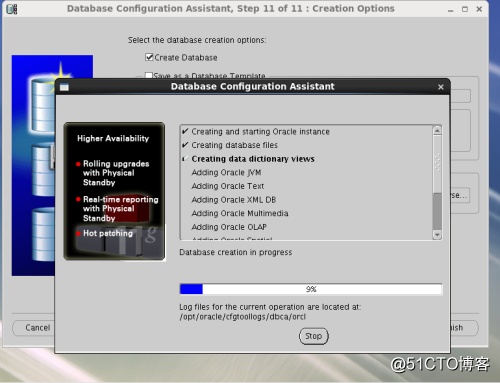
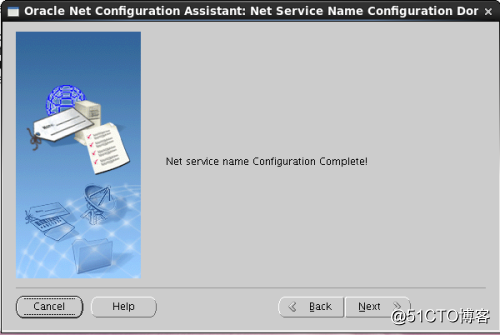
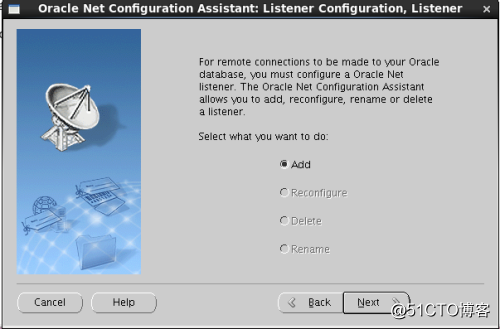
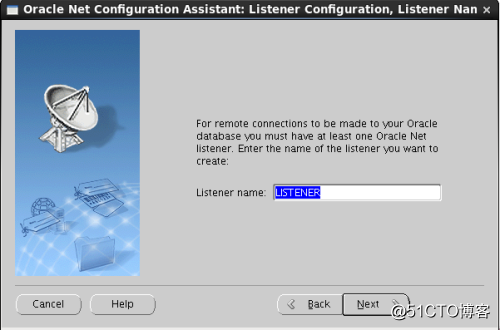
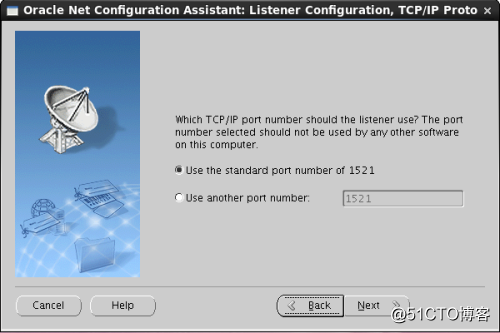
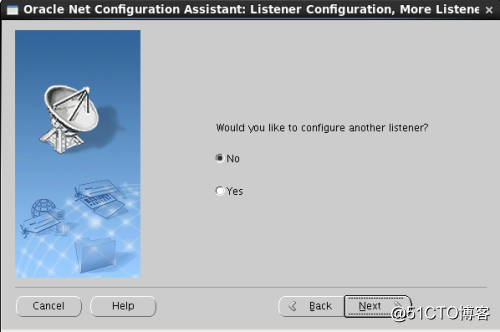
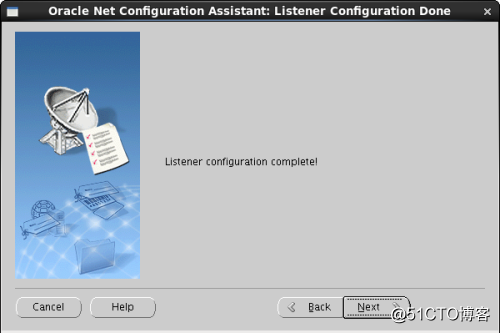
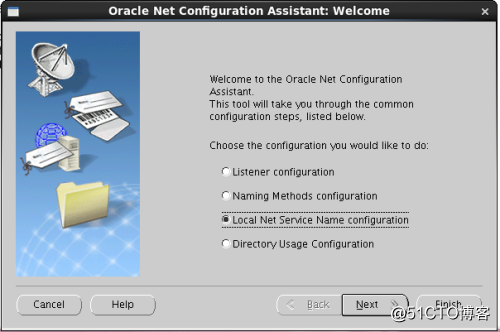
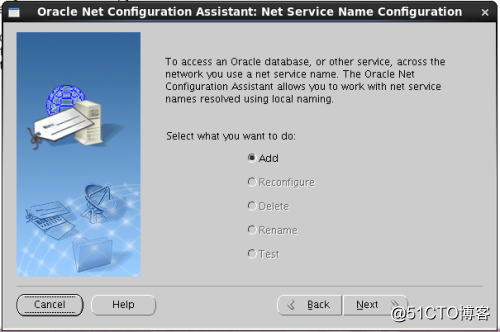
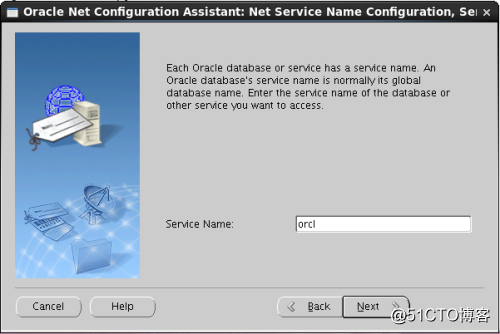
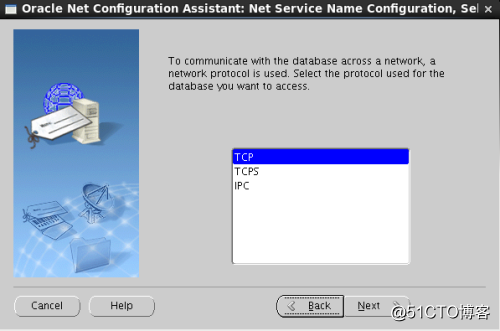
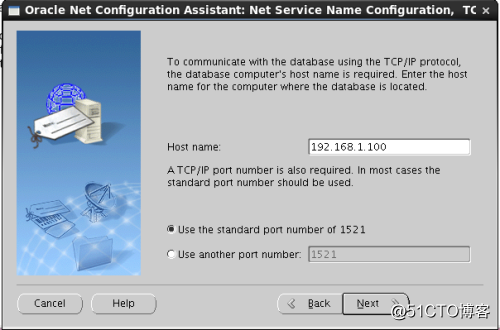
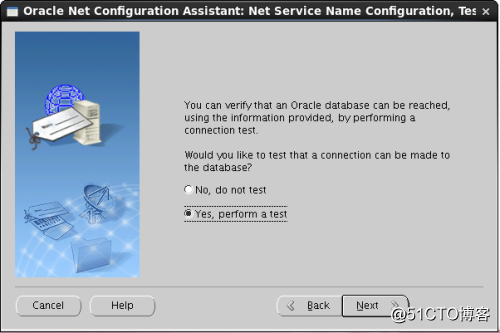
配置監聽及本地網路服務:
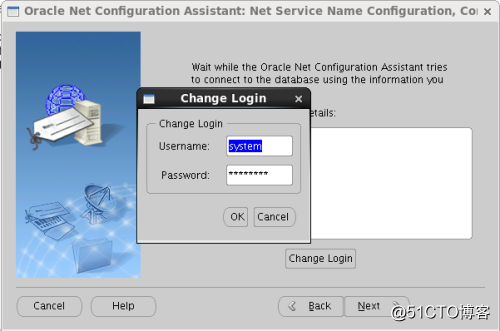
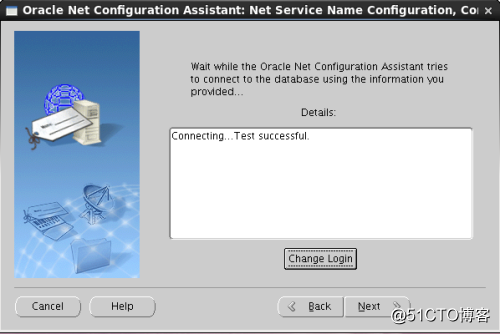
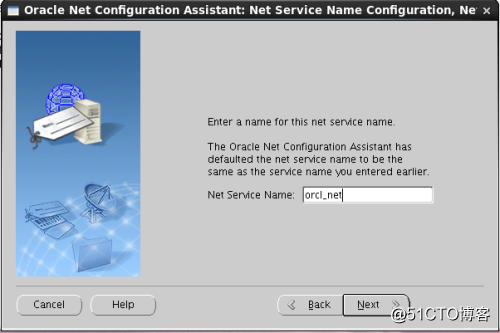
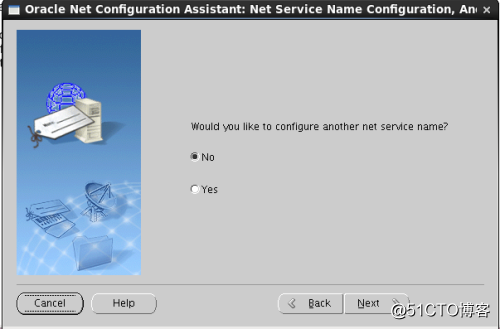
在oracle使用者的圖形介面oracle使用者中,新開啟一個終端,輸入命令netca:
建立監聽服務(這裡指充當oracle伺服器,讓別的oracle客戶端連線本oracle伺服器)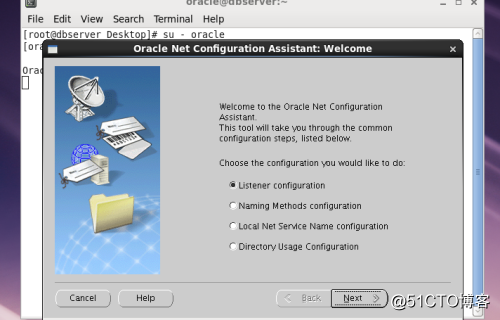


點選Change Login輸入某個管理員密碼點選Canel: