Arduino 入門學習筆記7 I2C LCD1602液晶顯示實驗 及 超聲波感測器距離檢測
阿新 • • 發佈:2018-11-11
I2C 簡介
I2C匯流排是由Philips公司開發的一種簡單、雙向二線制同步序列匯流排。它只需要兩根線即可在連線於總線上的器件之間傳送資訊。
主器件用於啟動匯流排傳送資料,併產生時鐘以開放傳送的器件,此時任何被定址的器件均被認為是從器件.在總線上主和從、發和收的關係不是恆定的,而取決於此時資料傳送方向。如果主機要傳送資料給從器件,則主機首先定址從器件,然後主動傳送資料至從器件,最後由主機終止資料傳送;如果主機要接收從器件的資料,首先由主器件定址從器件.然後主機接收從器件傳送的資料,最後由主機終止接收過程。在這種情況下.主機負責產生定時時鐘和終止資料傳送。
——《百度百科》
I2C LCD1602的藍色電位器用於調整背光以獲得更好的顯示效果。I2C僅使用兩個雙向漏極開路線,序列資料線(SDA)和序列時鐘線(SCL),通過電阻上拉。使用的典型電壓為+5V或3.3V,但允許使用其它電壓的系統。
線路圖
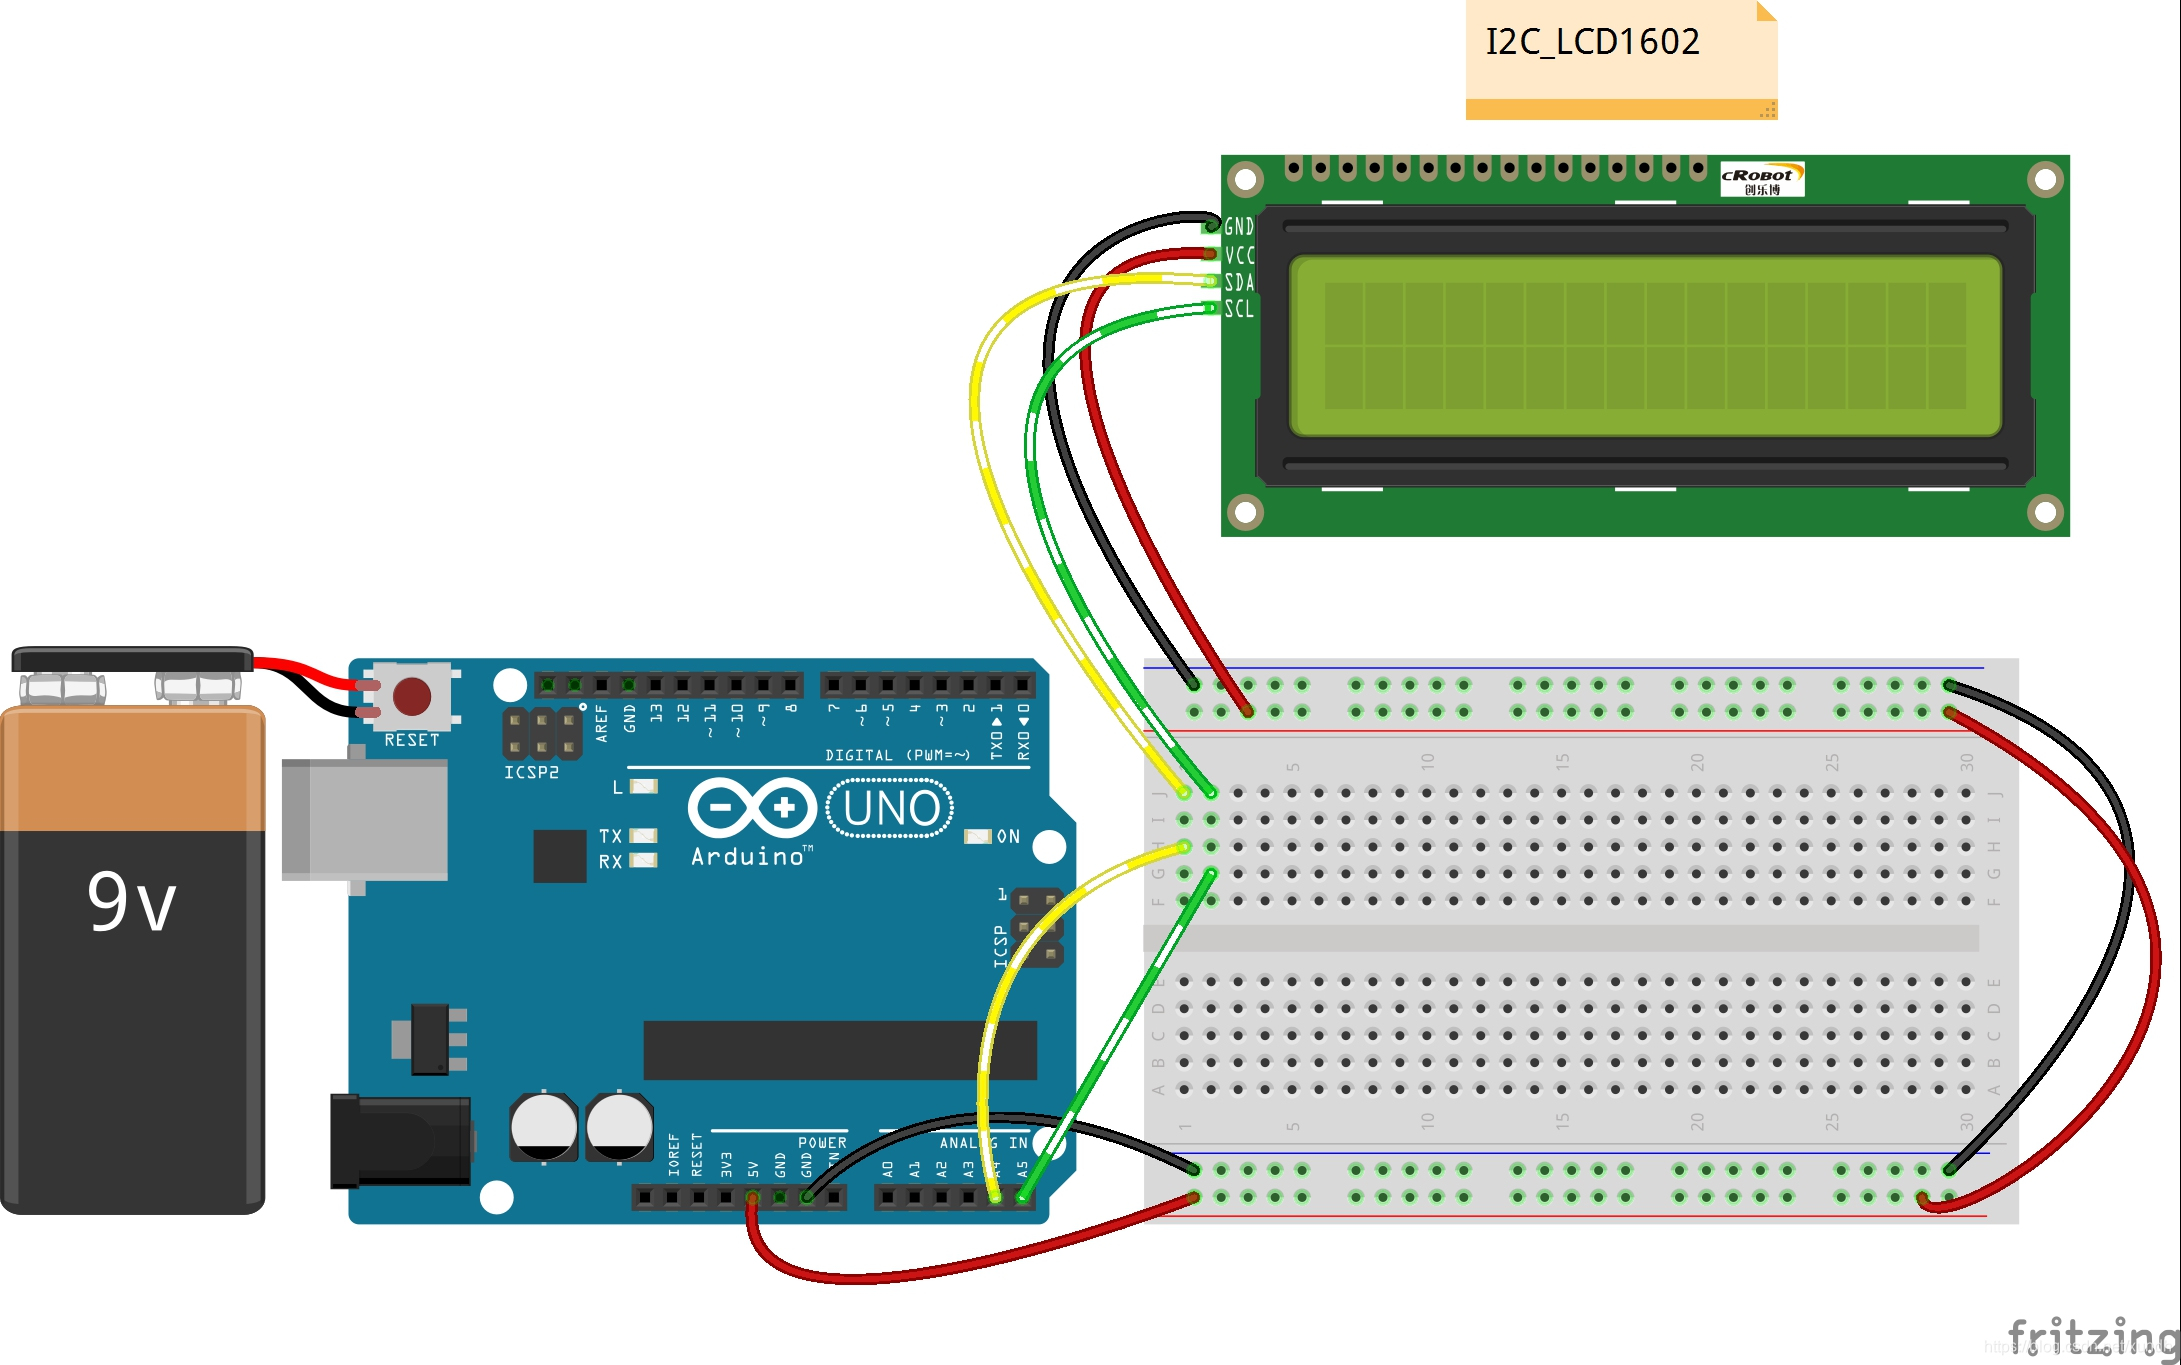
LiquidCrystal_I2C庫
將 LiquidCrystal_I2C 庫拷到arduino IDE 下的 libraries 目錄下。
LCD顯示程式demo
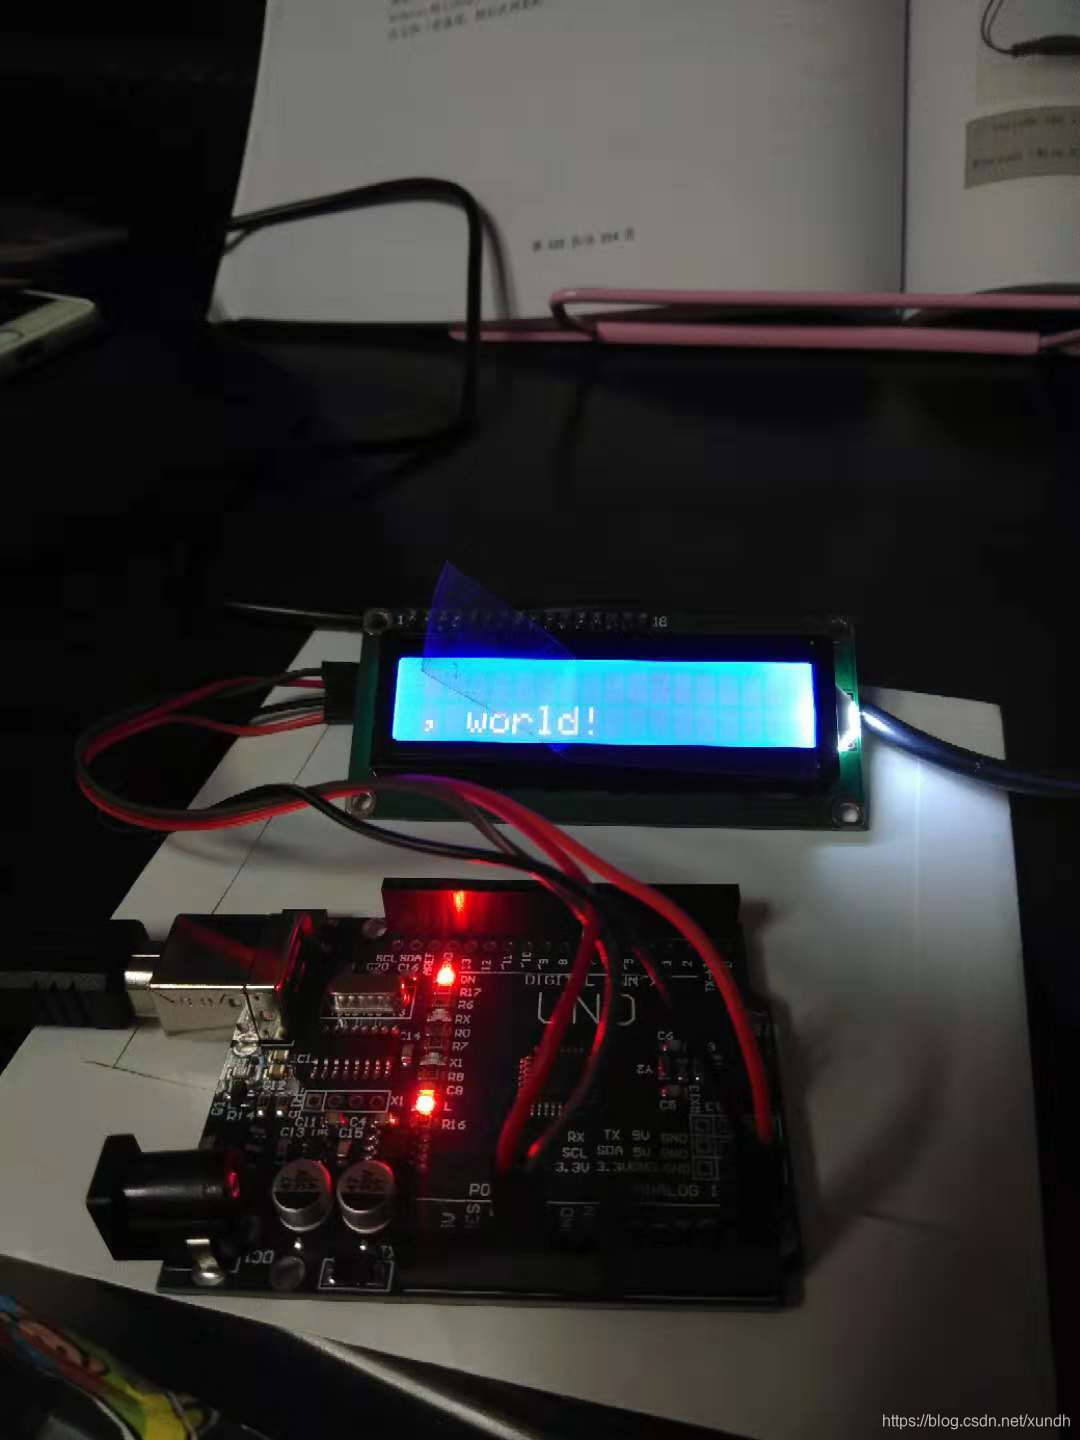
// 湖南創樂博智慧科技有限公司
// include the library code
#include <Wire.h>
#include <LiquidCrystal_I2C.h>
/**********************************************************/
char array1[]=" Arduino                  ";  //the string to print on the LCD
char array2[]="hello, world!             ";  //the string to print on the LCD
int tim = 500;  //the value of delay time
// initialize the library with the numbers of the interface pins
LiquidCrystal_I2C lcd(0x27,16,2);  // set the LCD address to 0x27  0x3F for a 16 chars and 2 line display
/*********************************************************/
void setup()
{
  lcd.init();  //initialize the lcd
  lcd.backlight();  //open the backlight
}
/*********************************************************/
void loop()
{
    lcd.setCursor(15,0);  // set the cursor to column 15, line 0
    for (int positionCounter1 = 0; positionCounter1 < 26; positionCounter1++)
    {
      lcd.scrollDisplayLeft();  //Scrolls the contents of the display one space to the left.
      lcd.print(array1[positionCounter1]);  // Print a message to the LCD.
      delay(tim);  //wait for 250 microseconds
    }
    lcd.clear();  //Clears the LCD screen and positions the cursor in the upper-left corner.
    lcd.setCursor(15,1);  // set the cursor to column 15, line 1
    for (int positionCounter = 0; positionCounter < 26; positionCounter++)
    {
      lcd.scrollDisplayLeft();  //Scrolls the contents of the display one space to the left.
      lcd.print(array2[positionCounter]);  // Print a message to the LCD.
      delay(tim);  //wait for 250 microseconds
    }
    lcd.clear();  //Clears the LCD screen and positions the cursor in the upper-left corner.
}
/************************************************************/
執行:
超聲波感測器距離檢測demo
拷貝庫 NewPing到libraries下
程式碼
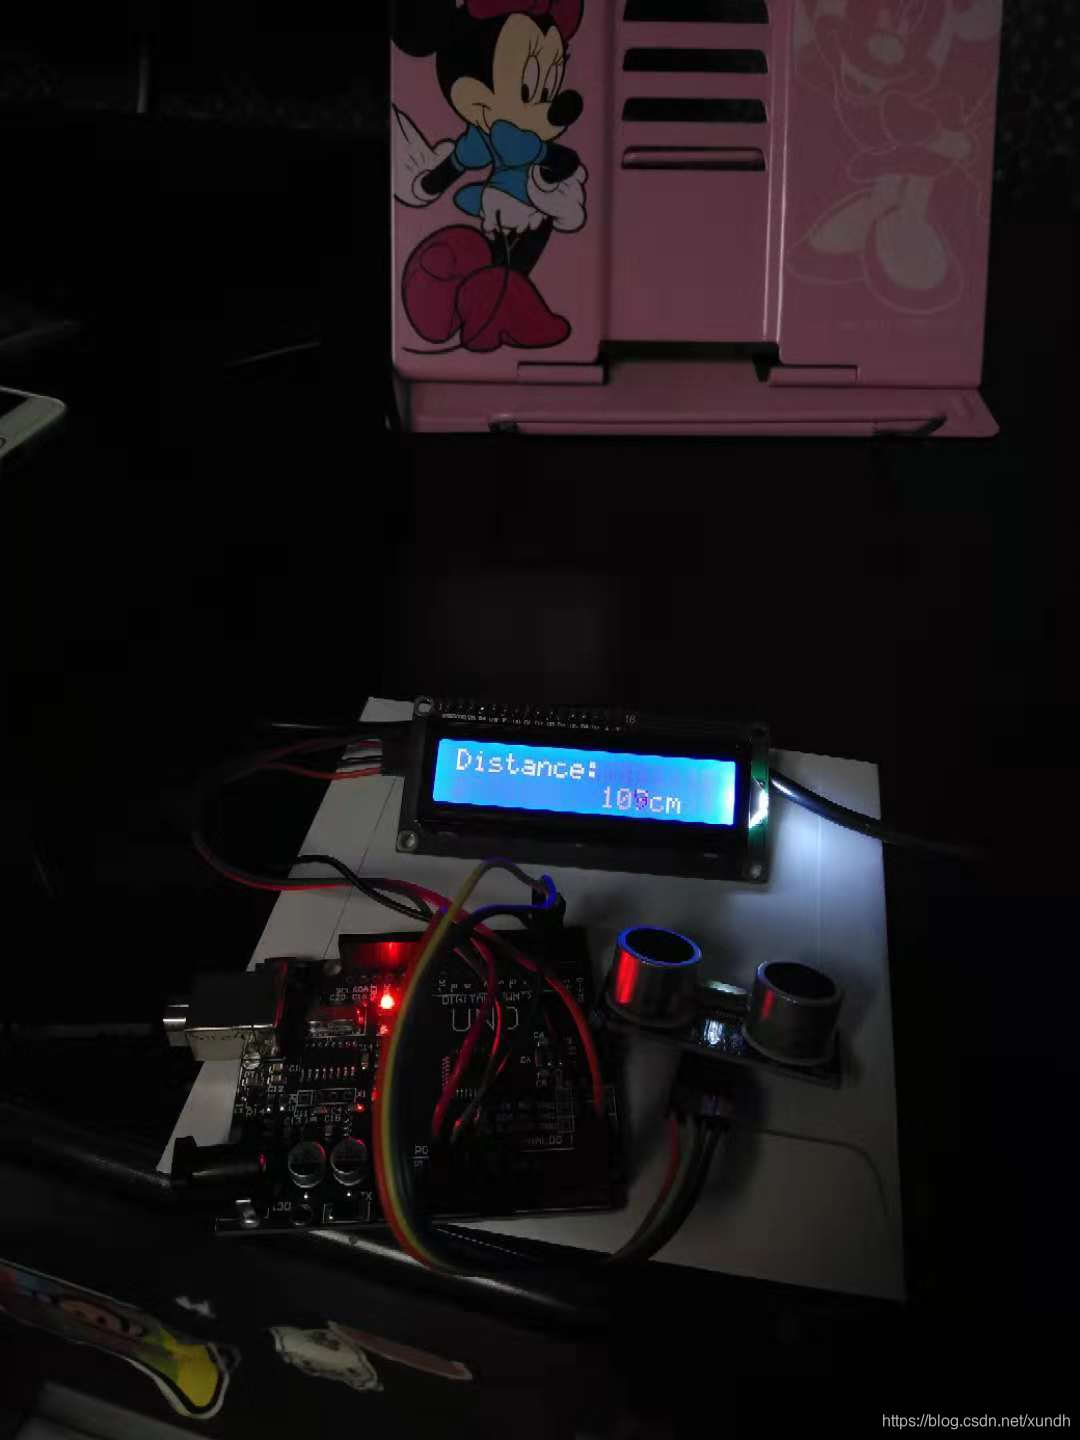
// ---------------------------------------------------------------------------
// * 湖南創樂博智慧科技有限公司
// Example NewPing library sketch that does a ping about 20 times per second.
// ---------------------------------------------------------------------------

// include the library code
#include <Wire.h>
#include <LiquidCrystal_I2C.h>
#include <NewPing.h>

LiquidCrystal_I2C lcd(0x27,16,2);//0x27   0x3F

#define TRIGGER_PIN  2  // Arduino pin tied to trigger pin on the ultrasonic sensor.
#define ECHO_PIN     3  // Arduino pin tied to echo pin on the ultrasonic sensor.
#define MAX_DISTANCE 400 // Maximum distance we want to ping for (in centimeters). Maximum sensor distance is rated at 400-500cm.

NewPing sonar(TRIGGER_PIN, ECHO_PIN, MAX_DISTANCE); // NewPing setup of pins and maximum distance.

void setup() {
  Serial.begin(115200); // Open serial monitor at 115200 baud to see ping results.
  lcd.init();
  lcd.backlight();
}

void loop() {
  delay(100);                      // Wait 50ms between pings (about 20 pings/sec). 29ms should be the shortest delay between pings.
  unsigned int uS = sonar.ping(); // Send ping, get ping time in microseconds (uS).
  Serial.print("Ping: ");
  Serial.print(uS / US_ROUNDTRIP_CM); // Convert ping time to distance in cm and print result (0 = outside set distance range)
  Serial.println("cm");
  lcd.setCursor(0, 0);
  lcd.print("Distance:");
  lcd.setCursor(0, 1);
  lcd.print("             ");
  lcd.setCursor(9, 1);
  lcd.print(uS / US_ROUNDTRIP_CM);
  lcd.setCursor(12, 1);
  lcd.print("cm");
}
接線圖

執行效果