
王之泰201771010131《面向物件程式設計(java)》第十二週學習總結
第一部分:理論知識學習部分
第10章 圖形程式設計
10.1 AWT與Swing簡介
1.使用者介面(User Interface) 的概念:使用者與計算機系統(各種程式)互動的介面
2.圖形使用者介面(Graphical User Interface)的概念: 以圖形方式呈現的使用者介面
3.AWT:
a. Java的抽象視窗工具箱(AbstractWindow Toolkit,AWT)包含在java.awt包中,它提供了許 多用來設計GUI的元件類和容器類。
b. AWT庫處理使用者介面元素的方法:把圖形元素的創 建和行為委託給本地GUI工具箱進行處理。
c. 應用AWT編寫依賴於本地使用者介面元素GUI會暴露 出一些缺陷。例如,選單、滾動條和文字域這些 使用者介面元素,在不同的平臺上,操作行為上存 在一些微妙的差異。
4. Swing
a. Swing使用者介面庫是非基於對等體的GUI工具箱。
b.Swing具有更豐富並且更方便的使用者介面元素集合。
c.Swing對底層平臺的依賴很少,因此與平臺相關的bug很少。
d.Swing會帶來交叉平臺上的統一視覺體驗。
e.Swing類庫被放在javax.swing包裡。
f. AWT與Swing的關係
(1) 大部分AWT元件都有其Swing的等價元件。
(2) Swing元件的名字一般是在AWT元件名前面新增一個字母“J”,如:JButton,JFrame,JPanel等。
10.2 框架的建立
10.2.1 元件
構成圖形使用者介面的元素,拿來即用 .
用圖形表示(能在螢幕上顯示,能和使用者進行互動) –Button、Checkbox、Scrollbar、Choice、Frame
10.2.2 容器
容器是Java中能容納和排列元件的元件。
常用的容器是框架(Frame,JFrame) 例: Frame fra= new Frame(“這是一個視窗”);
java.awt.Frame類的常用API(教材414頁) void setResizable(booleanb) 縮放框架 void setTitle(String s) 設定框架標題 void setIconImage(Image image) 將Image用 作框架圖示
10.2.3 新增元件
Container類提供了一個方法add(),用來在容器類 元件物件中新增其他元件。
容器本身也是一個元件,可以把一個容器新增到 另一個容器裡,實現容器巢狀。
10.2.4 框架(Frame)的建立
(1)建立空框架 :在Java中,常採用框架(Frame)建立初始介面, 即GUI的頂層視窗
AWT庫中有一個基於對等體的Frame類。 該類的Swing版本為JFrame,JFrame是Frame子類。
(2)框架定位與框架屬性
定位: 常用Component類的setLocation和setBounds方法 常用屬性
Title:框架標題
IconImage:框架圖示
(3)確定框架大小 : 通過呼叫Toolkit類的方法來得到螢幕尺寸資訊。
Toolkit kit = Toolkit.getDefaultToolkit(); //生成 Toolkit物件
Dimension screenSize= kit.getScreenSize(); //返回 Dimension物件的螢幕大小
intscreenWidth= screenSize.width; //獲得Dimension對 象螢幕的寬度
intscreenHeight=screenSize.height; //獲得Dimension 物件螢幕的高度
10.3 圖形程式設計
圖形程式設計這部分內容會在實驗中有所體現。
包含以下特點:
1 處理2D圖形
2 顏色的使用
2 字型的使用
10.4顯示影象
(1)在Java應用程式中,一旦影象儲存在本地或因 特網的某個位置上,就可以將它們直接讀入到java 應用程式中。
String filename = “…”; Image image= ImageIcon(filename).getImage();
(2)完成將一個影象檔案載入到程式中,再呼叫 Graphics類提供的DrawImage()顯示它。
public void paintComponent(Graphics g)
{ … g.drawImage(image, x, y, null); }
第二部分:實驗部分—— 圖形程式設計
實驗時間 2018-11-14
1、實驗目的與要求
(1) 掌握Java GUI中框架建立及屬性設定中常用類的API;
(2) 掌握Java GUI中2D圖形繪製常用類的API;
(3) 瞭解Java GUI中2D圖形中字型與顏色的設定方法;
(4) 瞭解Java GUI中2D影象的載入方法。
2、實驗內容和步驟
實驗1: 匯入第10章示例程式,測試程式並進行程式碼註釋。
測試程式1:
1.執行下列程式,觀察程式執行結果。
 1 import javax.swing.*;
 2 public class SimpleFrameTest
 3 {
 4    public static void main(String[] args)
 5    {
 6      JFrame  frame = new JFrame();
 7      frame.setBounds(0, 0,300, 200);
 8      frame.setDefaultCloseOperation(JFrame.EXIT_ON_CLOSE);
 9      frame.setVisible(true);
10    }
11 }
結果如下:
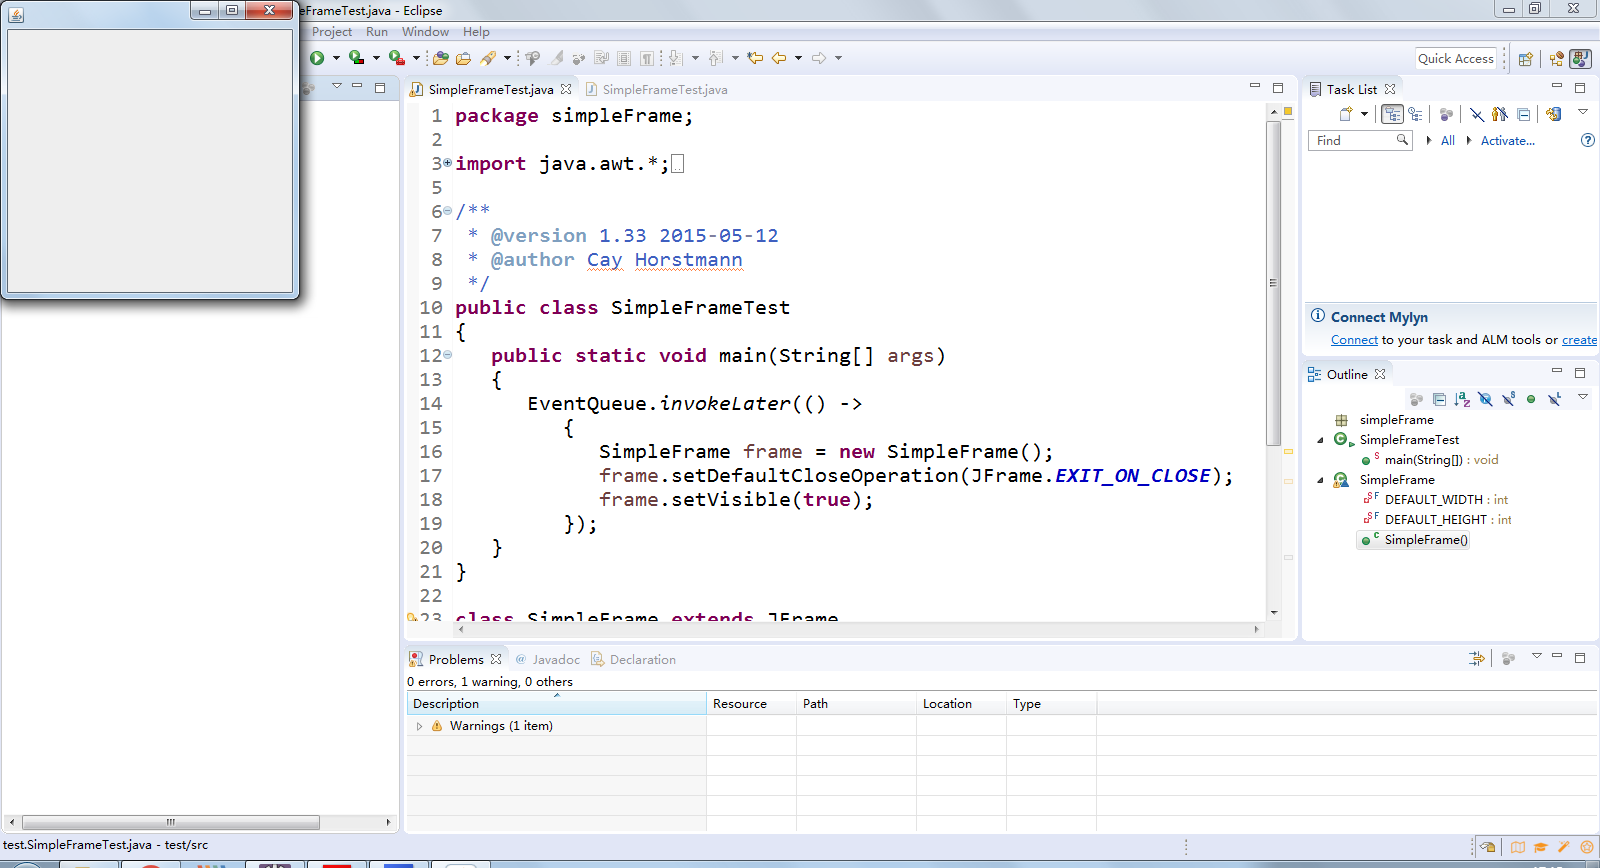
2.在elipse IDE中除錯執行教材407頁程式10-1,結合程式執行結果理解程式;與上面程式對比,思考異同;
 1 package simpleFrame;
 2
 3 import java.awt.*;
 4 import javax.swing.*;
 5
 6 /**
 7  * @version 1.33 2015-05-12
 8  * @author Cay Horstmann
 9  */
10 public class SimpleFrameTest
11 {
12    public static void main(String[] args)
13    {
14       EventQueue.invokeLater(() ->
15          {
16             SimpleFrame frame = new SimpleFrame();
17             frame.setDefaultCloseOperation(JFrame.EXIT_ON_CLOSE);
18             frame.setVisible(true);
19          });
20    }
21 }
22
23 class SimpleFrame extends JFrame
24 {
25    private static final int DEFAULT_WIDTH = 300;
26    private static final int DEFAULT_HEIGHT = 200;
27
28    public SimpleFrame()
29    {
30       setSize(DEFAULT_WIDTH, DEFAULT_HEIGHT);
31    }
32 }
結果如下:
3.掌握空框架建立方法;
4.瞭解主執行緒與事件分派執行緒概念;
5.掌握GUI頂層視窗建立技術。
測試程式2:
1.在elipse IDE中除錯執行教材412頁程式10-2,結合程式執行結果理解程式;
2.掌握確定框架常用屬性的設定方法。
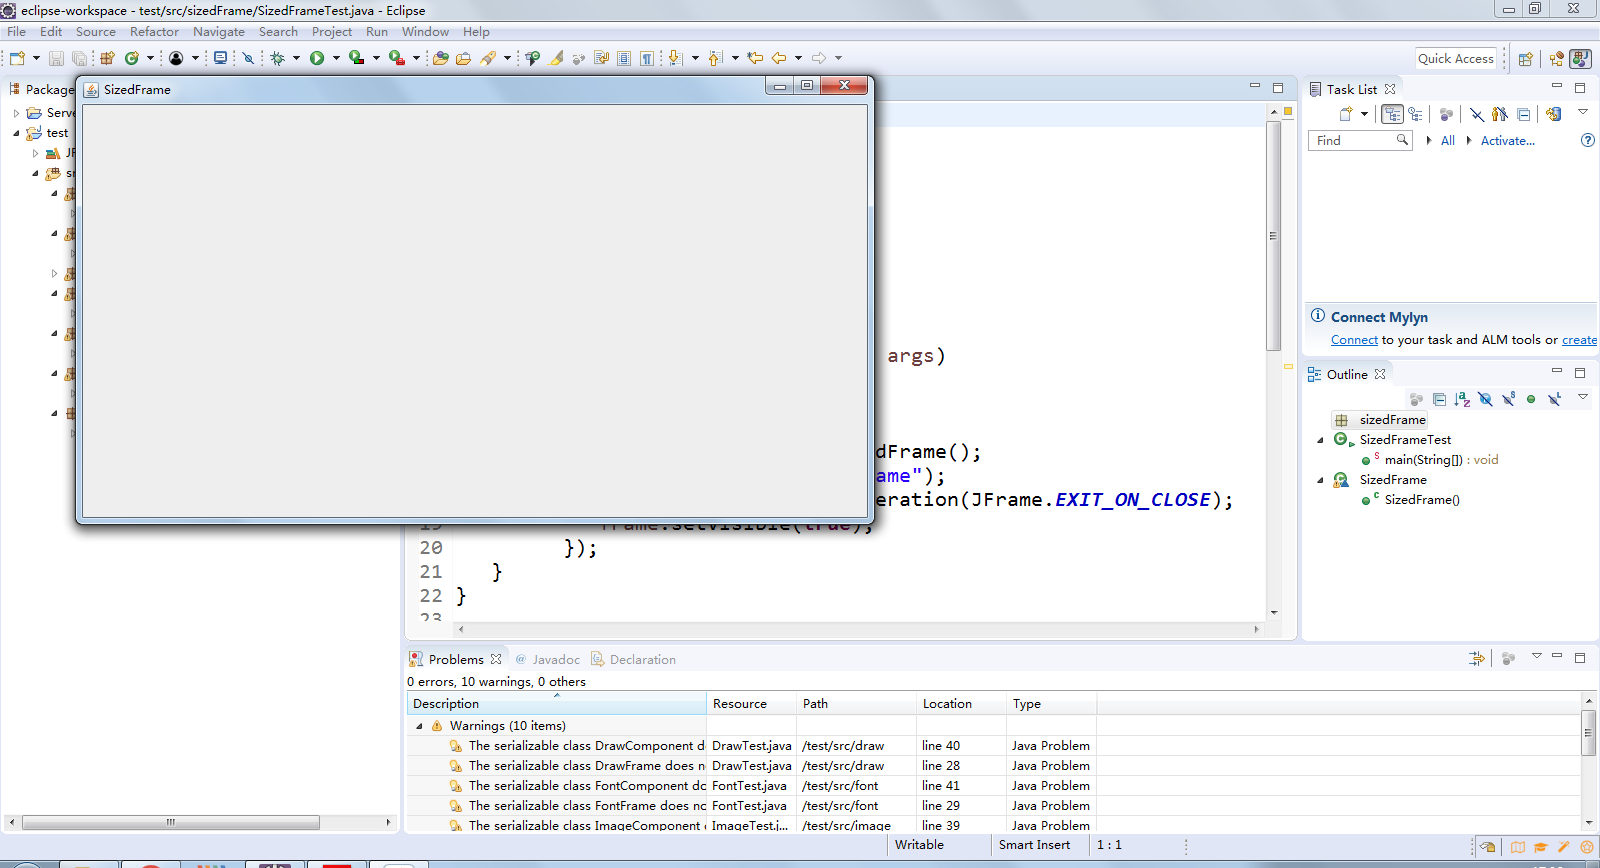
 1 package sizedFrame;
 2
 3 import java.awt.*;
 4 import javax.swing.*;
 5
 6 /**
 7  * @version 1.34 2015-06-16
 8  * @author Cay Horstmann
 9  */
10 public class SizedFrameTest
11 {
12    public static void main(String[] args)
13    {
14       EventQueue.invokeLater(() ->
15          {
16             JFrame frame = new SizedFrame();
17             frame.setTitle("SizedFrame");
18             frame.setDefaultCloseOperation(JFrame.EXIT_ON_CLOSE);
19             frame.setVisible(true);
20          });
21    }
22 }
23
24 class SizedFrame extends JFrame
25 {
26    public SizedFrame()
27    {
28       // 獲取螢幕尺寸
29
30       Toolkit kit = Toolkit.getDefaultToolkit();
31       Dimension screenSize = kit.getScreenSize();
32       int screenHeight = screenSize.height;
33       int screenWidth = screenSize.width;
34
35       // 設定框架寬度、高度並讓平臺選擇螢幕位置
36
37       setSize(screenWidth / 2, screenHeight / 2);
38       setLocationByPlatform(true);
39
40       // 設定幀圖示
41
42       Image img = new ImageIcon("icon.gif").getImage();
43       setIconImage(img);
44    }
45 }
結果如下:
測試程式3:
1.在elipse IDE中除錯執行教材418頁程式10-3,結合執行結果理解程式;
2.掌握在框架中新增元件;
3.掌握自定義元件的用法。
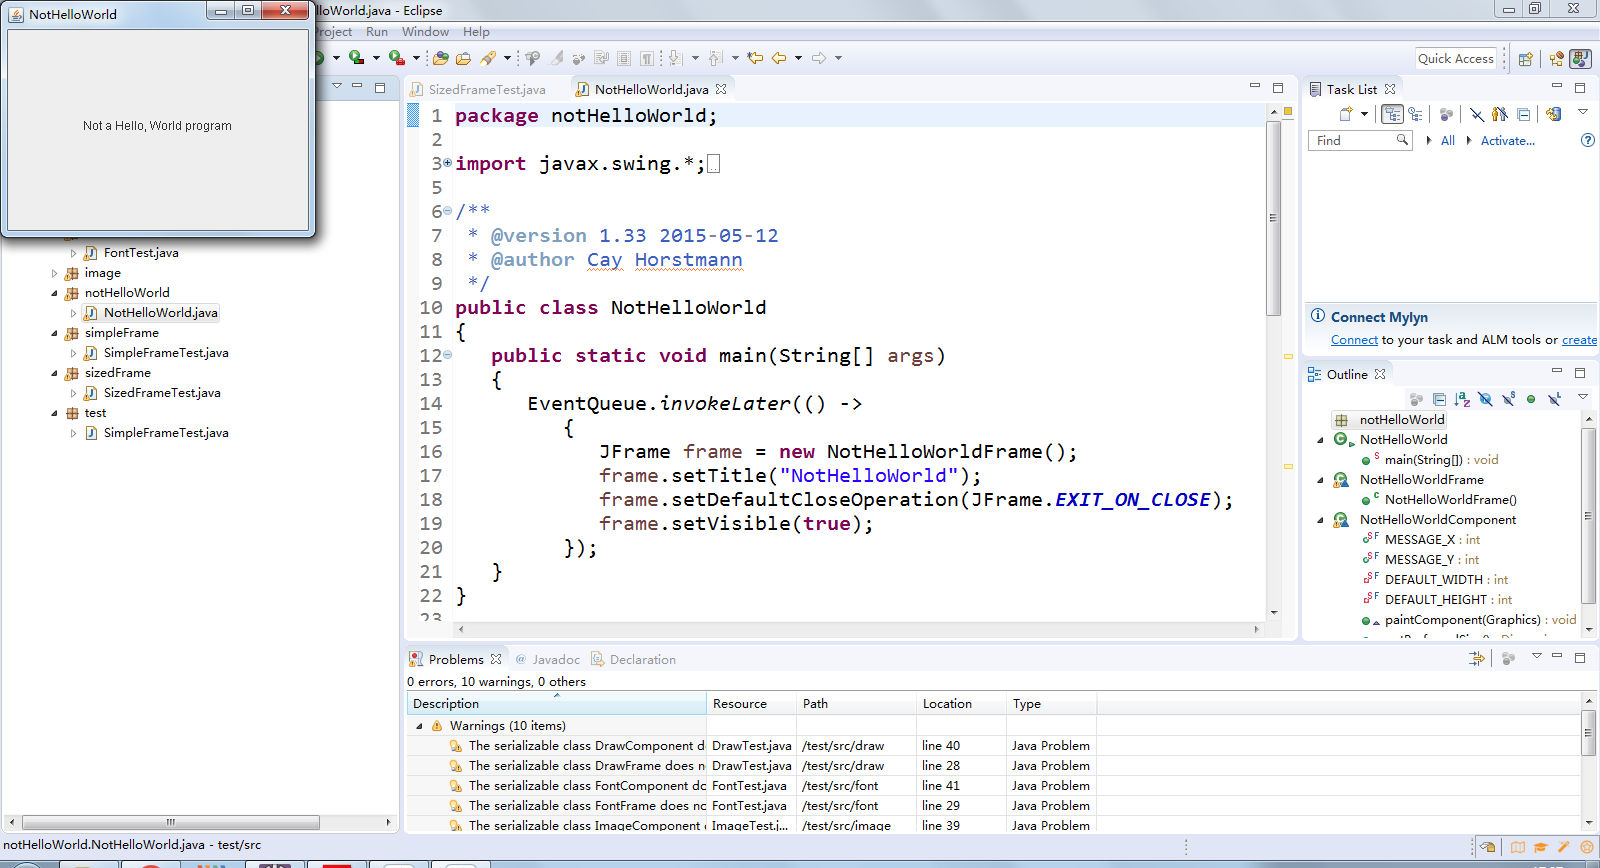
 1 package notHelloWorld;
 2
 3 import javax.swing.*;
 4 import java.awt.*;
 5
 6 /**
 7  * @version 1.33 2015-05-12
 8  * @author Cay Horstmann
 9  */
10 public class NotHelloWorld
11 {
12    public static void main(String[] args)
13    {
14       EventQueue.invokeLater(() ->
15          {
16             JFrame frame = new NotHelloWorldFrame();
17             frame.setTitle("NotHelloWorld");
18             frame.setDefaultCloseOperation(JFrame.EXIT_ON_CLOSE);
19             frame.setVisible(true);
20          });
21    }
22 }
23
24 /**
25  * A frame that contains a message panel
26  */
27 class NotHelloWorldFrame extends JFrame
28 {
29    public NotHelloWorldFrame()
30    {
31       add(new NotHelloWorldComponent());
32       pack();
33    }
34 }
35
36 /**
37  * A component that displays a message.
38  */
39 class NotHelloWorldComponent extends JComponent
40 {
41    public static final int MESSAGE_X = 75;
42    public static final int MESSAGE_Y = 100;
43
44    private static final int DEFAULT_WIDTH = 300;
45    private static final int DEFAULT_HEIGHT = 200;
46
47    public void paintComponent(Graphics g)
48    {
49       g.drawString("Not a Hello, World program", MESSAGE_X, MESSAGE_Y);
50    }
51
52    public Dimension getPreferredSize() { return new Dimension(DEFAULT_WIDTH, DEFAULT_HEIGHT); }
53 }
結果如下:
測試程式4:
1.在elipse IDE中除錯執行教材424 -425頁程式10-4,結合程式執行結果理解程式;
2.掌握2D圖形的繪製方法。
 1 package draw;
 2
 3 import java.awt.*;
 4 import java.awt.geom.*;
 5 import javax.swing.*;
 6
 7 /**
 8  * @version 1.33 2007-05-12
 9  * @author Cay Horstmann
10  */
11 public class DrawTest
12 {
13    public static void main(String[] args)
14    {
15       EventQueue.invokeLater(() ->
16          {
17             JFrame frame = new DrawFrame();
18             frame.setTitle("DrawTest");
19             frame.setDefaultCloseOperation(JFrame.EXIT_ON_CLOSE);
20             frame.setVisible(true);
21          });
22    }
23 }
24
25 /**
26  * A frame that contains a panel with drawings
27  */
28 class DrawFrame extends JFrame
29 {
30    public DrawFrame()
31    {
32       add(new DrawComponent());
33       pack();
34    }
35 }
36
37 /**
38  * A component that displays rectangles and ellipses.
39  */
40 class DrawComponent extends JComponent
41 {
42    private static final int DEFAULT_WIDTH = 400;
43    private static final int DEFAULT_HEIGHT = 400;
44
45    public void paintComponent(Graphics g)
46    {
47       Graphics2D g2 = (Graphics2D) g;
48
49       // 繪製矩形
50
51       double leftX = 100;
52       double topY = 100;
53       double width = 200;
54       double height = 150;
55
56       Rectangle2D rect = new Rectangle2D.Double(leftX, topY, width, height);
57       g2.draw(rect);
58
59       // 畫封閉橢圓
60
61       Ellipse2D ellipse = new Ellipse2D.Double();
62       ellipse.setFrame(rect);
63       g2.draw(ellipse);
64
65       // 畫一條對角線
66
67       g2.draw(new Line2D.Double(leftX, topY, leftX + width, topY + height));
68
69       // 用同一個中心畫一個圓
70
71       double centerX = rect.getCenterX();
72       double centerY = rect.getCenterY();
73       double radius = 150;
74
75       Ellipse2D circle = new Ellipse2D.Double();
76       circle.setFrameFromCenter(centerX, centerY, centerX + radius, centerY + radius);
77       g2.draw(circle);
78    }
79
80    public Dimension getPreferredSize() { return new Dimension(DEFAULT_WIDTH, DEFAULT_HEIGHT); }
81 }
結果如下:
測試程式5:
1.在elipse IDE中除錯執行教材432頁-433程式10-5,結合程式執行結果理解程式;
2.瞭解2D圖形中字型的設定的方法;
 1 package font;
 2
 3 import java.awt.*;
 4 import java.awt.font.*;
 5 import java.awt.geom.*;
 6 import javax.swing.*;
 7
 8 /**
 9  * @version 1.34 2015-05-12
10  * @author Cay Horstmann
11  */
12 public class FontTest
13 {
14    public static void main(String[] args)
15    {
16       EventQueue.invokeLater(() ->
17          {
18             JFrame frame = new FontFrame();
19             frame.setTitle("FontTest");
20             frame.setDefaultCloseOperation(JFrame.EXIT_ON_CLOSE);
21             frame.setVisible(true);
22          });
23    }
24 }
25
26 /**
27  * A frame with a text message component
28  */
29 class FontFrame extends JFrame
30 {
31    public FontFrame()
32    {
33       add(new FontComponent());
34       pack();
35    }
36 }
37
38 /**
39  * A component that shows a centered message in a box.
40  */
41 class FontComponent extends JComponent
42 {
43    private static final int DEFAULT_WIDTH = 300;
44    private static final int DEFAULT_HEIGHT = 200;
45
46    public void paintComponent(Graphics g)
47    {
48       Graphics2D g2 = (Graphics2D) g;
49
50       String message = "Hello, World!";
51
52       Font f = new Font("Serif", Font.BOLD, 36);
53       g2.setFont(f);
54
55       // 測量訊息的大小
56
57       FontRenderContext context = g2.getFontRenderContext();
58       Rectangle2D bounds = f.getStringBounds(message, context);
59
60       // 設定(x,y)=文字左上角
61
62       double x = (getWidth() - bounds.getWidth()) / 2;
63       double y = (getHeight() - bounds.getHeight()) / 2;
64
65       // 增加到Y到達基線
66
67       double ascent = -bounds.getY();
68       double baseY = y + ascent;
69
70       // 汲取資訊
71
72       g2.drawString(message, (int) x, (int) baseY);
73
74       g2.setPaint(Color.LIGHT_GRAY);
75
76       // 繪製基線
77
78       g2.draw(new Line2D.Double(x, baseY, x + bounds.getWidth(), baseY));
79
80       // 繪製封閉矩形
81
82       Rectangle2D rect = new Rectangle2D.Double(x, y, bounds.getWidth(), bounds.getHeight());
83       g2.draw(rect);
84    }
85
86    public Dimension getPreferredSize() { return new Dimension(DEFAULT_WIDTH, DEFAULT_HEIGHT); }
87 }
結果如下:

測試程式6:
1.在elipse IDE中除錯執行教材436頁-437程式10-6,結合程式執行結果理解程式;
2.瞭解2D圖形影象的顯示方法。
 1 package image;
 2
 3 import java.awt.*;
 4 import javax.swing.*;
 5
 6 /**
 7  * @version 1.34 2015-05-12
 8  * @author Cay Horstmann
 9  */
10 public class ImageTest
11 {
12    public static void main(String[] args)
13    {
14       EventQueue.invokeLater(() ->
15          {
16             JFrame frame = new ImageFrame();
17             frame.setTitle("ImageTest");
18             frame.setDefaultCloseOperation(JFrame.EXIT_ON_CLOSE);
19             frame.setVisible(true);
20          });
21    }
22 }
23
24 /**
25  * A frame with an image component
26  */
27 class ImageFrame extends JFrame
28 {
29    public ImageFrame()
30    {
31       add(new ImageComponent());
32       pack();
33    }
34 }
35
36 /**
37  * A component that displays a tiled image
38  */
39 class ImageComponent extends JComponent
40 {
41    private static final int DEFAULT_WIDTH = 300;
42    private static final int DEFAULT_HEIGHT = 200;
43
44    private Image image;
45
46    public ImageComponent()
47    {
48       image = new ImageIcon("blue-ball.gif").getImage();
49    }
50
51    public void paintComponent(Graphics g)
52    {
53       if (image == null) return;
54
55       int imageWidth = image.getWidth(null);
56       int imageHeight = image.getHeight(null);
57
58       // 在左上角繪製圖像
59
60       g.drawImage(image, 0, 0, null);
61       // 在元件上平鋪影象
62
63       for (int i = 0; i * imageWidth <= getWidth(); i++)
64          for (int j = 0; j * imageHeight <= getHeight(); j++)
65             if (i + j > 0)
66                g.copyArea(0, 0, imageWidth, imageHeight, i * imageWidth, j * imageHeight);
67    }
68
69    public Dimension getPreferredSize() { return new Dimension(DEFAULT_WIDTH, DEFAULT_HEIGHT); }
70 }
結果如下:

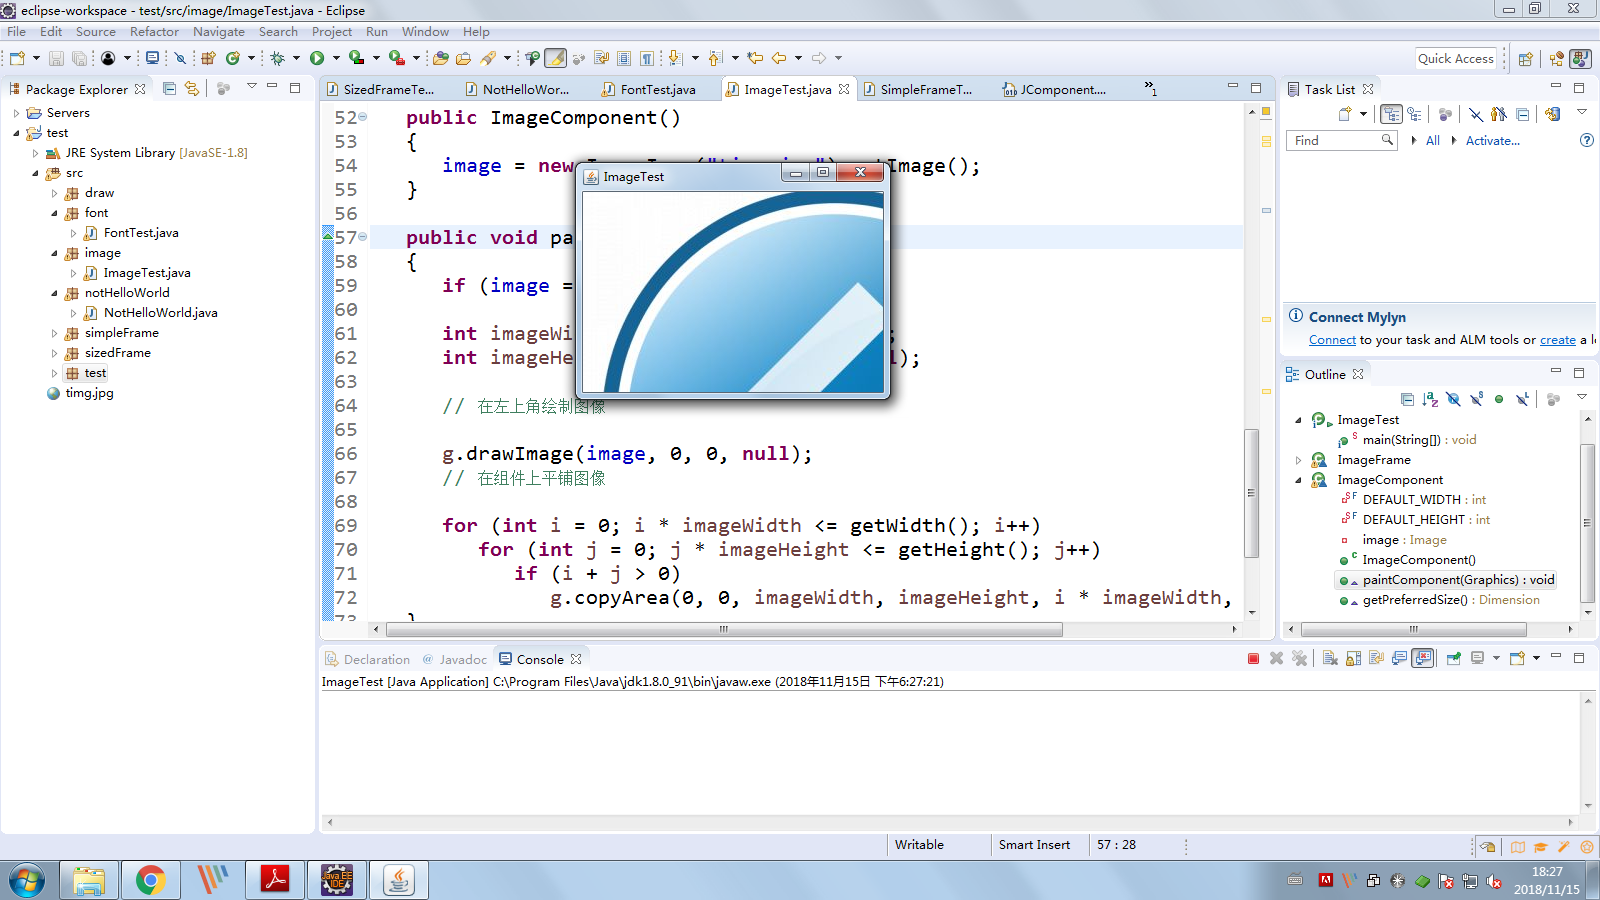
 1 package image;
 2
 3 import java.awt.*;
 4 import java.awt.event.WindowAdapter;
 5 import java.awt.event.WindowEvent;
 6
 7 import javax.swing.*;
 8
 9 /**
10  * @version 1.34 2015-05-12
11  * @author Cay Horstmann
12  */
13 public class ImageTest
14 {
15    @SuppressWarnings("null")
16 public static void main(String[] args)
17    {
18       EventQueue.invokeLater(() ->
19          {
20             JFrame frame = new ImageFrame();
21             frame.setTitle("ImageTest");
22             frame.setDefaultCloseOperation(JFrame.DISPOSE_ON_CLOSE);
23             frame.setVisible(true);
24          });
25
26    }
27
28 }
29
30 /**
31  * A frame with an image component
32  */
33 class ImageFrame extends JFrame
34 {
35    public ImageFrame()
36    {
37       add(new ImageComponent());
38       pack();
39    }
40 }
41
42 /**
43  * A component that displays a tiled image
44  */
45 class ImageComponent extends JComponent
46 {
47    private static final int DEFAULT_WIDTH = 300;
48    private static final int DEFAULT_HEIGHT = 200;
49
50    private Image image;
51
52    public ImageComponent()
53    {
54       image = new ImageIcon("timg.jpg").getImage();
55    }
56
57    public void paintComponent(Graphics g)
58    {
59       if (image == null) return;
60
61       int imageWidth = image.getWidth(null);
62       int imageHeight = image.getHeight(null);
63
64       // 在左上角繪製圖像
65
66       g.drawImage(image, 0, 0, null);
67       // 在元件上平鋪影象
68
69       for (int i = 0; i * imageWidth <= getWidth(); i++)
70          for (int j = 0; j * imageHeight <= getHeight(); j++)
71             if (i + j > 0)
72                g.copyArea(0, 0, imageWidth, imageHeight, i * imageWidth, j * imageHeight);
73    }
74
75    public Dimension getPreferredSize() {
76        return new Dimension(DEFAULT_WIDTH, DEFAULT_HEIGHT);
77        }
78 }
結果如下:
實驗2:課後完成PTA平臺題目集:2018秋季西北師範大學面向物件程式設計(Java)練習題集(ch6-ch9)
第三部分:總結
通過本週的學習,我瞭解了Java GUI中框架建立及屬性設定中常用類的API; GUI中2D圖形繪製常用類的API;GUI中2D圖形中字型與顏色的設定方法;GUI中2D圖形中字型與顏色的設定方法;以及利用空閒時間複習了一千6-9章的實驗,我覺得能夠很好的設計一個圖形使用者介面的話,對於以後軟體開發的使用者體驗有很大的幫助。畢竟開發的軟體使用者還是廣大使用者。而且通過本週6-9章的習題練習,在回顧知識的同時,讓自己查漏補缺。將知識有效的結合運用。