
Spring Security教程(一):初識Spring Security
一、概要
Spring Security,這是一種基於 Spring AOP 和 Servlet 過濾器的安全框架。它提供全面的安全性解決方案,同時在 Web 請求級和方法呼叫級處理身份確認和授權。以下是百科裡對於Spring Security的介紹。
Spring Security是一個能夠為基於Spring的企業應用系統提供宣告式的安全訪問控制解決方案的安全框架。它提供了一組可以在Spring應用上下文中配置的Bean,充分利用了Spring IoC,DI(控制反轉Inversion of Control ,DI:Dependency Injection 依賴注入)和AOP(面向切面程式設計)功能,為應用系統提供宣告式的安全訪問控制功能,減少了為企業系統安全控制編寫大量重複程式碼的工作。
目前最新版本的Spring Security為4.2.2,但是我這裡用了穩定版本3.1.3。下面例子為一個簡單的Spring Security配置應用。
二、新建一個web maven專案
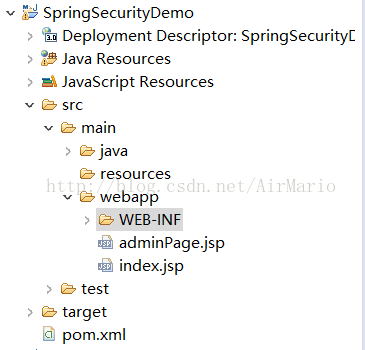
新建好專案之後在webapp下添加了兩個jsp檔案,adminPage.jsp和index.jsp。其中adminPage.jsp只有那些擁有ROLE_ADMIN,ROLE_USER其中一種許可權的使用者才能訪問,而index.jsp只允許那些擁有ROLE_USER許可權的使用者才能訪問。
三、配置過濾器
為了在專案中 使用Spring Security控制權限,首先要在web.xml中配置過濾器<?xml version="1.0" encoding="UTF-8"?> <web-app xmlns:xsi="http://www.w3.org/2001/XMLSchema-instance" xmlns="http://java.sun.com/xml/ns/javaee" xmlns:web="http://java.sun.com/xml/ns/javaee/web-app_2_5.xsd" xsi:schemaLocation="http://java.sun.com/xml/ns/javaee http://java.sun.com/xml/ns/javaee/web-app_3_0.xsd"version="3.0"> <display-name>SpringSecurity</display-name> <!-- 載入配置檔案 --> <context-param> <param-name>contextConfigLocation</param-name> <param-value>WEB-INF/config/applicationContext*.xml</param-value> </context-param> <!-- spring security 的過濾器配置 --> <filter> <filter-name>springSecurityFilterChain</filter-name> <filter-class>org.springframework.web.filter.DelegatingFilterProxy</filter-class> </filter> <filter-mapping> <filter-name>springSecurityFilterChain</filter-name> <url-pattern>/*</url-pattern> </filter-mapping> <listener> <listener-class>org.springframework.web.context.ContextLoaderListener</listener-class> </listener> </web-app>
四、Spring Security的配置
在WEB-INF/config/下新建applicationContext.xml,配置如下
<?xml version="1.0" encoding="UTF-8"?>
<beans:beans xmlns="http://www.springframework.org/schema/security"
    xmlns:beans="http://www.springframework.org/schema/beans"
    xmlns:xsi="http://www.w3.org/2001/XMLSchema-instance"
    xsi:schemaLocation="http://www.springframework.org/schema/beans
                        http://www.springframework.org/schema/beans/spring-beans-3.0.xsd
                        http://www.springframework.org/schema/context
                        http://www.springframework.org/schema/context/spring-context-3.1.xsd
                        http://www.springframework.org/schema/tx
                        http://www.springframework.org/schema/tx/spring-tx-3.0.xsd
                        http://www.springframework.org/schema/security
                        http://www.springframework.org/schema/security/spring-security.xsd">
    <http auto-config='true'>
        <intercept-url pattern="/adminPage.jsp" access="ROLE_ADMIN" />
        <intercept-url pattern="/**" access="ROLE_USER" />
    </http>
    <authentication-manager>
        <authentication-provider>
            <user-service>
                <user name="admin" password="123" authorities="ROLE_USER, ROLE_ADMIN" />
                <user name="user" password="123" authorities="ROLE_USER" />
            </user-service>
        </authentication-provider>
    </authentication-manager>
</beans:beans>
說明:
- 檔案的頭部為,宣告在xml中使用Spring Security提供的名稱空間。
- http部分配置如何攔截使用者請求。auto-config='true'將自動配置幾種常用的許可權控制機制,包括form, anonymous, rememberMe。
- 利用intercept-url來判斷使用者需要具有何種許可權才能訪問對應的url資源,可以在pattern中指定一個特定的url資源,也可以使用萬用字元指定一組類似的url資源。例子中定義的兩個intercepter-url,第一個用來控制對/admin.jsp的訪問,第二個使用了萬用字元/**,說明它將控制對系統中所有url資源的訪問。
- 其實在實際使用中,Spring Security採用的是一種就近原則,就是說當用戶訪問的url資源滿足多個intercepter-url時,系統將使用第一個符合條件的intercept-url進行許可權控制。在我們這個例子中就是,當用戶訪問/admin.jsp時,雖然兩個intercept-url都滿足要求,但因為第一個intercept-url排在上面,所以Spring Security會使用第一個intercept-url中的配置處理對/adminPage.jsp的請求,也就是說,只有那些擁有了ROLE_ADMIN許可權的使用者才能訪問/adminPage.jsp。
- access指定的許可權都是以ROLE_開頭的,實際上這與Spring Security中的Voter機制有著千絲萬縷的聯絡,只有包含了特定字首的字串才會被Spring Security處理。目前來說我們只需要記住這一點就可以了。
- user-service中定義了兩個使用者,admin和user。為了簡便起見,我們使用明文定義了兩個使用者對應的密碼,這只是為了當前演示的方便,之後的例子中我們會使用Spring Security提供的加密方式,避免使用者密碼被他人竊取
- 最重要的部分是authorities,這裡定義了這個使用者登陸之後將會擁有的許可權,它與上面intercept-url中定義的許可權內容一一對應。每個使用者可以同時擁有多個許可權,例子中的admin使用者就擁有ROLE_ADMIN和ROLE_USER兩種許可權,這使得admin使用者在登陸之後可以訪問ROLE_ADMIN和ROLE_USER允許訪問的所有資源。與之對應的是,user使用者就只擁有ROLE_USER許可權,所以他只能訪問ROLE_USER允許訪問的資源,而不能訪問ROLE_ADMIN允許訪問的資源。
五、pom.xml檔案
<project xmlns="http://maven.apache.org/POM/4.0.0" xmlns:xsi="http://www.w3.org/2001/XMLSchema-instance"
    xsi:schemaLocation="http://maven.apache.org/POM/4.0.0 http://maven.apache.org/xsd/maven-4.0.0.xsd">
    <modelVersion>4.0.0</modelVersion>

    <groupId>com.zmc</groupId>
    <artifactId>SpringSecurityDemo</artifactId>
    <version>0.0.1-SNAPSHOT</version>
    <packaging>war</packaging>

    <name>SpringSecurityDemo</name>
    <url>http://maven.apache.org</url>

    <properties>
        <project.build.sourceEncoding>UTF-8</project.build.sourceEncoding>
        <project.build.sourceEncoding>UTF-8</project.build.sourceEncoding>
        <java-version>1.7</java-version>
        <org.springframework-version>3.2.2.RELEASE</org.springframework-version>
        <org.aspectj-version>1.6.10</org.aspectj-version>
        <org.slf4j-version>1.6.1</org.slf4j-version>
    </properties>

    <dependencies>
        <!-- Spring -->
        <dependency>
            <groupId>org.springframework</groupId>
            <artifactId>spring-context</artifactId>
            <version>${org.springframework-version}</version>
        </dependency>
        <dependency>
            <groupId>org.springframework</groupId>
            <artifactId>spring-webmvc</artifactId>
            <version>${org.springframework-version}</version>
        </dependency>
        <dependency>
            <groupId>org.springframework</groupId>
            <artifactId>spring-context-support</artifactId>
            <version>${org.springframework-version}</version>
        </dependency>
        <dependency>
            <groupId>commons-logging</groupId>
            <artifactId>commons-logging</artifactId>
            <version>1.1.3</version>
        </dependency>
        <!-- Spring security -->
        <dependency>
            <groupId>org.springframework.security</groupId>
            <artifactId>spring-security-core</artifactId>
            <version>3.1.4.RELEASE</version>
        </dependency>
        <dependency>
            <groupId>org.springframework.security</groupId>
            <artifactId>spring-security-web</artifactId>
            <version>3.1.3.RELEASE</version>
        </dependency>
        <dependency>
            <groupId>org.springframework.security</groupId>
            <artifactId>spring-security-config</artifactId>
            <version>3.1.3.RELEASE</version>
        </dependency>
        <dependency>
            <groupId>org.springframework.security</groupId>
            <artifactId>spring-security-crypto</artifactId>
            <version>3.1.3.RELEASE</version>
        </dependency>
        <dependency>
            <groupId>org.springframework.security</groupId>
            <artifactId>spring-security-taglibs</artifactId>
            <version>3.1.3.RELEASE</version>
        </dependency>
        <dependency>
            <groupId>junit</groupId>
            <artifactId>junit</artifactId>
            <version>3.8.1</version>
            <scope>test</scope>
        </dependency>
    </dependencies>
</project>
這樣一個專案就構建完成了,部署到tomcat進行測試。
六、結果
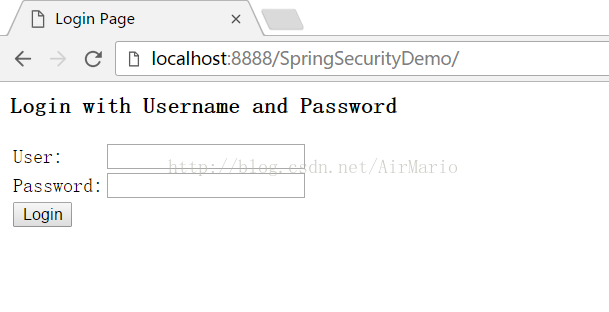
在瀏覽器上輸入:http://localhost:8888/SpringSecurityDemo/,因為沒有登陸,所以無法訪問index.jsp頁面,這個時候spring security就起作用了,對資源進行攔截,因為沒有符合許可權的使用者登陸,所以就跳轉到登陸頁面,其中這個登陸頁面是Spring Security自動生成的,這也是auto-config=”true”起的作用之一。
然後輸入使用者名稱和密碼,成功跳轉到index.jsp頁面。
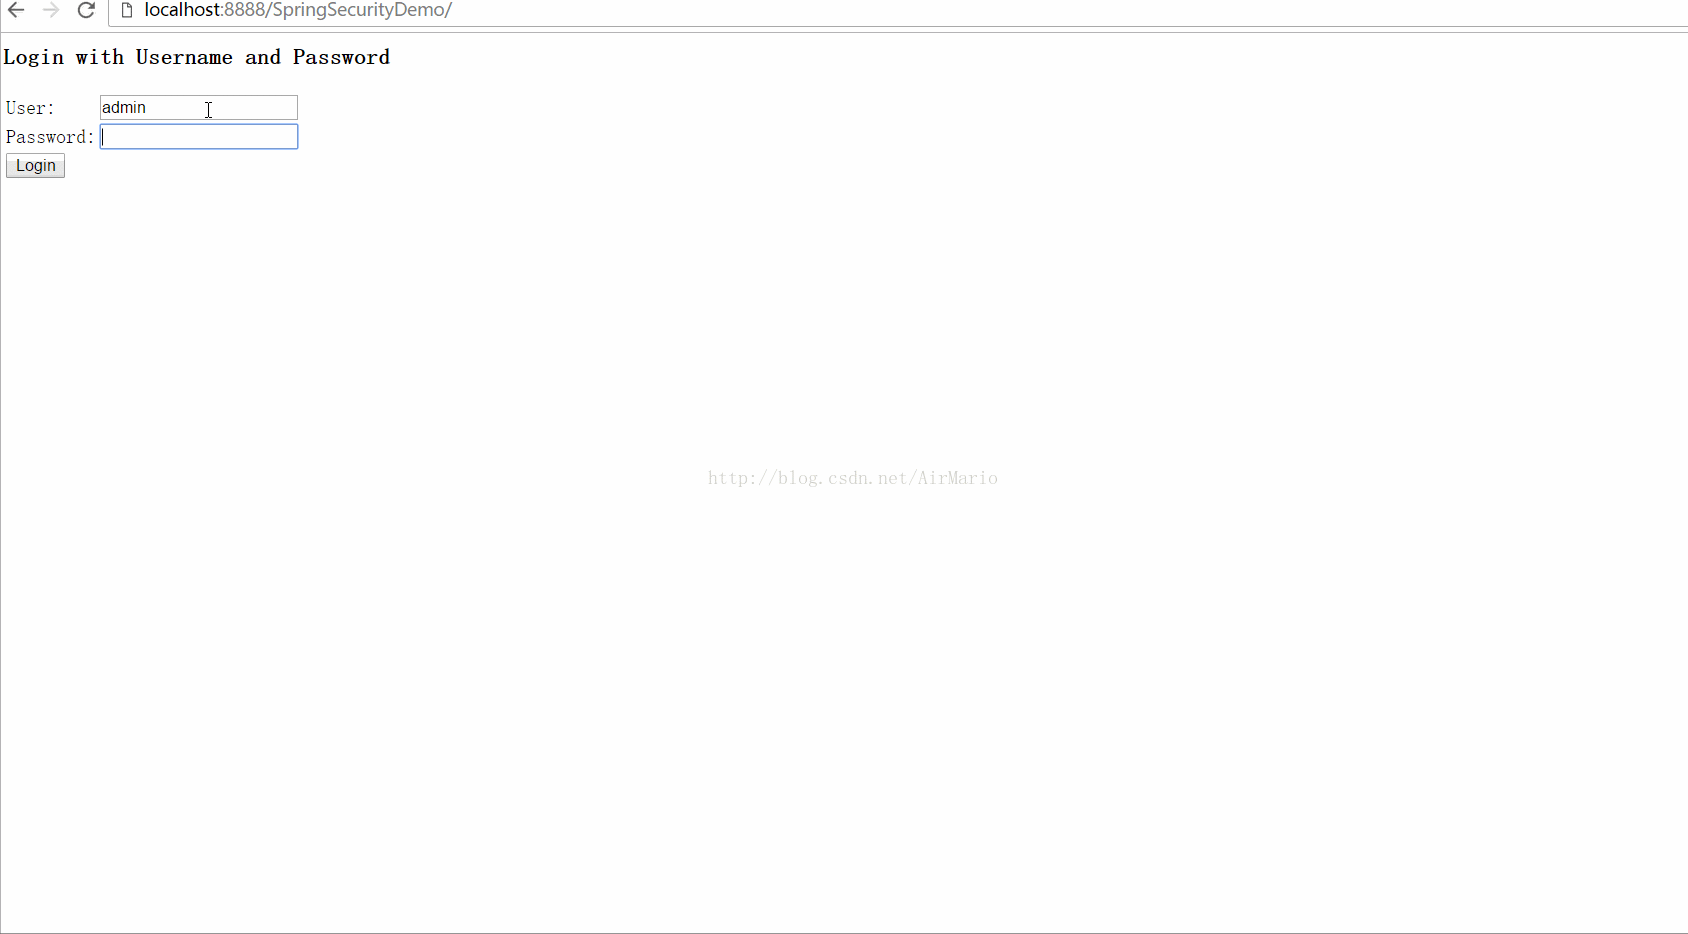
這裡因為admin使用者有ROLE_ADMIN和ROLE_USER許可權,而index.jsp頁面ROLE_USER許可權即可訪問,所以admin使用者可以成功訪問index.jsp和adminPage.jsp頁面。
下面再來測試使用者user,注意已經登陸了的話,應該重啟瀏覽器,要不然會一直記住使用者,無法做測試。
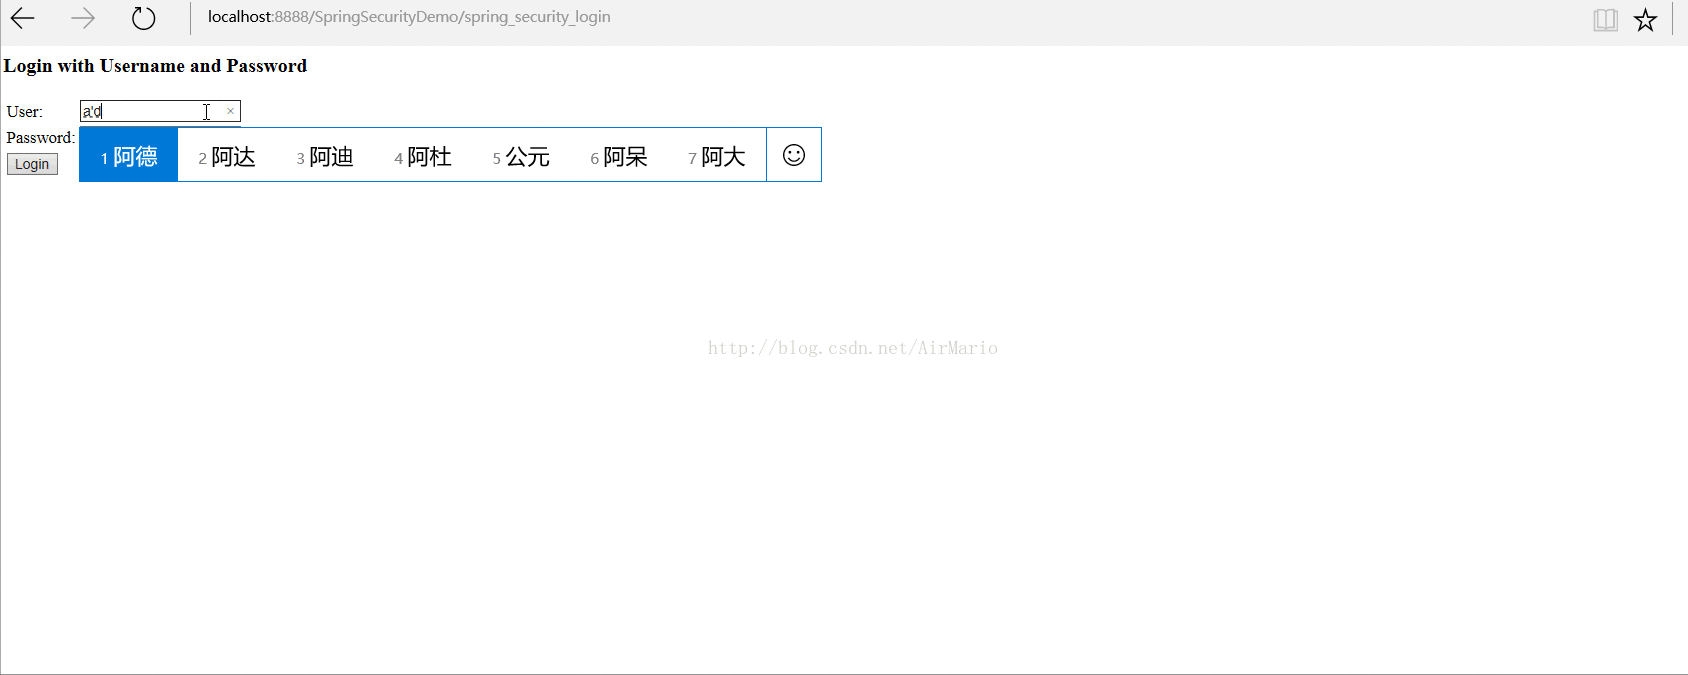
從上圖中可以看到,登陸使用者user,可以訪問index.jsp頁面但是無法訪問adminPage.jsp。這是因為user使用者只有ROLE_USER許可權,而adminPage.jsp頁面需要ROLE_USER許可權,所以就拒絕訪問。
以上就是一個簡單的spring security配置應用。