
Vue整合Ueditor的前後端實現
對比其他的富文字編輯器,Ueditor的功能相對來說是最強的,對於在Vue中整合Ueditor想必還是有這個需求的。
下面具體說下如何在Vue中整合Ueditor以及在後端如何進行配置提供上傳功能。
我對比了多個在網上找到的方法,也分別做了實驗,其中感覺最簡便的是Github上網友提供的外掛:vue-ueditor-wrap,他借用Vue提供的語法糖實現了資料的雙向繫結,不用你自己去getContent或setContent
Github地址為:vue-ueditor-wrap
首先做下準備工作,從Ueditor官網上下載Ueditor完整原始碼以及Jsp版本
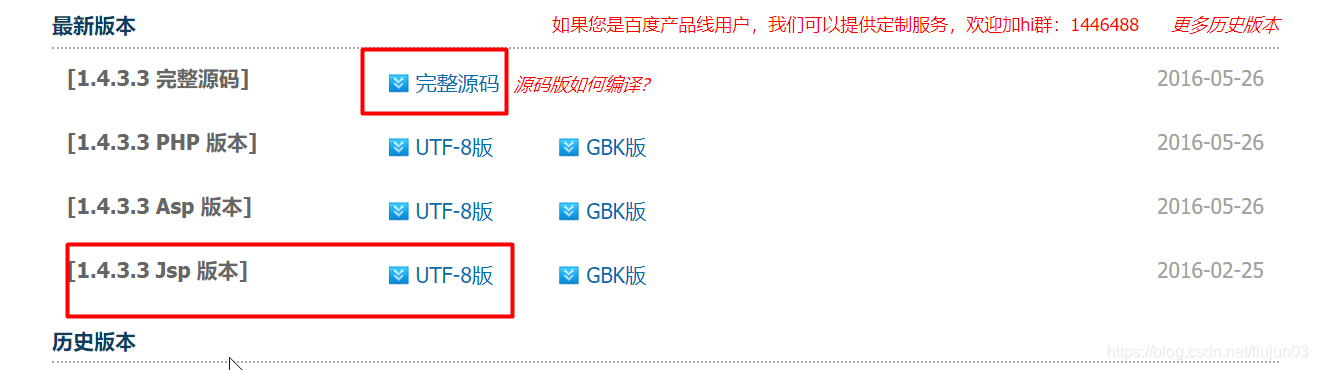
Ueditor官網地址為: Ueditor
下載好之後,將Jsp版本解壓,解壓後文件夾改名為ueditor,將資料夾中的jsp目錄刪掉,之後將整個ueditor資料夾拷貝到Vue的public目錄下,我是使用vue-cli3.0建立的專案,沒有static目錄只有public目錄,專案結構如下:

這是前期的準備工作,做完之後,開始安裝vue-ueditor-wrap外掛:
npm install --save vue-ueditor-wrap
安裝成功之後,就可以嘗試使用了
下面是我的測試頁面 Ueditor.vue
<template>
    <Card class="ueditor">
      <vue-ueditor-wrap v-model="content" :config="myConfig"></vue-ueditor-wrap>
      {{ content }}
    </Card>
</template>

<script>
  import VueUeditorWrap from 'vue-ueditor-wrap'
  export default {
    name: 'Ueditor',
    components: {VueUeditorWrap},
    data () {
      return {
        myConfig: {
          // 如果需要上傳功能,找後端小夥伴要伺服器介面地址
          // serverUrl: this.$config.baseUrl + 'ueditor/ueditorConfig',
          // serverUrl: 'http://localhost:8090/ueditor/ueditorConfig',
          // 你的UEditor資源存放的路徑,相對於打包後的index.html
          UEDITOR_HOME_URL: '/ueditor/',
          // 編輯器不自動被內容撐高
          autoHeightEnabled: false,
          // 工具欄是否可以浮動
          autoFloatEnabled: false,
          // 初始容器高度
          initialFrameHeight: 340,
          // 初始容器寬度
          initialFrameWidth: '100%',
          // 關閉自動儲存
          enableAutoSave: true
        },
        content: ''
      }
    }
  }
</script>

<style scoped>

</style>
步驟無外乎這幾步:
-
引入
VueUeditorWrap元件import VueUeditorWrap from 'vue-ueditor-wrap' -
註冊元件
components: {VueUeditorWrap}, -
v-model繫結資料<vue-ueditor-wrap v-model="content" :config="myConfig"></vue-ueditor-wrap>
其中config是你根據自己的需求修改配置,
其中的UEDITOR_HOME_URL: '/ueditor/',這個配置很重要,一定得寫對
這些都完成之後,就可以在頁面上測試一番了。
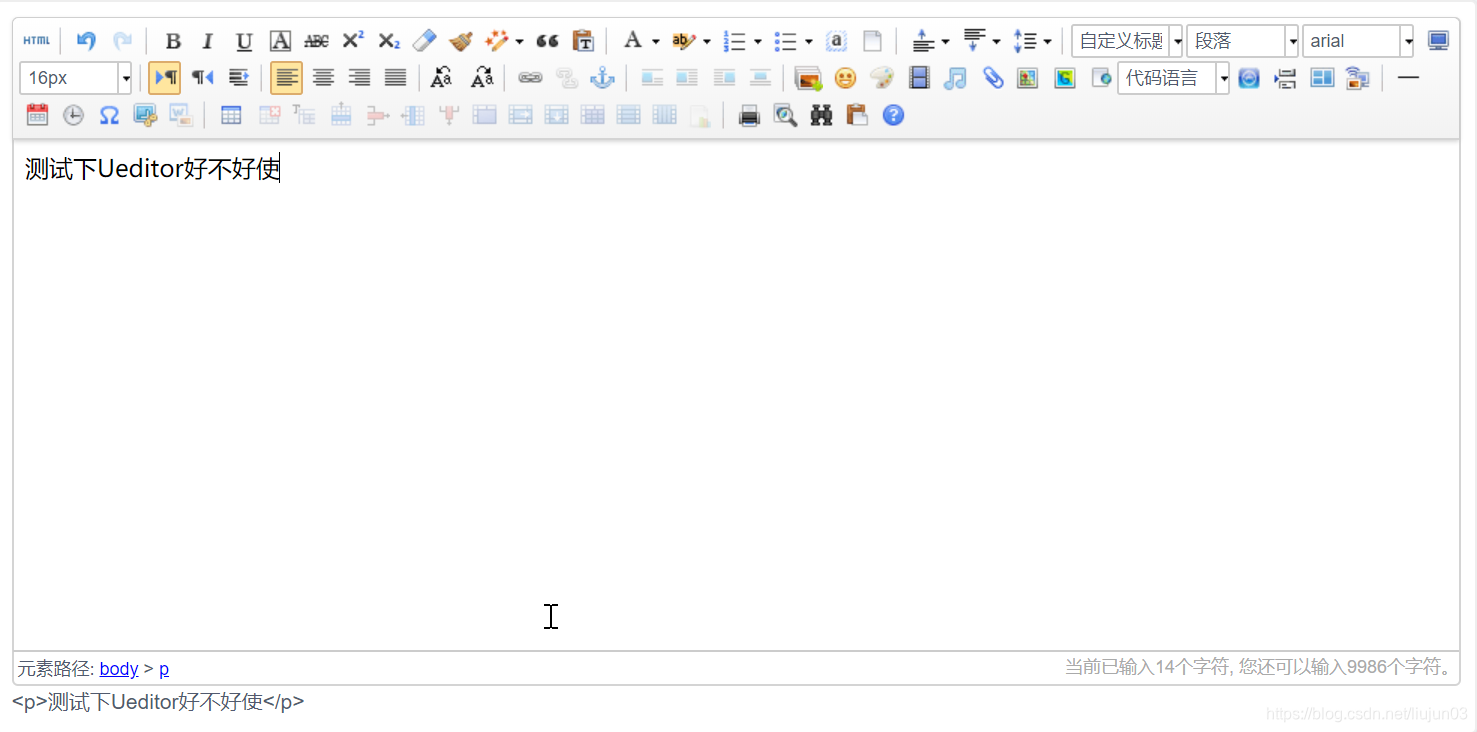
這樣的話基本功能就全都出來了,下面介紹下如何配合後臺實現上傳功能。
在前後分離之前用過Ueditor的就知道,要使用上傳功能,首先後臺得提供配置檔案,之後就是提供相應的上傳方法了,下面就上傳圖片做個介紹,其他的上傳操作都是類似的。
在前面的準備工作中,我們把Ueditor的原始碼下載下來了,我們找到其中的這個jar包,將之解壓後全部複製到後臺工程中,其他的jar包在pom檔案引入就可以了:

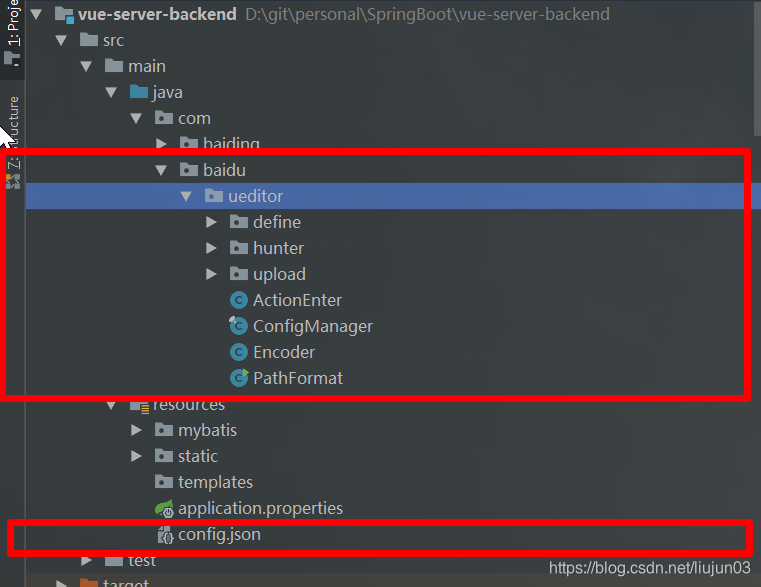
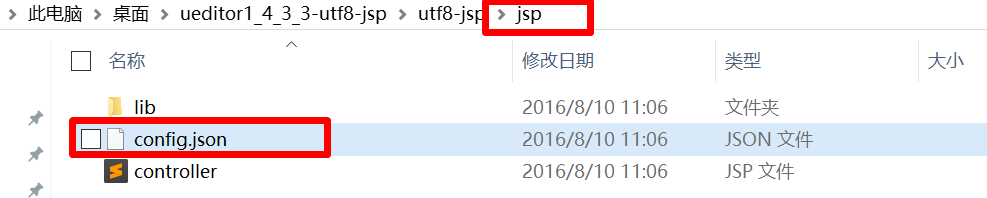
注意到這裡資源目錄下有個config.json檔案,這是Ueditor上傳功能所需的配置檔案,這個檔案在Ueditor-jsp版本的jsp目錄下,找到將之複製到資源目錄中。
現在將所需檔案都複製好之後,就可以來修改原始碼來提供上傳功能了。
原來Ueditor是通過訪問上面截圖中的controller.jsp檔案來初始化配置檔案以及進行上傳操作的,我們現在將之用程式碼進行替換。
下面看一下我寫的提供配置檔案以及提供上傳圖片功能的原始碼:
package com.baiding.vue.controller;

import com.baidu.ueditor.ActionEnter;
import org.json.JSONObject;
import org.slf4j.Logger;
import org.slf4j.LoggerFactory;
import org.springframework.web.bind.annotation.RequestMapping;
import org.springframework.web.bind.annotation.RestController;
import org.springframework.web.multipart.MultipartFile;

import javax.servlet.http.HttpServletRequest;
import javax.servlet.http.HttpServletResponse;
import java.io.IOException;
import java.io.PrintWriter;
import java.util.HashMap;
import java.util.Map;
import java.util.UUID;

/**
 * @Author: BaiDing
 * @Date: 2018/8/30 11:58
 * @Email: [email protected]
 */
@RestController
public class UeditorController {

    private static final Logger logger = LoggerFactory.getLogger(UeditorController.class);

    @RequestMapping("/ueditor/ueditorConfig")
    public void ueditorConfig(HttpServletRequest request, HttpServletResponse response, MultipartFile upfile) {

        response.setContentType("application/json");
        String rootPath = request.getSession().getServletContext().getRealPath("/");
        try {
            String exec = "";
            String actionType = request.getParameter("action");
            if("uploadimage".equals(actionType) && !upfile.isEmpty()){
                // 做圖片上傳操作
                exec = uploadImage(upfile);

            }else{
                request.setCharacterEncoding( "utf-8" );
                exec = new ActionEnter(request, rootPath).exec();
            }
            PrintWriter writer = response.getWriter();
            writer.write(exec);
            writer.flush();
            writer.close();
        } catch (IOException e) {
            logger.error("UeditorController#ueditorConfig exception:",e);
        }
    }

    private String uploadImage(MultipartFile file) {
        JSONObject jsonResult = null;
        try {
            String fileName = file.getOriginalFilename();
            String extraName = fileName.substring(fileName.lastIndexOf("."));
            // 這裡就是上傳圖片的具體邏輯了,原本是通過fastdfs來上傳圖片的,這裡就簡單生成個字串假裝上傳成功了吧
//            String url = FastdfsUtil.upload(file.getBytes(), file.getOriginalFilename());
            String str = UUID.randomUUID().toString();
            String url = "http://dfs.image.com/"+str+".png ";
            jsonResult = new JSONObject(resultMap("SUCCESS",url,file.getSize(),fileName,fileName,extraName));

        } catch (Exception e) {
            logger.warn("UeditorController#uploadImage exception:",e);
            jsonResult = new JSONObject(resultMap("檔案上傳失敗","",0,"","",""));
        }
        return jsonResult.toString();
    }

    //{"state": "SUCCESS","original": "111.jpg","size": "124147","title": "1535961757878095151.jpg","type": ".jpg","url": "/1535961757878095151.jpg"}

    private Map<String,Object> resultMap(String state, String url, long size, String title, String original, String type){
        Map<String ,Object> result = new HashMap<>();
        result.put("state",state);
        result.put("original",original);
        result.put("size",size);
        result.put("title",title);
        result.put("type",type);
        result.put("url", url);
        return result;
    }

}
Ueditor訪問後臺時會在url後面帶上操作型別即action這個引數,來表明它是要獲取配置檔案還是要上傳圖片或者上傳視訊的。所以我通過對這個action來判斷接下來的操作:
String actionType = request.getParameter("action");
if("uploadimage".equals(actionType) && !upfile.isEmpty()){
    // 做圖片上傳操作
    exec = uploadImage(upfile);

}else{
    request.setCharacterEncoding( "utf-8" );
    exec = new ActionEnter(request, rootPath).exec();
}
如果是上傳圖片的話就執行自定義操作,如果是獲取配置檔案的話就去上面複製進來的原始碼中執行。
上面我們將配置檔案複製到了資源目錄下,所以接下來修改下獲取配置檔案的原始碼,很簡單的:
找到ConfigManager檔案:

之後在156行左右找到:
String configContent = this.readFile( this.getConfigPath() );
將之替換為:
String configJsonPath = null;
try {
    configJsonPath = this.getClass().getClassLoader().getResource("config.json").toURI().getPath();
} catch (URISyntaxException e) {
    e.printStackTrace();
}
String configContent = this.readFile( configJsonPath );

按上述一步步操作之後,後臺關於獲取上傳配置檔案以及提供上傳圖片功能就完成了,接下來在前臺配置一下訪問Url就可以了。

這個serverurl就是Ueditor訪問後臺的路徑了,將之配置正確之後,就可以測試上傳圖片功能了。

這是上傳成功之後得到的url.
單圖上傳功能的話你必須得在前端做這個serverUrl的代理,否則會報上傳失敗的錯誤
題外話:專案得在線上使用,單圖上傳功能在測試的時候可以通過在前端配置代理解決跨域問題,但是在線上的話這個跨域問題由於單圖上傳的邏輯暫時得不到解決,所以我把單圖上傳按鈕給去掉了,要上傳圖片就使用多圖上傳。
下面推薦一下我自己寫的一個完整的Vue後臺管理專案,裡面基本後臺需要的功能都有的: