LNMP搭建WordPress部落格系統
阿新 • • 發佈:2018-11-27
1、部署LNMP環境
部署MySQL環境,並啟動服務
yum -y install mariadb


systemctl start mariadb.service部署PHP環境,並啟動php-fpm服務。(確保Linux可以連線外網)
 rpm -Uvh https://dl.fedoraproject.org/pub/epel/epel-release-latest-7.noarch.rpm

rpm -Uvh https://mirror.webtatic.com/yum/el7/webtatic-release.rpm

yum install php72-php-fpm php72-php-common php72-php-mbstring php72-php-xmlrpc php72-php-soap php72-php-gd php72-php-xml php72-php-intl php72-php-mysql php72-php-cli php72-php-zip php72-php-curl

systemctl start php-fpm.service   #啟動php-fpm服務
啟動Nginx服務(安裝Nginx的步驟請看連結:https://blog.csdn.net/vincen123/article/details/82948728)
systemctl start nginx.service2、建立一個名為 wds 的資料庫,併為該資料庫建立一個使用者,賦予許可權
MariaDB [(none)]> create database wds;  #建立名為wds的資料庫
MariaDB [(none)]> grant all privileges on wds.* to [email protected]'localhost' identified by '123456';
#對於wds資料庫建立一個wds使用者,密碼為123456,賦予這個使用者對於wds資料庫的所有許可權
MariaDB [(none)]> flush privileges;  #重新整理許可權表
3、在 /opt/wordpress 目錄裡下載WordPress中文版的原始碼包,並解壓
 mkdir /opt/wdcode
cd /opt/wdcode
wget https://cn.wordpress.org/wordpress-4.9.4-zh_CN.tar.gz
tar -zvxf wordpress-4.9.4-zh_CN.tar.gz
3、修改Nginx配置檔案
vim /etc/nginx/conf.d/default.conf
server {
    listen       80;
    server_name  localhost;

    #charset koi8-r;
    #access_log  /var/log/nginx/host.access.log  main;
    root /opt/wdcode;

    location / {
        try_files $uri $uri/ /index.php?$args;
        index index.php index.html index.htm;
    }

## PHP配置 ##
    location ~ \.php$ {
        fastcgi_pass   127.0.0.1:9000;
        fastcgi_index  index.php;
        include        fastcgi_params;
        fastcgi_param  SCRIPT_FILENAME  $document_root$fastcgi_script_name;
    }
檢查Nginx配置語法
nginx -tc /etc/nginx/nginx.conf 4、重新載入Nginx服務
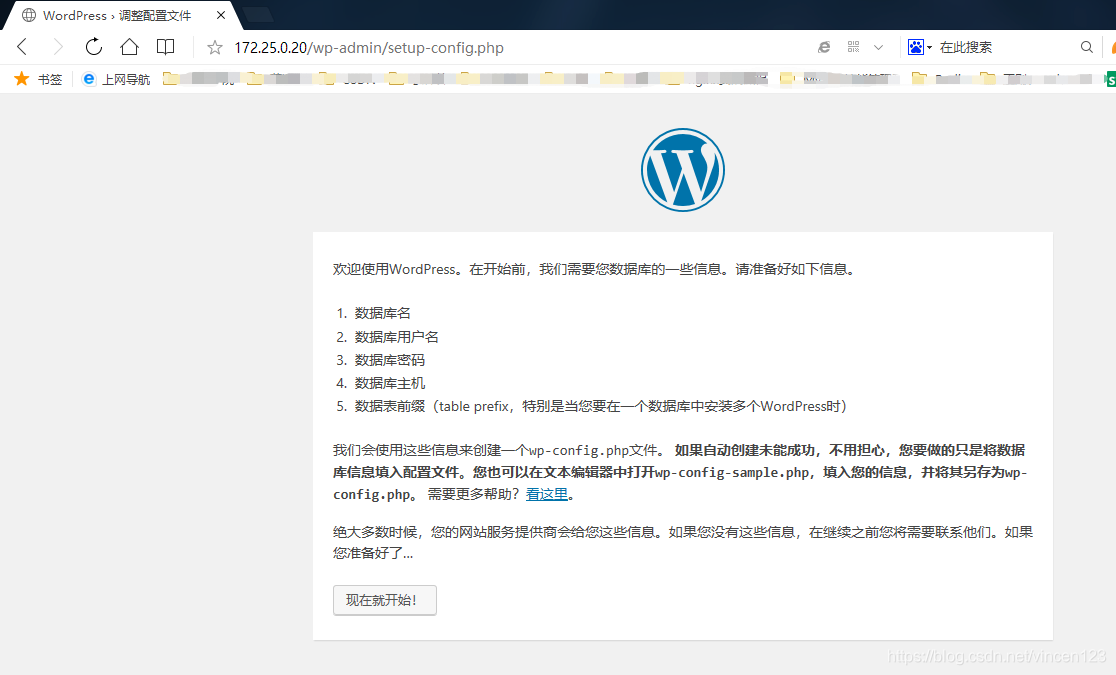
nginx -s reload -c /etc/nginx/nginx.conf 在瀏覽器訪問(linuxIP): 172.25.0.20


遇到上面這種情況,先在wordpress目錄下檢視是否有wp-config.php檔案,如果有則在 /opt/wdcode 路徑下執行 chown -R nginx wordpress/ 命令,然後再回到網頁頁面點選“現在安裝”。
如果在wordpress目錄下沒有wp-config.php檔案,則在/opt/wdcode目錄下建立名為 wp-config.php ,並將頁面上的提示把那些資訊複製到這個檔案裡,然後儲存並退出。回到頁面上點選進行下一步安裝。

填好資訊點選安裝後,就已經安裝完成了

