周強、張季躍,馬凱軍《面向物件與程式設計Java》第十四周學習總結
實驗十四 Swing圖形介面元件
實驗時間 20178-11-29
理論部分:不使用佈局管理器
有時候可能不想使用任何佈局管理器,而只 是想把元件放在一個固定的位置上。下面是將一 個元件定位到某個絕對定位的步驟:
1)將佈局管理器設定為null。
2)將元件新增到容器中。
3)指定想要放置的位置和大小。 frame.setLayout(null); Jbutton ok = new Jbutton("ok"); frame.add(ok); ok.setBounds(10,10,30,15);
定製佈局管理器
程式設計師可通過自己設計LayoutManager類來實現特殊的佈局方式。定製佈局管理器需要實現LayoutManager介面,並覆蓋以下方法。 void addLayoutComponent(String s,Component c);
將元件新增到佈局中
引數:s:元件位置的識別符號
c:被新增的元件
void removeLayoutComponent(Component c);
從本佈局中刪除一個元件
Dimension preferredLayoutSize(Container parent);
返回本佈局下的容器的首選尺寸
Dimension minimumLayoutSize(Container panent);
返回本佈局下的容器的最小尺寸
void layoutContainer(container parent);
擺放容器內的元件
在新增或刪除一個元件時會呼叫前面兩個方法。如果不需要儲存元件的任何附加資訊那麼可以讓著兩個方法什麼都不做。接下來的兩個方法計算元件的最小布局和首選佈局所需要的空間。兩者通常相等,第五個方法真正的實施操作,它呼叫所有元件的Setbounds方法。
遍歷順序
當把很多元件新增到視窗中時,需要考慮遍歷順序問題。視窗被初次使用時,遍歷序列的第一個元件會有鍵盤焦點。沒詞使用者按下TAB鍵,下一個元件就會獲得焦點,
遍歷順序很直觀,順序是從左至右,從上至下,元件按照以下順序進行遍歷:
(1)外觀組合框:
(2)示例文字區:
(3)尺寸組合框:
(4)加粗複選框:
(5)斜體複選框;
如果容器還包括其他的容器,情況會更加複雜。當然點給予另外一個容器時,那個容器左上角的元件就會自動的活動焦點,然後再遍歷那個額容器中的所有元件。最後,將焦點移交給緊跟著那個容器的元件。利用這一點可以將相關元素組織在一起並放置在一個容器中。例如放置在一個面板中。
1、實驗目的與要求
(1) 掌握GUI佈局管理器用法;
(2) 掌握各類Java Swing元件用途及常用API;
2、實驗內容和步驟
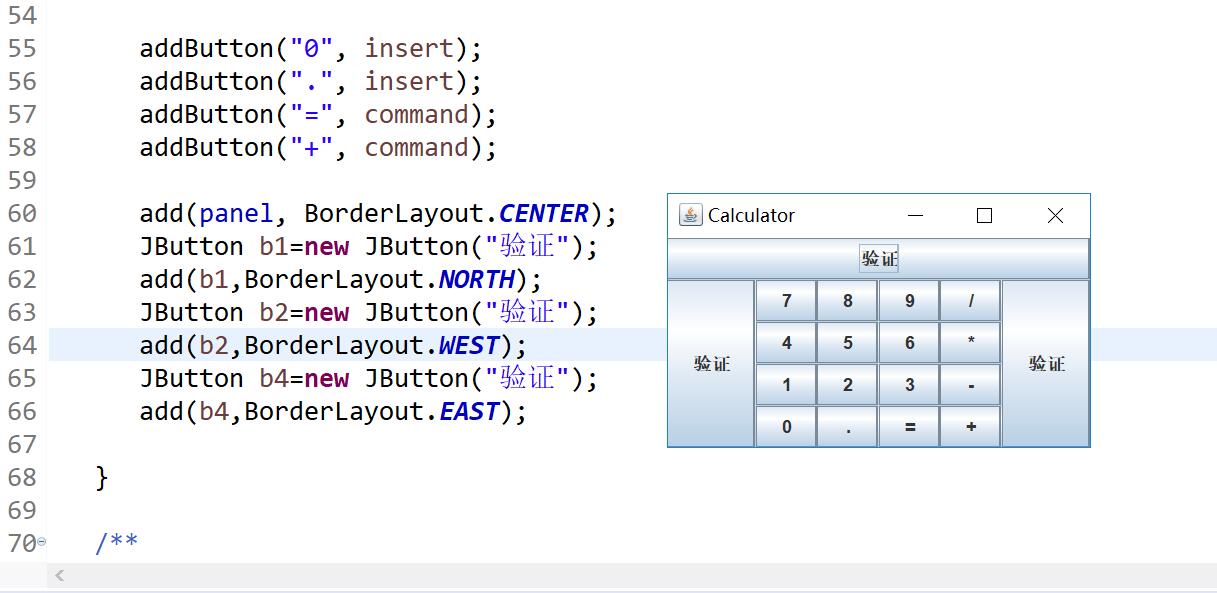
實驗1: 匯入第12章示例程式,測試程式並進行組內討論。
測試程式1
l 在elipse IDE中執行教材479頁程式12-1,結合執行結果理解程式;
l 掌握各種佈局管理器的用法;
l 理解GUI介面中事件處理技術的用途。
l 在佈局管理應用程式碼處添加註釋;
測試程式2
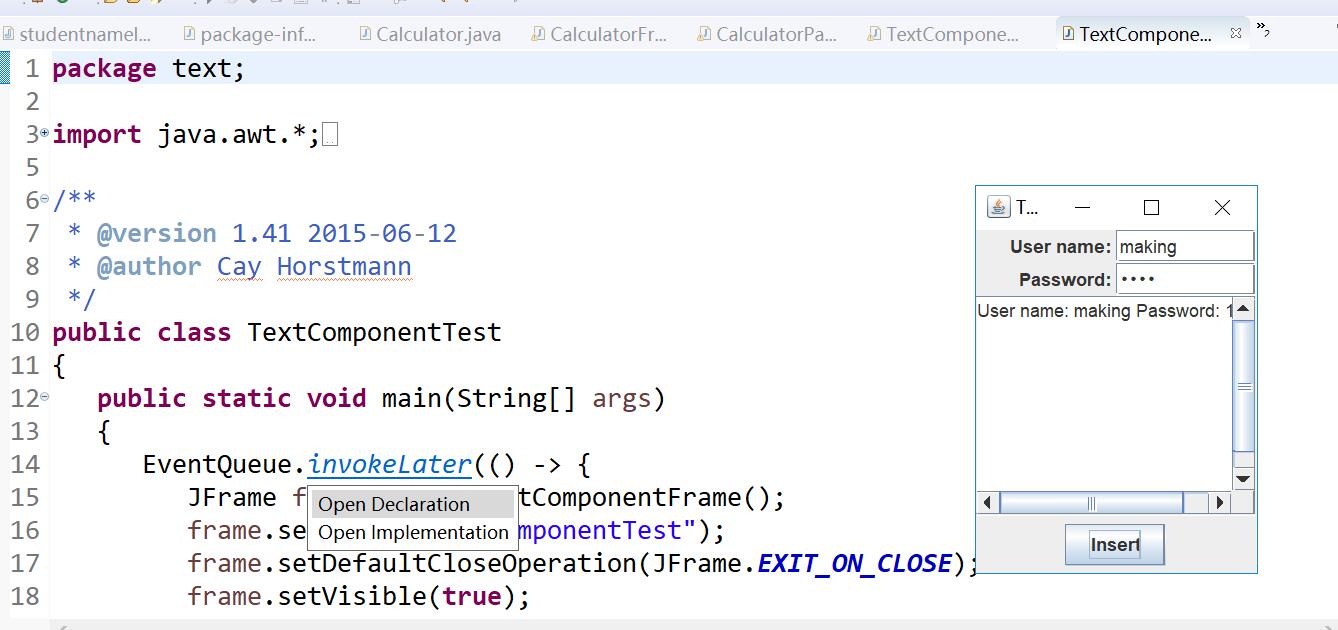
l 在elipse IDE中除錯執行教材486頁程式12-2,結合執行結果理解程式;
l 掌握各種文字元件的用法;
l 記錄示例程式碼閱讀理解中存在的問題與疑惑。
測試程式3
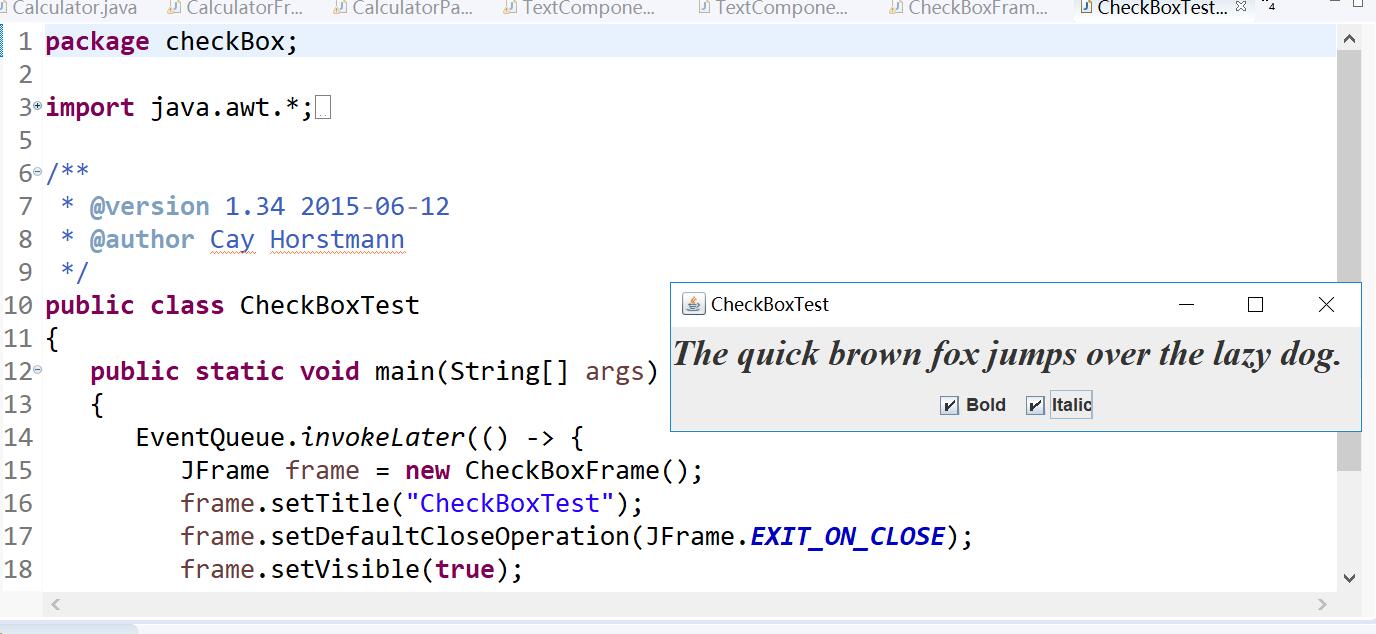
l 在elipse IDE中除錯執行教材489頁程式12-3,結合執行結果理解程式;
l 掌握複選框元件的用法;
l 記錄示例程式碼閱讀理解中存在的問題與疑惑。
測試程式4
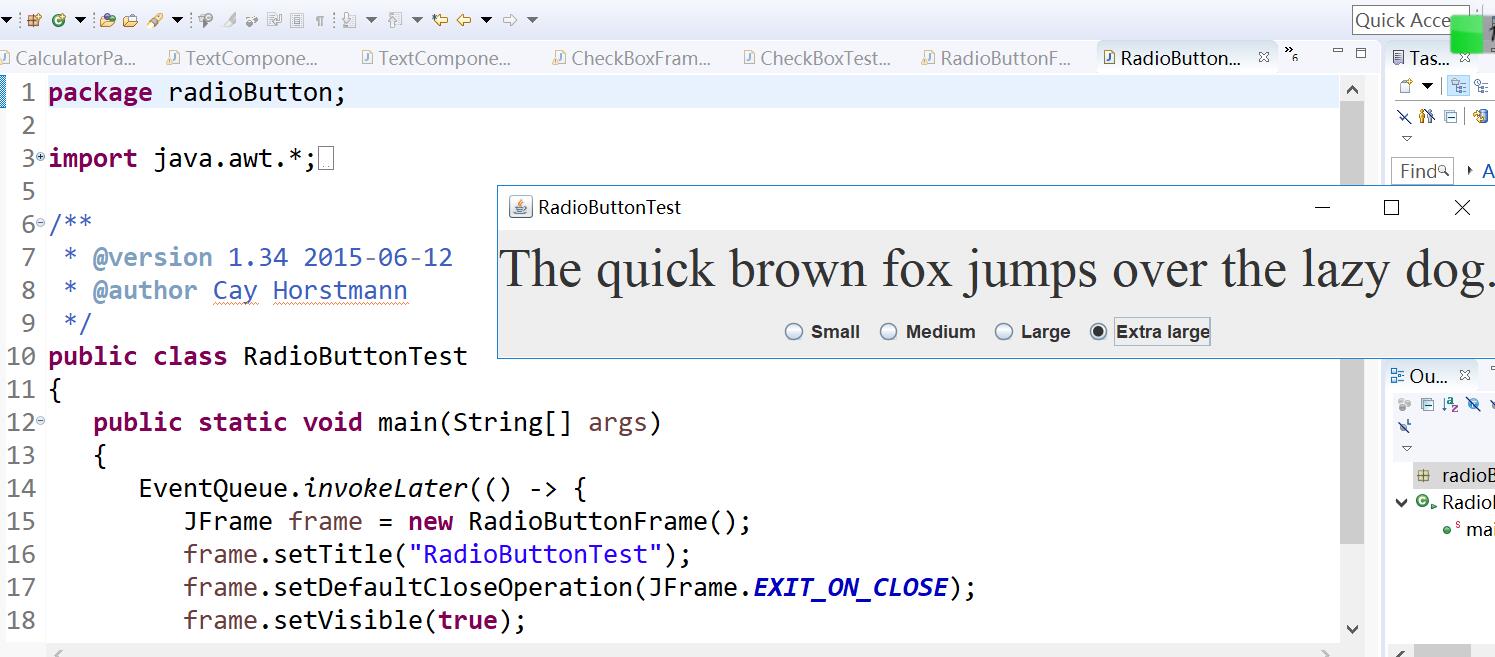
l 在elipse IDE中除錯執行教材491頁程式12-4,執行結果理解程式;
l 掌握單選按鈕元件的用法;
l 記錄示例程式碼閱讀理解中存在的問題與疑惑。
測試程式5
l 在elipse IDE中除錯執行教材494頁程式12-5,結合執行結果理解程式;
l 掌握邊框的用法;
l 記錄示例程式碼閱讀理解中存在的問題與疑惑。
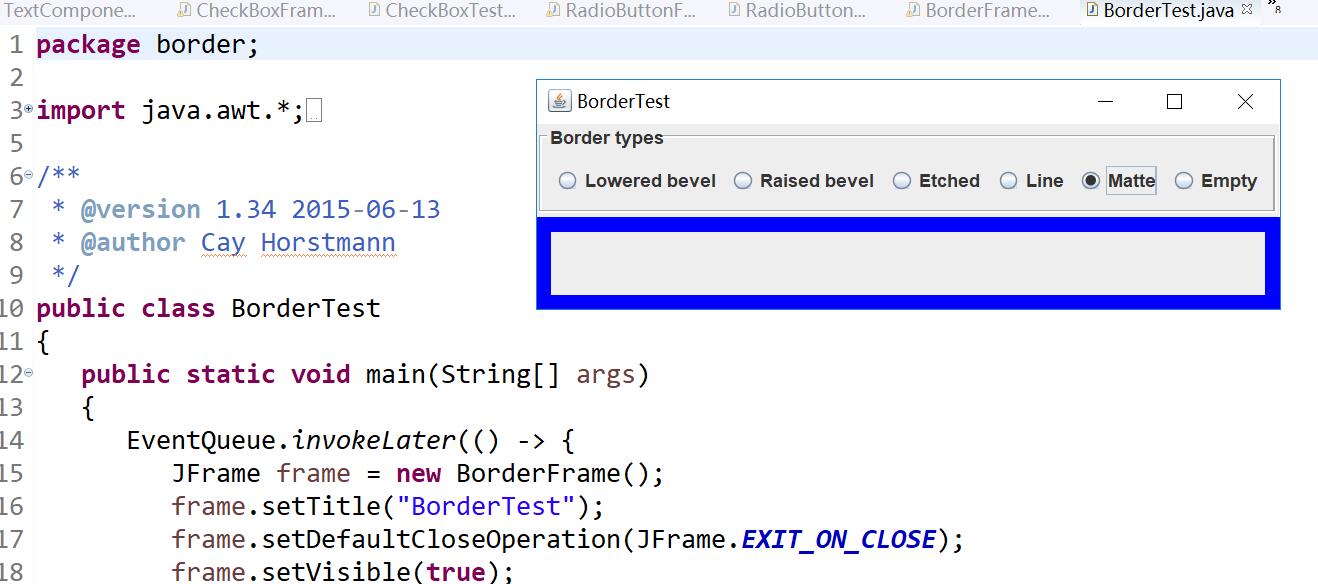
測試程式6
l 在elipse IDE中除錯執行教材498頁程式12-6,結合執行結果理解程式;
l 掌握組合框元件的用法;
l 記錄示例程式碼閱讀理解中存在的問題與疑惑。
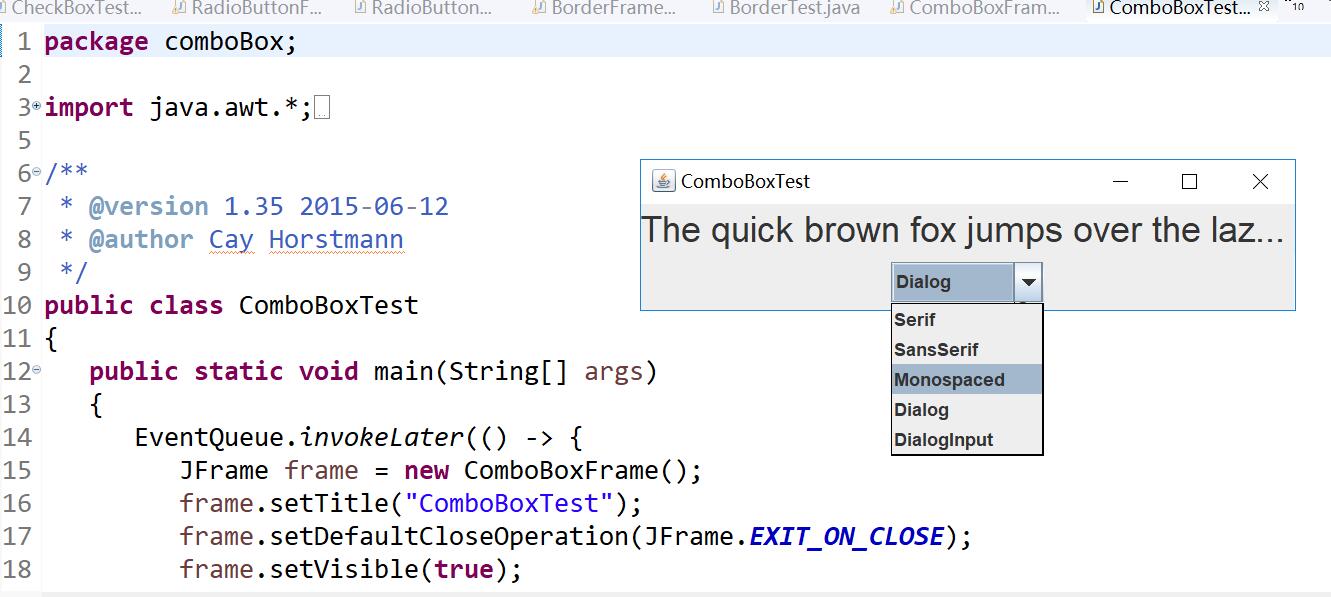
測試程式7
l 在elipse IDE中除錯執行教材501頁程式12-7,結合執行結果理解程式;
l 掌握滑動條元件的用法;
l 記錄示例程式碼閱讀理解中存在的問題與疑惑。

測試程式8
l 在elipse IDE中除錯執行教材512頁程式12-8,結合執行結果理解程式;
l 掌握選單的建立、選單事件監聽器、複選框和單選按鈕選單項、彈出選單以及快捷鍵和加速器的用法。
l 記錄示例程式碼閱讀理解中存在的問題與疑惑。

測試程式9
l 在elipse IDE中除錯執行教材517頁程式12-9,結合執行結果理解程式;
l 掌握工具欄和工具提示的用法;
l 記錄示例程式碼閱讀理解中存在的問題與疑惑。
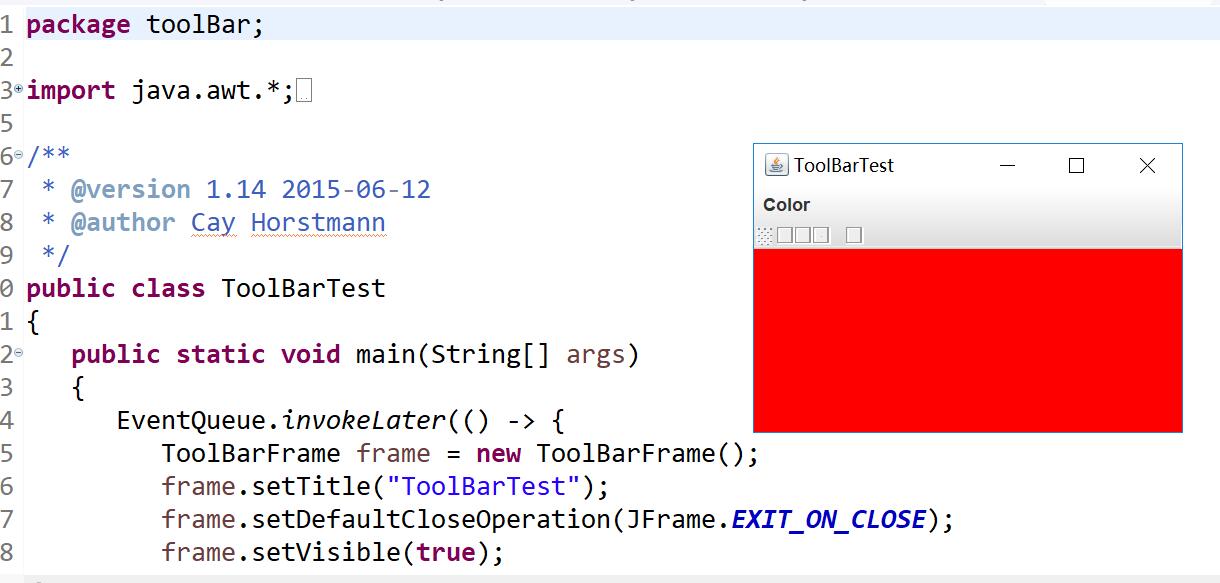
測試程式10
l 在elipse IDE中除錯執行教材524頁程式12-10、12-11,結合執行結果理解程式,瞭解GridbagLayout的用法。
l 在elipse IDE中除錯執行教材533頁程式12-12,結合程式執行結果理解程式,瞭解GroupLayout的用法。
l 記錄示例程式碼閱讀理解中存在的問題與疑惑。
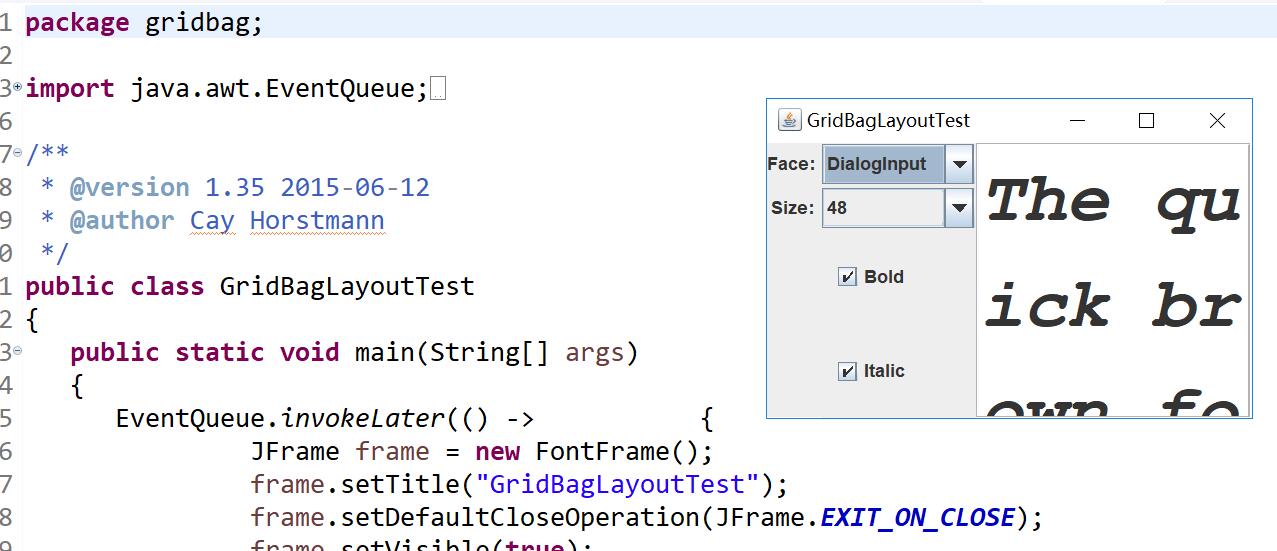
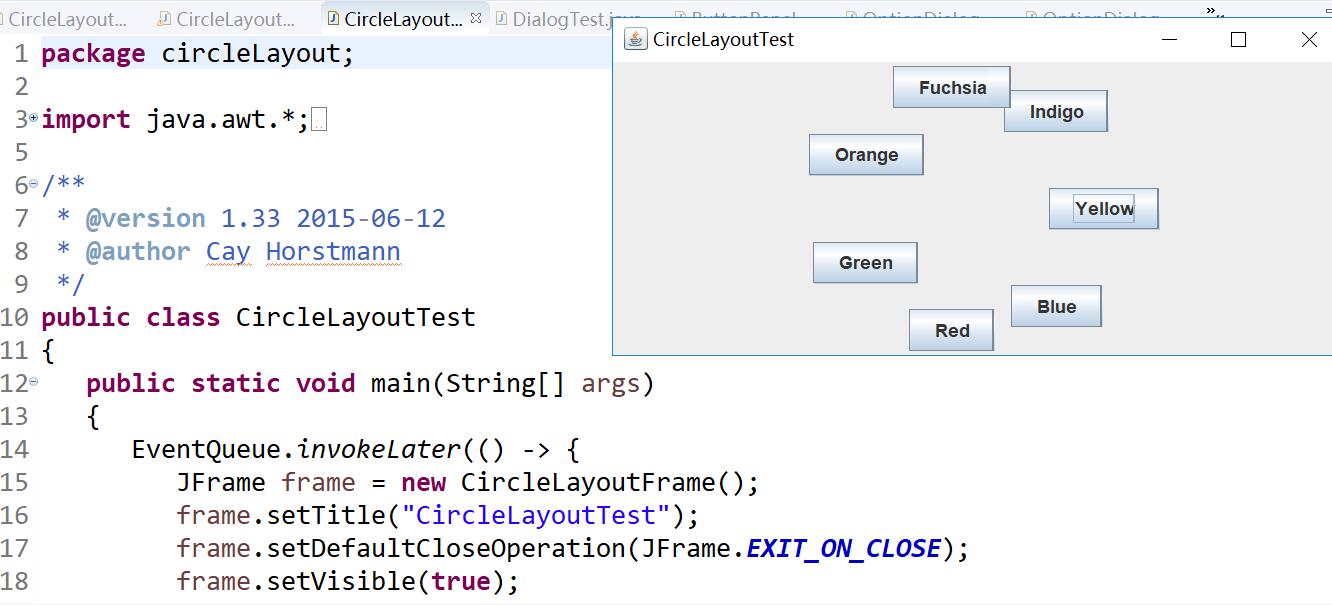
測試程式11
l 在elipse IDE中除錯執行教材539頁程式12-13、12-14,結合執行結果理解程式;
l 掌握定製佈局管理器的用法。
l 記錄示例程式碼閱讀理解中存在的問題與疑惑。
測試程式12
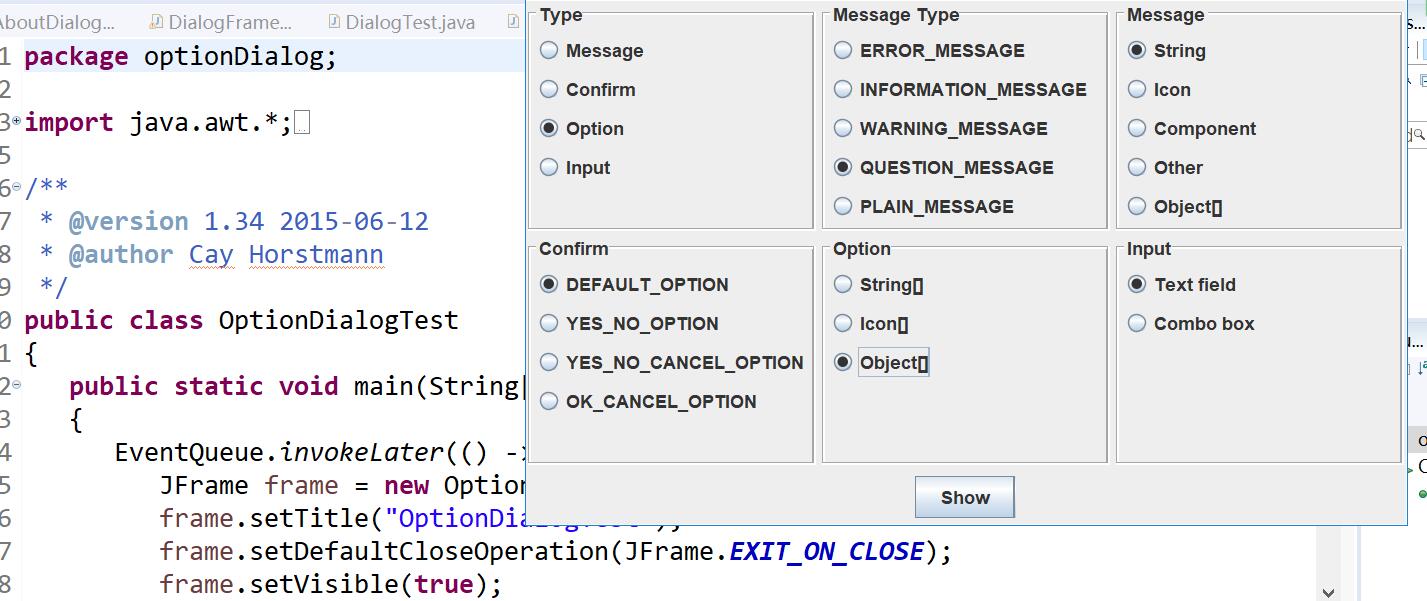
l 在elipse IDE中除錯執行教材544頁程式12-15、12-16,結合執行結果理解程式;
l 掌握選項對話方塊的用法。
l 記錄示例程式碼閱讀理解中存在的問題與疑惑。
測試程式13
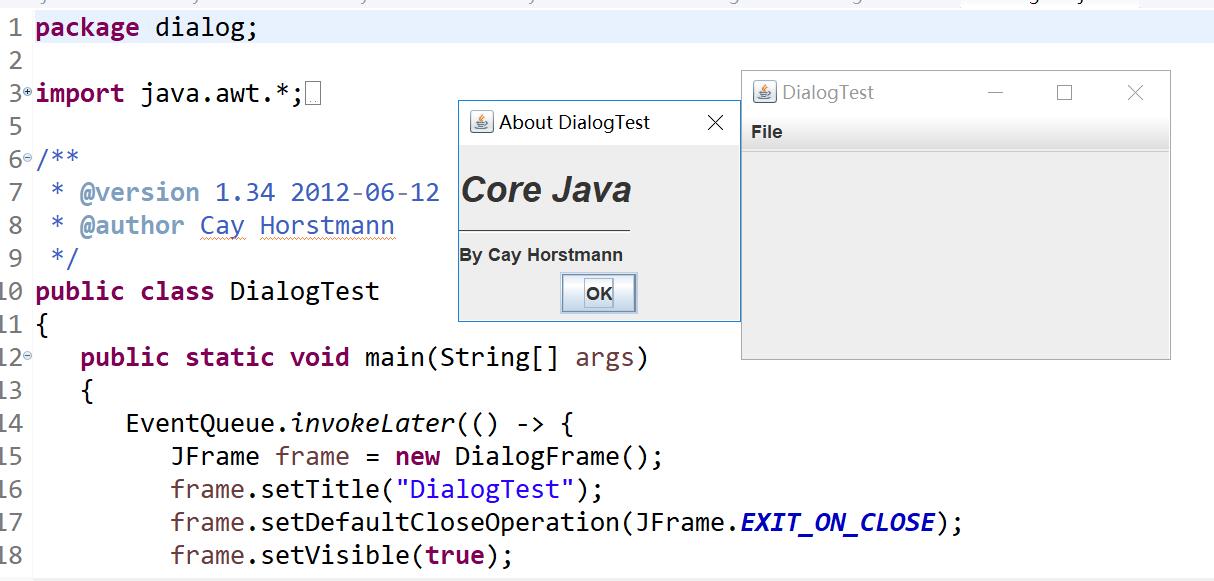
l 在elipse IDE中除錯執行教材552頁程式12-17、12-18,結合執行結果理解程式;
l 掌握對話方塊的建立方法;
l 記錄示例程式碼閱讀理解中存在的問題與疑惑。
測試程式14
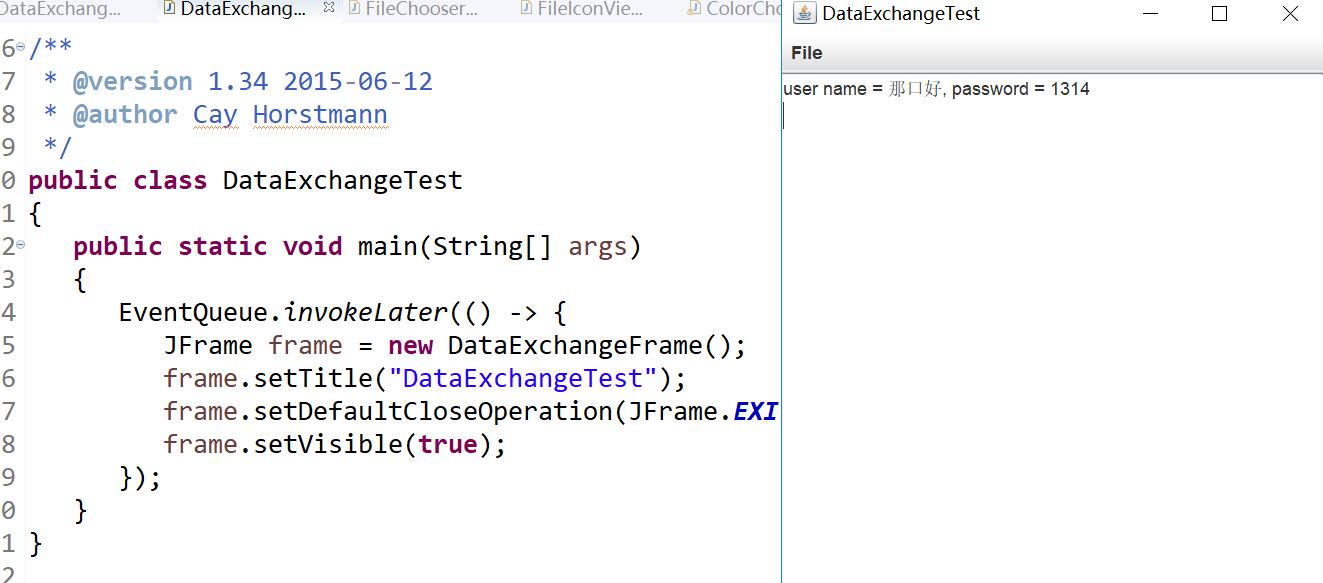
l 在elipse IDE中除錯執行教材556頁程式12-19、12-20,結合執行結果理解程式;
l 掌握對話方塊的資料交換用法;
l 記錄示例程式碼閱讀理解中存在的問題與疑惑。
測試程式15
l 在elipse IDE中除錯執行教材556頁程式12-21、12-2212-23,結合程式執行結果理解程式;
l 掌握檔案對話方塊的用法;
l 記錄示例程式碼閱讀理解中存在的問題與疑惑。

測試程式16
l 在elipse IDE中除錯執行教材570頁程式12-24,結合執行結果理解程式;
l 瞭解顏色選擇器的用法。
l 記錄示例程式碼閱讀理解中存在的問題與疑惑。
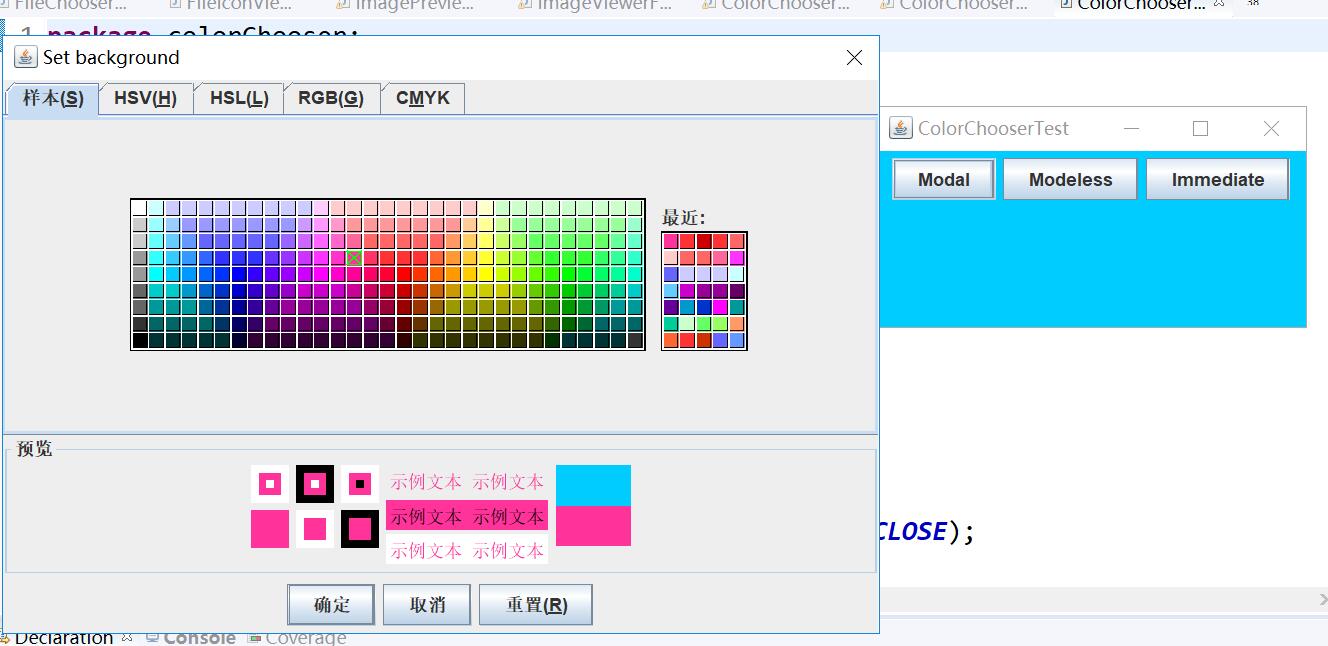
實驗2:組內討論反思本組負責程式,理解程式總體結構,梳理程式GUI設計中應用的相關元件,整理相關元件的API,對程式中元件應用的相關程式碼添加註釋。
實驗:
本組負責的是第十二個實驗,即optionDialog(選項對話方塊),該測試程式中GUI設計中應用的相關元件有:
LayoutManager: 佈局介面,各種佈局類均為其子類
frame.setLayout(佈局物件) //設定窗口布局
null:不使用佈局,此時可以容器內的元件可以呼叫方法,通過座標以及尺寸進行元件定位:
元件定位方法為void setBounds(int x軸,int y軸,int 寬度,int 高度)
Jframe:建立該元件即建立了一個視窗。視窗是一個容器元件,所有內容均可以放入其中。
JPanel:建立一個可加入到JFrame視窗的容器。
JButtton:建立一個按鈕。
JRadioButton:實現一個單選按鈕,此按鈕項可被選擇或取消選擇,並可為使用者顯示其狀態。與 ButtonGroup 物件配合使用可建立一組按鈕,一次只能選擇其中的一個按鈕。
JLabel:用於短文字字串或影象或二者的顯示區。
實驗程式碼:
package optionDialog;
import javax.swing.*;
/**
* A panel with radio buttons inside a titled border.
*/
public class ButtonPanel extends JPanel
//建立一個可加入到JFrame窗體的容器//
{
private ButtonGroup group;
/**
* Constructs a button panel.
* @param title the title shown in the border
* @param options an array of radio button labels
*/
public ButtonPanel(String title, String... options)
{
setBorder(BorderFactory.createTitledBorder(BorderFactory.createEtchedBorder(), title));
setLayout(new BoxLayout(this, BoxLayout.Y_AXIS));
group = new ButtonGroup();
//加入到ButtonGroup中的JRdioButton只有一個可以被選中,而每個JRadioButton獨享一個監聽器,當其被選中時執行監聽器中處理方法。//
// make one radio button for each option
for (String option : options)
{
JRadioButton b = new JRadioButton(option);
//實現一個單選按鈕,此按鈕項可被選擇或取消選擇,並可為使用者顯示其狀態。與 ButtonGroup 物件配合使用可建立一組按鈕,一次只能選擇其中的一個按鈕。//
b.setActionCommand(option);
add(b);
group.add(b);
b.setSelected(option == options[0]);
}
}
/**
* Gets the currently selected option.
* @return the label of the currently selected radio button.
*/
public String getSelection()
{
return group.getSelection().getActionCommand();
}
}
package optionDialog;
import java.awt.*;
import java.awt.event.*;
import java.awt.geom.*;
import java.util.*;
import javax.swing.*;
/**
* A frame that contains settings for selecting various option dialogs.
*/
public class OptionDialogFrame extends JFrame
//Jframe是窗體元件。建立該元件即建立了一個視窗//
{
private ButtonPanel typePanel;
private ButtonPanel messagePanel;
private ButtonPanel messageTypePanel;
private ButtonPanel optionTypePanel;
private ButtonPanel optionsPanel;
private ButtonPanel inputPanel;
private String messageString = "Message";
private Icon messageIcon = new ImageIcon("blue-ball.gif");
private Object messageObject = new Date();
private Component messageComponent = new SampleComponent();
public OptionDialogFrame()
{
JPanel gridPanel = new JPanel();
//建立一個可加入到JFrame窗體的容器//
gridPanel.setLayout(new GridLayout(2, 3));
//設定窗口布局//
typePanel = new ButtonPanel("Type", "Message", "Confirm", "Option", "Input");
messageTypePanel = new ButtonPanel("Message Type", "ERROR_MESSAGE", "INFORMATION_MESSAGE",
"WARNING_MESSAGE", "QUESTION_MESSAGE", "PLAIN_MESSAGE");
messagePanel = new ButtonPanel("Message", "String", "Icon", "Component", "Other",
"Object[]");
optionTypePanel = new ButtonPanel("Confirm", "DEFAULT_OPTION", "YES_NO_OPTION",
"YES_NO_CANCEL_OPTION", "OK_CANCEL_OPTION");
optionsPanel = new ButtonPanel("Option", "String[]", "Icon[]", "Object[]");
inputPanel = new ButtonPanel("Input", "Text field", "Combo box");
gridPanel.add(typePanel);
gridPanel.add(messageTypePanel);
gridPanel.add(messagePanel);
gridPanel.add(optionTypePanel);
gridPanel.add(optionsPanel);
gridPanel.add(inputPanel);
// add a panel with a Show button
JPanel showPanel = new JPanel();
//建立一個可加入到JFrame窗體的容器//
JButton showButton = new JButton("Show");
// 建立一個顯示為“show”的按鈕”//
showButton.addActionListener(new ShowAction());
showPanel.add(showButton);
add(gridPanel, BorderLayout.CENTER);
add(showPanel, BorderLayout.SOUTH);
pack();
}
/**
* Gets the currently selected message.
* @return a string, icon, component, or object array, depending on the Message panel selection
*/
public Object getMessage()
{
String s = messagePanel.getSelection();
if (s.equals("String")) return messageString;
else if (s.equals("Icon")) return messageIcon;
else if (s.equals("Component")) return messageComponent;
else if (s.equals("Object[]")) return new Object[] { messageString, messageIcon,
messageComponent, messageObject };
else if (s.equals("Other")) return messageObject;
else return null;
}
/**
* Gets the currently selected options.
* @return an array of strings, icons, or objects, depending on the Option panel selection
*/
public Object[] getOptions()
{
String s = optionsPanel.getSelection();
if (s.equals("String[]")) return new String[] { "Yellow", "Blue", "Red" };
else if (s.equals("Icon[]")) return new Icon[] { new ImageIcon("yellow-ball.gif"),
new ImageIcon("blue-ball.gif"), new ImageIcon("red-ball.gif") };
else if (s.equals("Object[]")) return new Object[] { messageString, messageIcon,
messageComponent, messageObject };
else return null;
}
/**
* Gets the selected message or option type
* @param panel the Message Type or Confirm panel
* @return the selected XXX_MESSAGE or XXX_OPTION constant from the JOptionPane class
*/
public int getType(ButtonPanel panel)
{
String s = panel.getSelection();
try
{
return JOptionPane.class.getField(s).getInt(null);
}
catch (Exception e)
{
return -1;
}
}
/**
* The action listener for the Show button shows a Confirm, Input, Message, or Option dialog
* depending on the Type panel selection.
*/
private class ShowAction implements ActionListener
{
public void actionPerformed(ActionEvent event)
{
if (typePanel.getSelection().equals("Confirm")) JOptionPane.showConfirmDialog(
OptionDialogFrame.this, getMessage(), "Title", getType(optionTypePanel),
getType(messageTypePanel));
else if (typePanel.getSelection().equals("Input"))
{
if (inputPanel.getSelection().equals("Text field")) JOptionPane.showInputDialog(
OptionDialogFrame.this, getMessage(), "Title", getType(messageTypePanel));
else JOptionPane.showInputDialog(OptionDialogFrame.this, getMessage(), "Title",
getType(messageTypePanel), null, new String[] { "Yellow", "Blue", "Red" },
"Blue");
}
else if (typePanel.getSelection().equals("Message")) JOptionPane.showMessageDialog(
OptionDialogFrame.this, getMessage(), "Title", getType(messageTypePanel));
else if (typePanel.getSelection().equals("Option")) JOptionPane.showOptionDialog(
OptionDialogFrame.this, getMessage(), "Title", getType(optionTypePanel),
getType(messageTypePanel), null, getOptions(), getOptions()[0]);
}
}
}
/**
* A component with a painted surface
*/
class SampleComponent extends JComponent
{
public void paintComponent(Graphics g)
{
Graphics2D g2 = (Graphics2D) g;
Rectangle2D rect = new Rectangle2D.Double(0, 0, getWidth() - 1, getHeight() - 1);
g2.setPaint(Color.YELLOW);
g2.fill(rect);
g2.setPaint(Color.BLUE);
g2.draw(rect);
}
public Dimension getPreferredSize()
{
return new Dimension(10, 10);
}
}
package optionDialog;
import java.awt.*;
import javax.swing.*;
/**
* @version 1.34 2015-06-12
* @author Cay Horstmann
*/
public class OptionDialogTest
{
public static void main(String[] args)
{
EventQueue.invokeLater(() -> {
JFrame frame = new OptionDialogFrame();
frame.setTitle("OptionDialogTest");
frame.setDefaultCloseOperation(JFrame.EXIT_ON_CLOSE);
frame.setVisible(true);
});
}
}
實驗3:組間協同學習:在本班課程QQ群內,各位同學對實驗1中存在的問題進行提問,提問時註明實驗1中的測試程式編號,負責對應程式的小組需及時對群內提問進行回答。
實驗總結:
過對本章的學習,對使用者介面有了更加複雜的設計,是的使用者介面更加美觀,功能更更加豐富,學習了多種佈局方式,掌握各類Java Swing元件用途及常用API。自己還有很多不足之處,還需努力。
