
ubuntu16.04安裝bumblebee
阿新 • • 發佈:2018-12-03
由於ubuntu的顯示卡驅動更新到nvidia384,所以系統源裡面的bumblebee已經沒辦法使用了,因為不支援384這個版本的顯示卡。所以,要新增測試源。
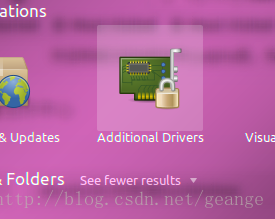
第一步:安裝源裡面的顯示卡驅動
很簡單,只要點進去安裝就好,安裝後重啟(一般不會出錯,出錯你很快會發現)
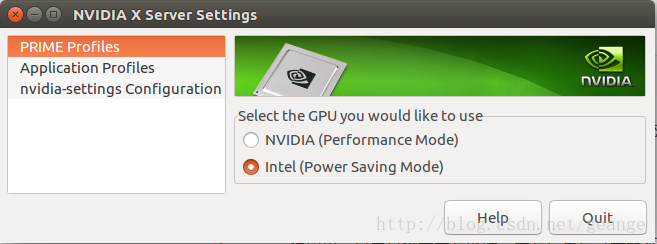
安裝成功後,把顯示卡切換為intel模式
第二步:新增源
sudo add-apt-repository ppa:bumblebee/testing
sudo apt update
sudo apt install bumblebee-nvidia bumblebee primus
第三步:修改配置檔案
第一處
# The Driver used by Bumblebee server. If this value is not set (or empty),
# auto-detection is performed. The available drivers are nvidia and nouveau
# (See also the driver-specific sections below)
Driver=nvidia
第二處(全部的nvidia-current改成你使用的版本)
## Section with nvidia driver specific options, only parsed if Driver=nvidia 第四步:(需要重啟後才可以檢查)檢查下
optirun --status結果是下面的,基本是沒問題了
Bumblebee status: Ready (3.2.1). X inactive. Discrete video card is off.或者使用(報錯就是可能配置錯了,或者bug吧)
optirun glxspheres64