
SpringBoot中使用Redis
本篇在前文《SpringBoot中整合持久層框架Mybatis》基礎上改的,因此程式碼量和可講解的部分也只限於如何整合Redis,及簡單的Redis操作。
一、完成後的工程目錄結構:

二、如何整合Redis
1、在pom.xml中新增SpringBoot對Redis支援的起步依賴:
<!-- redis起步依賴 --> <dependency> <groupId>org.springframework.boot</groupId> <artifactId>spring-boot-starter-redis</artifactId> <version>1.4.7.RELEASE</version> </dependency>
完整的pom.xml檔案內容:


<project xmlns="http://maven.apache.org/POM/4.0.0" xmlns:xsi="http://www.w3.org/2001/XMLSchema-instance"
    xsi:schemaLocation="http://maven.apache.org/POM/4.0.0 http://maven.apache.org/maven-v4_0_0.xsd">
    <modelVersion>4.0.0</modelVersion>
    <groupId>cn.com.winson.springboot</groupId>
    <artifactId>maven-springboot</artifactId>
    <packaging>war</packaging>
    <version>0.0.1-SNAPSHOT</version>
    <parent>
        <groupId>org.springframework.boot</groupId>
        <artifactId>spring-boot-starter-parent</artifactId>
        <version>1.5.17.RELEASE</version>
        <relativePath />
    </parent>

    <properties>
        <project.build.sourceEncoding>UTF-8</project.build.sourceEncoding>
        <project.reporting.outputEncoding>UTF-8</project.reporting.outputEncoding>
        <java.version>1.8</java.version>
    </properties>

    <dependencies>
        <!-- redis起步依賴 -->
        <dependency>
            <groupId>org.springframework.boot</groupId>
            <artifactId>spring-boot-starter-redis</artifactId>
            <version>1.4.7.RELEASE</version>
        </dependency>
        <dependency>
            <groupId>mysql</groupId>
            <artifactId>mysql-connector-java</artifactId>
        </dependency>
        <dependency>
            <groupId>org.mybatis.spring.boot</groupId>
            <artifactId>mybatis-spring-boot-starter</artifactId>
            <version>1.3.2</version>
        </dependency>
        <dependency>
            <groupId>org.springframework.boot</groupId>
            <artifactId>spring-boot-starter-web</artifactId>
        </dependency>

        <dependency>
            <groupId>org.springframework.boot</groupId>
            <artifactId>spring-boot-starter-test</artifactId>
            <scope>test</scope>
        </dependency>
    </dependencies>

    <build>
        <plugins>
            <plugin>
                <groupId>org.springframework.boot</groupId>
                <artifactId>spring-boot-maven-plugin</artifactId>
            </plugin>
        </plugins>
    </build>
</project>2、核心配置檔案application.properties中設定連線redis的資訊:
#配置redis連線資訊
spring.redis.host=127.0.0.1
spring.redis.port=6379
#我本地redis沒有設定密碼
spring.redis.password=
完整的application.properties內容:
#配置資料庫連線資訊
spring.datasource.driver-class-name=com.mysql.jdbc.Driver
spring.datasource.url=jdbc:mysql://localhost:3306/test
spring.datasource.username=root
spring.datasource.password=root

#配置MyBatis的Mapper.xml檔案所在位置:
mybatis.mapper-locations=classpath:mybatis/UserMapper.xml

#配置redis連線資訊
spring.redis.host=127.0.0.1
spring.redis.port=6379
#我本地redis沒有設定密碼
spring.redis.password=
View Code
3、通過以上兩步設定,如果程式啟動成功(證明連線Redis成功)後,SpringBoot就會為我們自動生成一個RedisTemplate的bean,該bean稱為redis的操作模板,可以直接在程式中引入,就可以使用。具體使用為:
package cn.com.winson.service.impl;

import org.springframework.beans.factory.annotation.Autowired;
import org.springframework.data.redis.core.RedisTemplate;
import org.springframework.stereotype.Service;

import cn.com.winson.dao.UserMapper;
import cn.com.winson.service.UserService;

@Service
public class UserServiceImpl implements UserService {

    @Autowired
    private UserMapper userMapper;

    /* 注入Redis操作模板 */
    @Autowired
    private RedisTemplate<String, String> redisTemplate;

    @Override
    public String getUserById(String id) {
        String userInfo = redisTemplate.opsForValue().get("userInfo");
        if (null == userInfo) {
            String userStr = userMapper.selectByPrimaryKey(id).toString();
            redisTemplate.opsForValue().set("userInfo", userStr);
            return userStr;
        }
        return userInfo;
    }

}
注意:通過示例中使用的redis模板,可以發現模板的泛型為<String,String>,泛型還可以定義為<Object,Object>,只有這兩種泛型,使用的時候要注意。
泛型兩種格式:我這裡操作的是字串資料,如果是複雜型別的資料,泛型使用<Object,Object>。
@Autowired
private RedisTemplate<String, String> redisTemplate;

@Autowired
private RedisTemplate<Object, Object> redisTemplate;
4、執行程式,訪問結果為:

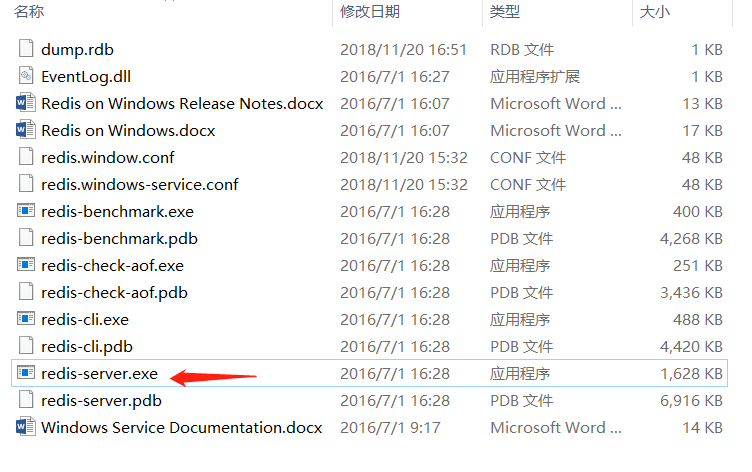
二、本例是使用windows系統中的Redis,很簡單直接雙擊redis-server.exe就啟動了redis服務了。
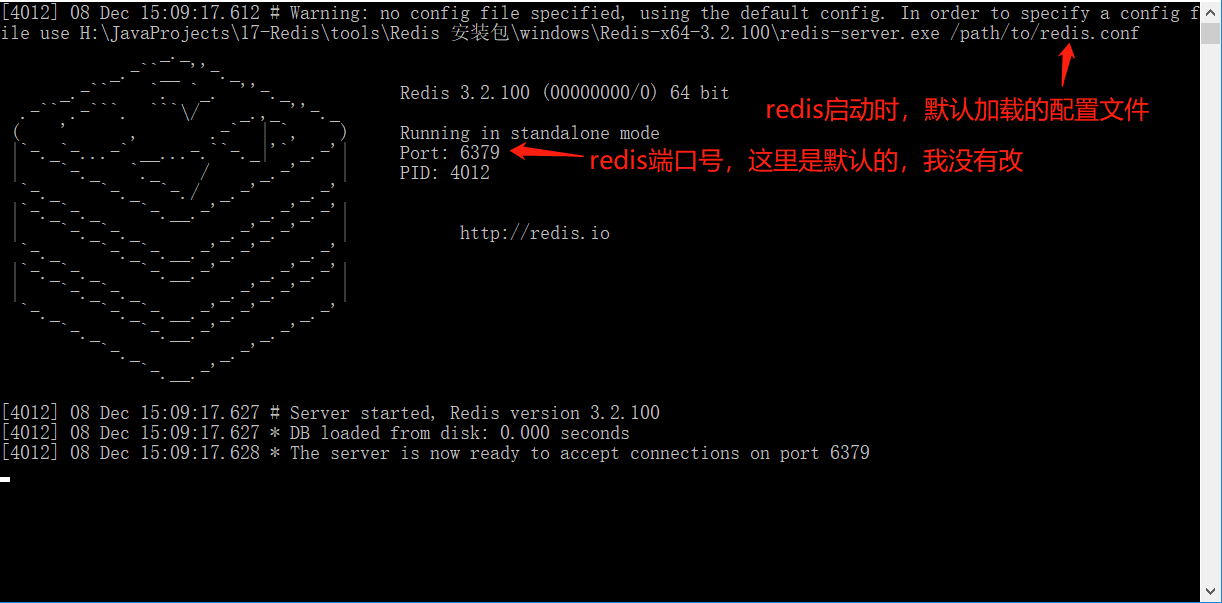
redis啟動成功的頁面:
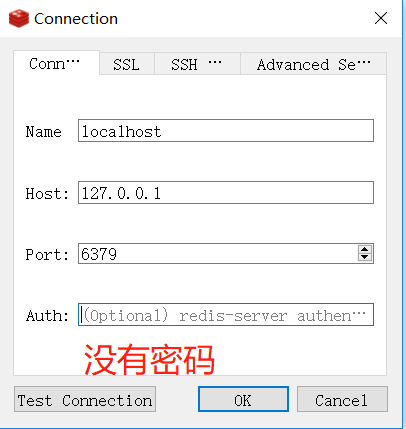
使用Redis Desktop Manager連線redis,該軟體為redis的遠端客戶端,可以很方便的檢視redis資料庫內容及操作redis資料庫資訊。:
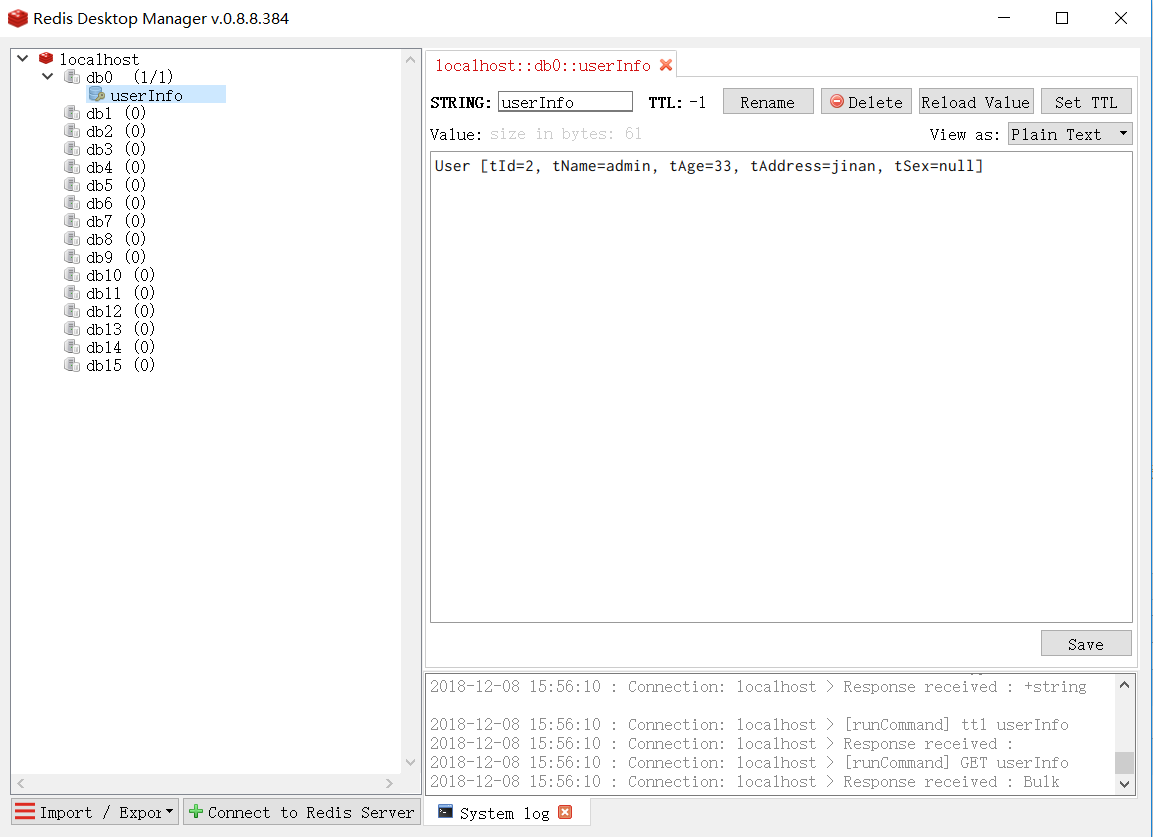
連線成功以後可以檢視到我們剛才執行程式後,資料已經儲存到redis資料庫中了:對比上面的訪問結果,發現與瀏覽器返回的資料是一致的。
總結:
一、SpringBoot操作Redis是使用redis模板,即RedisTemplate,新增redis依賴,配置redis連線資訊後,redis模板的bean自動建立。
二、本例使用的是windows中的redis,真正生產環境中,使用的是Linux中的redis。
三、還有一種是redis哨兵叢集模式下配置redis,因為它只是更改了redis連線配置就可以實現,沒有使用程式碼,故這裡不做示例了,以後有時間再補充吧。