
關於nginx配置虛擬主機
前提:我的虛擬主機的外網ip為111.231.226.228(是雲伺服器哈)
本地測試環境為windows7(修改本地的hosts檔案)
步驟:(安裝nginx可以看看我文章“linux nginx編譯安裝”)
1、開啟nginx.conf檔案。(按照我的安裝教程,這個檔案在:/usr/local/nginx/conf這個目錄下)
在nginx.conf檔案中寫入:
server {
listen 80; //表示監聽80埠
server_name www.panchao.com; //域名
#charset koi8-r;
#access_log logs/host.access.log main;
location / {
root html; //root目錄
index index.html index.htm; //預設優先讀取的檔案
}
使用訊號控制重新讀取配置檔案(我的nginx master 的pid為5160,不懂nginx訊號控制的朋友,可以百度一下。)。
kill -HUP 5160
只是這樣配置,我們用我們本地的電腦訪問www.panchao.com肯定是訪問不了的。
那我們應該怎樣做才能讓www.panchao.com能夠訪問到我的nginx伺服器呢?
答案:配置我們本地的hosts檔案(這個檔案在我們電腦中的C:\Windows\System32\drivers\etc資料夾下)。
當然,如果你有線上域名的話,可以直接去萬網進行配置。
hosts配置如下:
# localhost name resolution is handled within DNS itself.
# 127.0.0.1 localhost
# ::1 localhost
# 127.0.0.1 www.panchao.com
111.231.226.228 www.panchao.com #加入這一句就行了
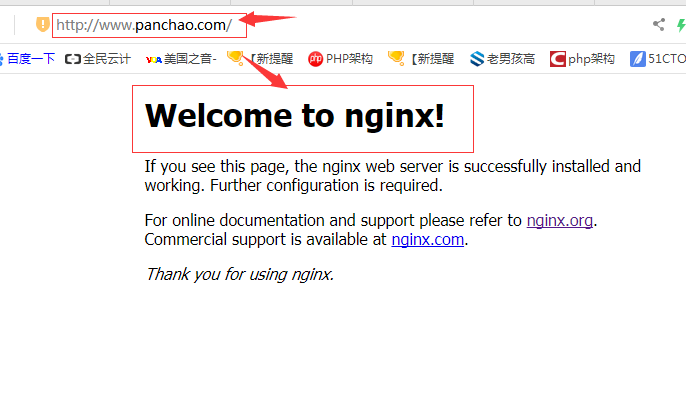
這樣我們在瀏覽器中輸入網址:www.panchao.com就能訪問我們在雲伺服器上的nginx了。
當然,我們也可以配置埠。
在nginx.conf中配置以下程式碼:
server{
listen 8080; //表示監聽8080埠
server_name www.panchao.com;
location / {
root html; //表示根目錄為html(相對於nginx安裝目錄)
index panchao.html; //設定優先讀取檔案為panchao.html
}
}
使用訊號控制重新讀取配置檔案:
kill -HUP 5160
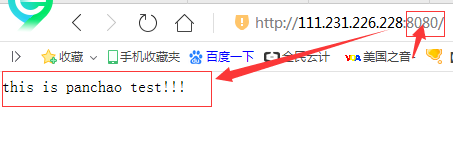
編寫panchao.html
[[email protected]_16_2_centos html]# vi panchao.html
<html>
this is panchao test!!!
</html>
然後我們在本地hosts檔案中配置
# localhost name resolution is handled within DNS itself.
# 127.0.0.1 localhost
# ::1 localhost
# 127.0.0.1 www.panchao.com
111.231.226.228 www.panchao.com
hosts的配置和上面一樣。
我們在瀏覽器中輸入:
得到結果
tips:其實我們配置hosts檔案就相當於萬網域名對映功能,只是配置hosts檔案只對當前配置的電腦有效。