Anroid學習之 兩個Fragment之間傳遞資訊
這個簡單的Demo實現Fragment1向Fragment2傳值的功能
首先編寫兩個fragment的佈局檔案:
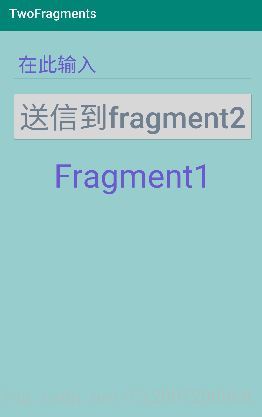
Fragment1中使用一個EditText用於輸入待發送至Fragment2中的資訊,使用一個Button,點選後將EditText中的資訊傳輸給Fragment2,程式碼如下:
<?xml version="1.0" encoding="utf-8"?>
<RelativeLayout xmlns:android="http://schemas.android.com/apk/res/android"
    android:layout_width="match_parent"
    android:layout_height="match_parent"
    android:background="#96CDCD"
    android:padding="20dp">

    <EditText
        android:id="@+id/edt1"
        android:singleLine="true"
        android:layout_width="match_parent"
        android:layout_height="wrap_content"
        android:hint="@string/hint"
        android:padding="10dp"
        android:textColor="#6A5ACD"
        android:textColorHint="#6A5ACD"
        android:textSize="30sp" />

    <Button
        android:id="@+id/btn1"
        android:layout_width="match_parent"
        android:layout_height="wrap_content"
        android:layout_below="@+id/edt1"
        android:layout_marginTop="10dp"
        android:text="@string/send1"
        android:textAllCaps="false"
        android:textColor="#708090"
        android:textSize="45sp" />

    <TextView
        android:layout_width="match_parent"
        android:layout_height="wrap_content"
        android:layout_below="@+id/btn1"
        android:layout_marginTop="15dp"
        android:gravity="center"
        android:text="@string/banner_f1"
        android:textColor="#6A5ACD"
        android:textSize="50sp" />

</RelativeLayout>
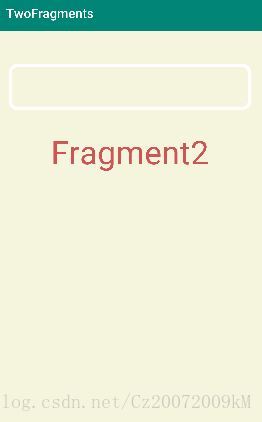
Fragment2中使用一個TextView用於接受Fragment1處傳來的資訊,程式碼如下:
<?xml version="1.0" encoding="utf-8"?>
<RelativeLayout xmlns:android="http://schemas.android.com/apk/res/android"
    android:layout_width="match_parent"
    android:layout_height="match_parent"
    android:background="#F5F5DC"
    android:padding="20dp">

    <TextView
        android:id="@+id/tv2"
        android:layout_width="match_parent"
        android:layout_height="wrap_content"
        android:layout_marginTop="30dp"
        android:background="@drawable/textview"
        android:padding="15dp"
        android:textSize="30sp" />

    <TextView
        android:layout_width="match_parent"
        android:layout_height="wrap_content"
        android:layout_below="@+id/tv2"
        android:layout_marginTop="30dp"
        android:gravity="center"
        android:text="@string/banner_f2"
        android:textAllCaps="false"
        android:textColor="	#CD5555"
        android:textSize="50sp" />

</RelativeLayout>
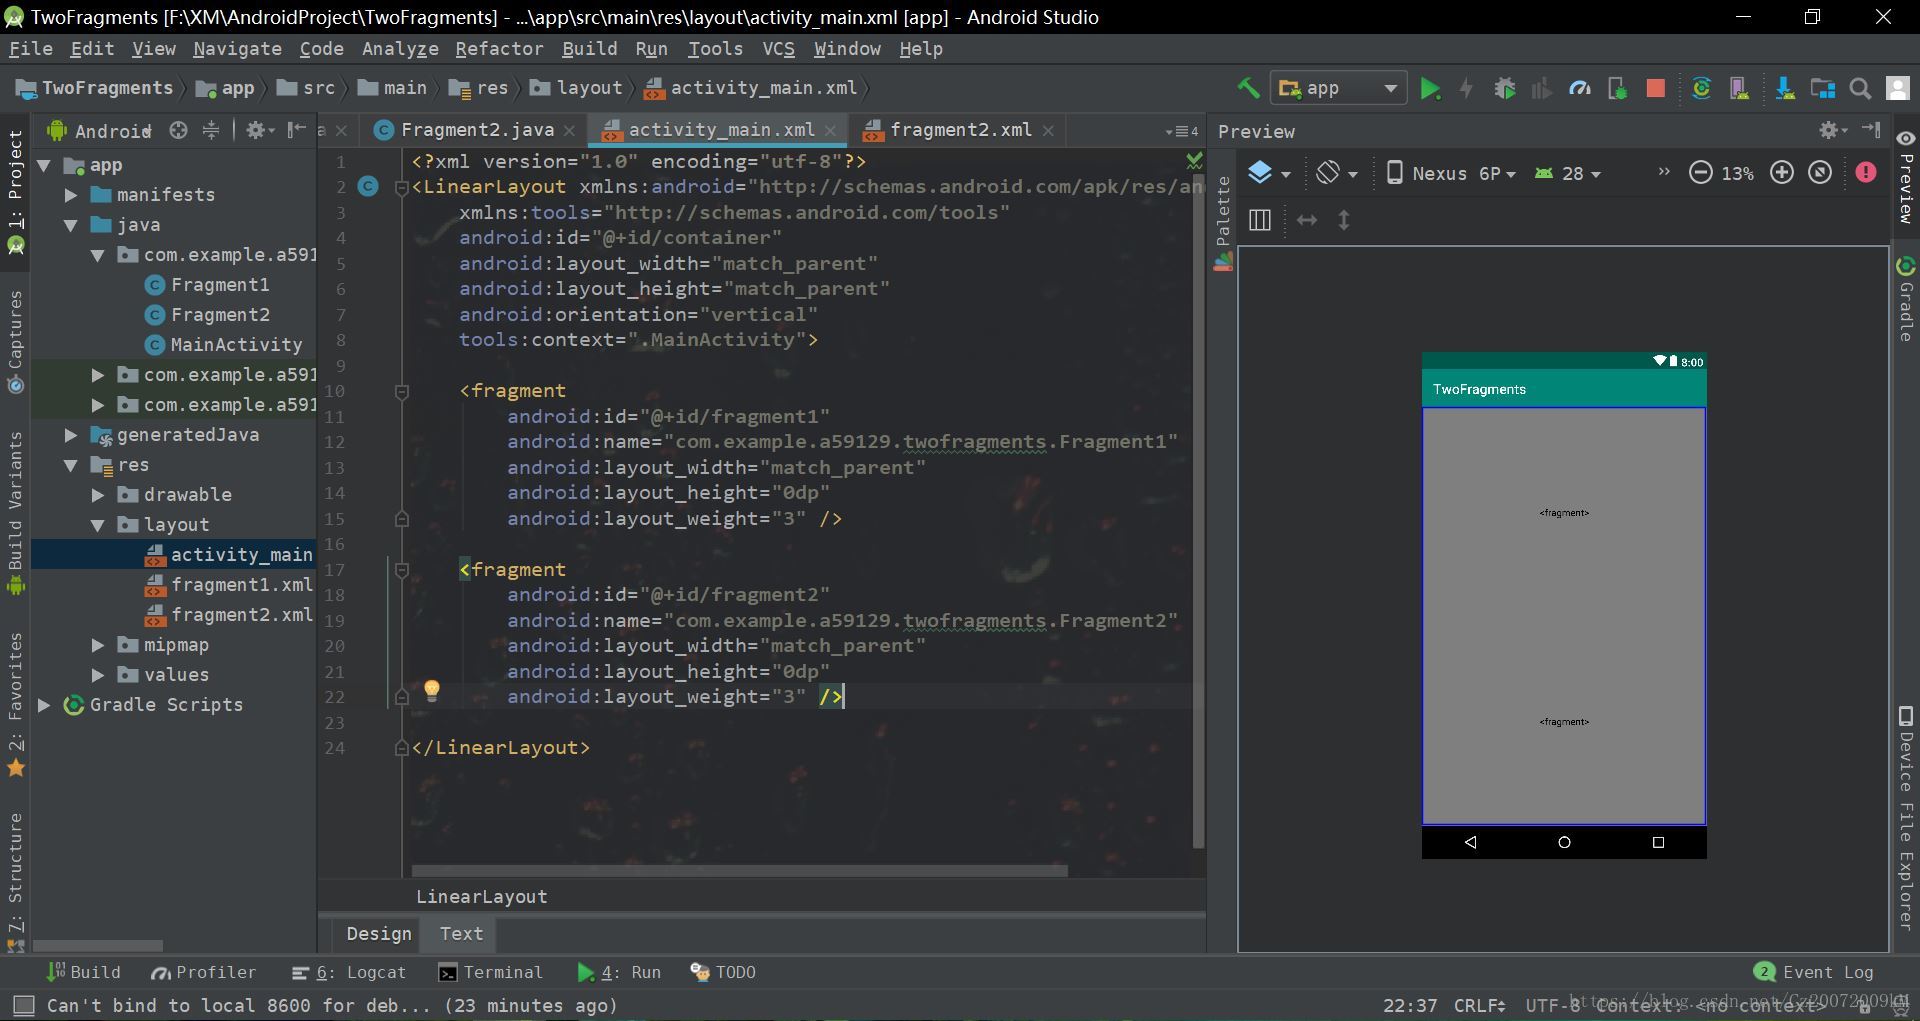
在activity_main中將兩個fragment加入進來,注意設定<fragment/>的name屬性,這是在主Activity佈局中嵌入兩個fragment佈局的關鍵,這裡要注意將兩個Fragment的.java檔案和MainActivity檔案放到同一目錄下
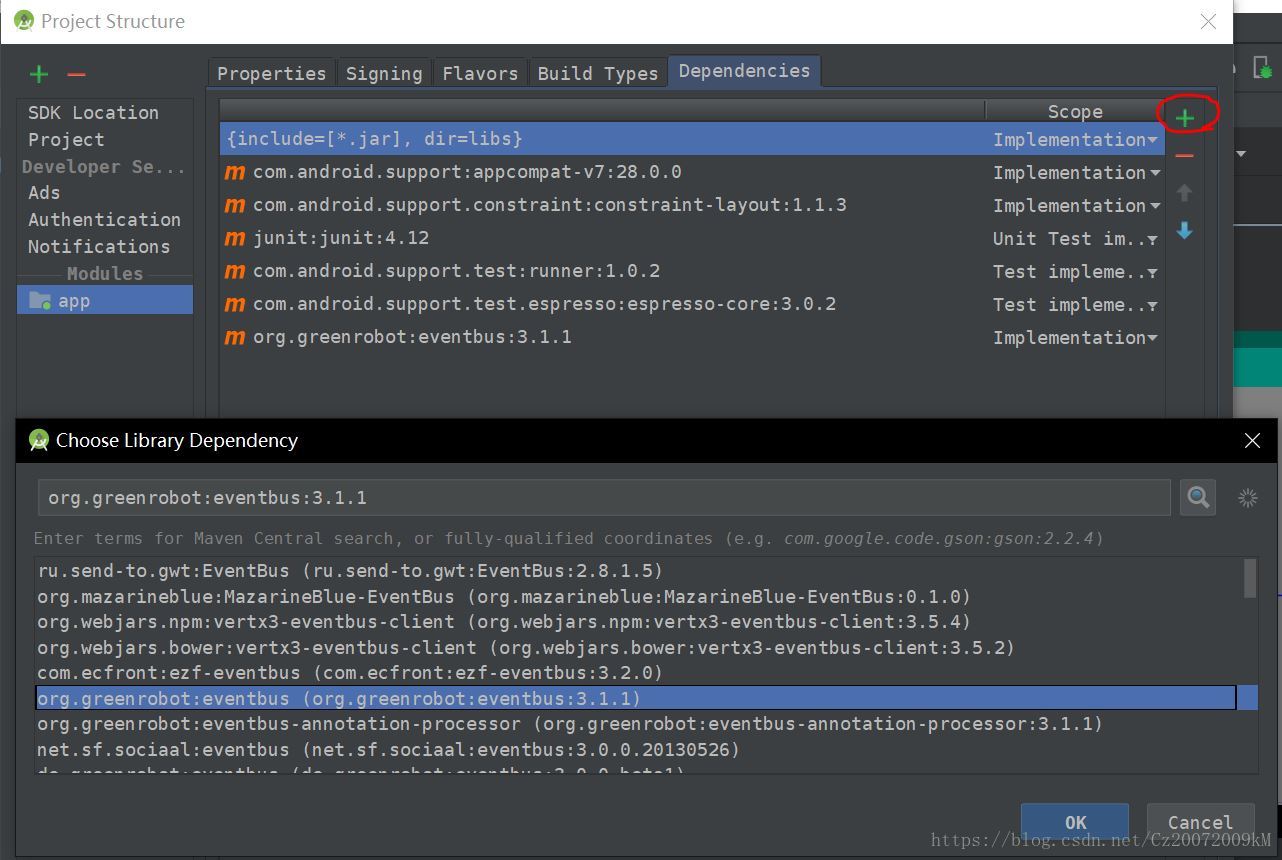
接下來開始編寫java檔案,這裡傳輸資訊使用第三方的EventBus來實現,首先我們要將EventBus新增到我們的工程中:
File → Project Structure → app → Dependencies
點選右上角綠色的“+”號在輸入框中輸入EventBus後點擊搜尋(可能需要等待一會兒),找到如圖所示的eventbus後按ok即可。
接下來我們開始正式編寫Java程式碼。
首先我們來看一下邏輯相對簡單的Fragment2.java,因為Fragment2是接收訊息的一方,所以使用
EventBus.getDefault().register(this);這行語句將Fragment2型別的物件註冊為接受方,再編寫一個setData(String)函式,傳入一個String,將其顯示到fragment2的TextView中。這樣Fragment2.java的關鍵部分就算結束了。
package com.example.a59129.twofragments;

import android.os.Bundle;
import android.support.annotation.NonNull;
import android.support.annotation.Nullable;
import android.support.v4.app.Fragment;
import android.view.LayoutInflater;
import android.view.View;
import android.view.ViewGroup;
import android.widget.TextView;

import org.greenrobot.eventbus.EventBus;
import org.greenrobot.eventbus.Subscribe;

public class Fragment2 extends Fragment {

    private TextView tv2;

    @Nullable
    @Override
    public View onCreateView(@NonNull LayoutInflater inflater, @Nullable ViewGroup container, @Nullable Bundle savedInstanceState) {
        View view = View.inflate(getActivity(), R.layout.fragment2, null);
        EventBus.getDefault().register(this);
        tv2 = view.findViewById(R.id.tv2);
        return view;
    } //onCreateView()

    @Subscribe
    public void setData(String string) {
        tv2.setText(string);
    } //setData()

    @Override
    public void onDestroy() {
        super.onDestroy();
        EventBus.getDefault().unregister(this);
    } //onDestroy()

} //class
之後再來看一下Fragment1.java,我們在Fragment1.java中使用post()方法將EditText中的資訊取出後並上傳(可以這麼理解吧),然後寫一個用於資料傳輸的介面,這個介面將在MainActivity中實現
package com.example.a59129.twofragments;

import android.content.Context;
import android.os.Bundle;
import android.support.annotation.NonNull;
import android.support.annotation.Nullable;
import android.support.v4.app.Fragment;
import android.view.LayoutInflater;
import android.view.View;
import android.view.ViewGroup;
import android.view.inputmethod.InputMethodManager;
import android.widget.Button;
import android.widget.EditText;

import org.greenrobot.eventbus.EventBus;

public class Fragment1 extends Fragment {

    private EditText edt1;
    private Button btn1;
    private OnDataTransmissionListener mListener;

    @Nullable
    @Override
    public View onCreateView(@NonNull LayoutInflater inflater, @Nullable ViewGroup container, @Nullable Bundle savedInstanceState) {

        View view = View.inflate(getActivity(), R.layout.fragment1, null);
        edt1 = view.findViewById(R.id.edt1);
        btn1 = view.findViewById(R.id.btn1);

        btn1.setOnClickListener(new View.OnClickListener() {
            @Override
            public void onClick(View view) {
                //從fragment1的EditText中獲取輸入的資訊,並提交
                EventBus.getDefault().post(edt1.getText().toString());
                //隱藏鍵盤,防止鍵盤遮擋fragment2的顯示區
                InputMethodManager imm = (InputMethodManager) view.getContext().getSystemService(Context.INPUT_METHOD_SERVICE);
                if (imm.isActive()) {
                    imm.hideSoftInputFromWindow(view.getApplicationWindowToken(), 0);
                }
            }
        });

        return view;
    } //onCreateView()

    @Override
    public void onDestroy() {
        super.onDestroy();
        EventBus.getDefault().unregister(this);
    } //onDestroy

    //介面回撥的方法
    public interface OnDataTransmissionListener {
        void dataTransmission(String data);
    } //OnDataTransmissionListener

    public void setOnDataTransmissionListener(OnDataTransmissionListener mListener) {
        this.mListener = mListener;
    } //setOnDataTransmissionListener()

} //class
最後我們來看一下MainActivity.java,分別建立一個Fragment1物件(fragment)和一個Fragment2物件(fragment2),實現Fragment1中的介面函式,使用Fragment2中封裝的setData(String) 函式將獲取到的資料顯示到fragment2的TextView中
package com.example.a59129.twofragments;

import android.os.Bundle;
import android.support.v7.app.AppCompatActivity;

public class MainActivity extends AppCompatActivity {
    @Override
    protected void onCreate(Bundle savedInstanceState) {
        super.onCreate(savedInstanceState);
        setContentView(R.layout.activity_main);

        Fragment1 fragment1 = new Fragment1();
        final Fragment2 fragment2 = new Fragment2();

        fragment1.setOnDataTransmissionListener(new Fragment1.OnDataTransmissionListener() {

            @Override
            public void dataTransmission(String data) {
                fragment2.setData(data);
            }
        });

    } //onCreate()

} //class
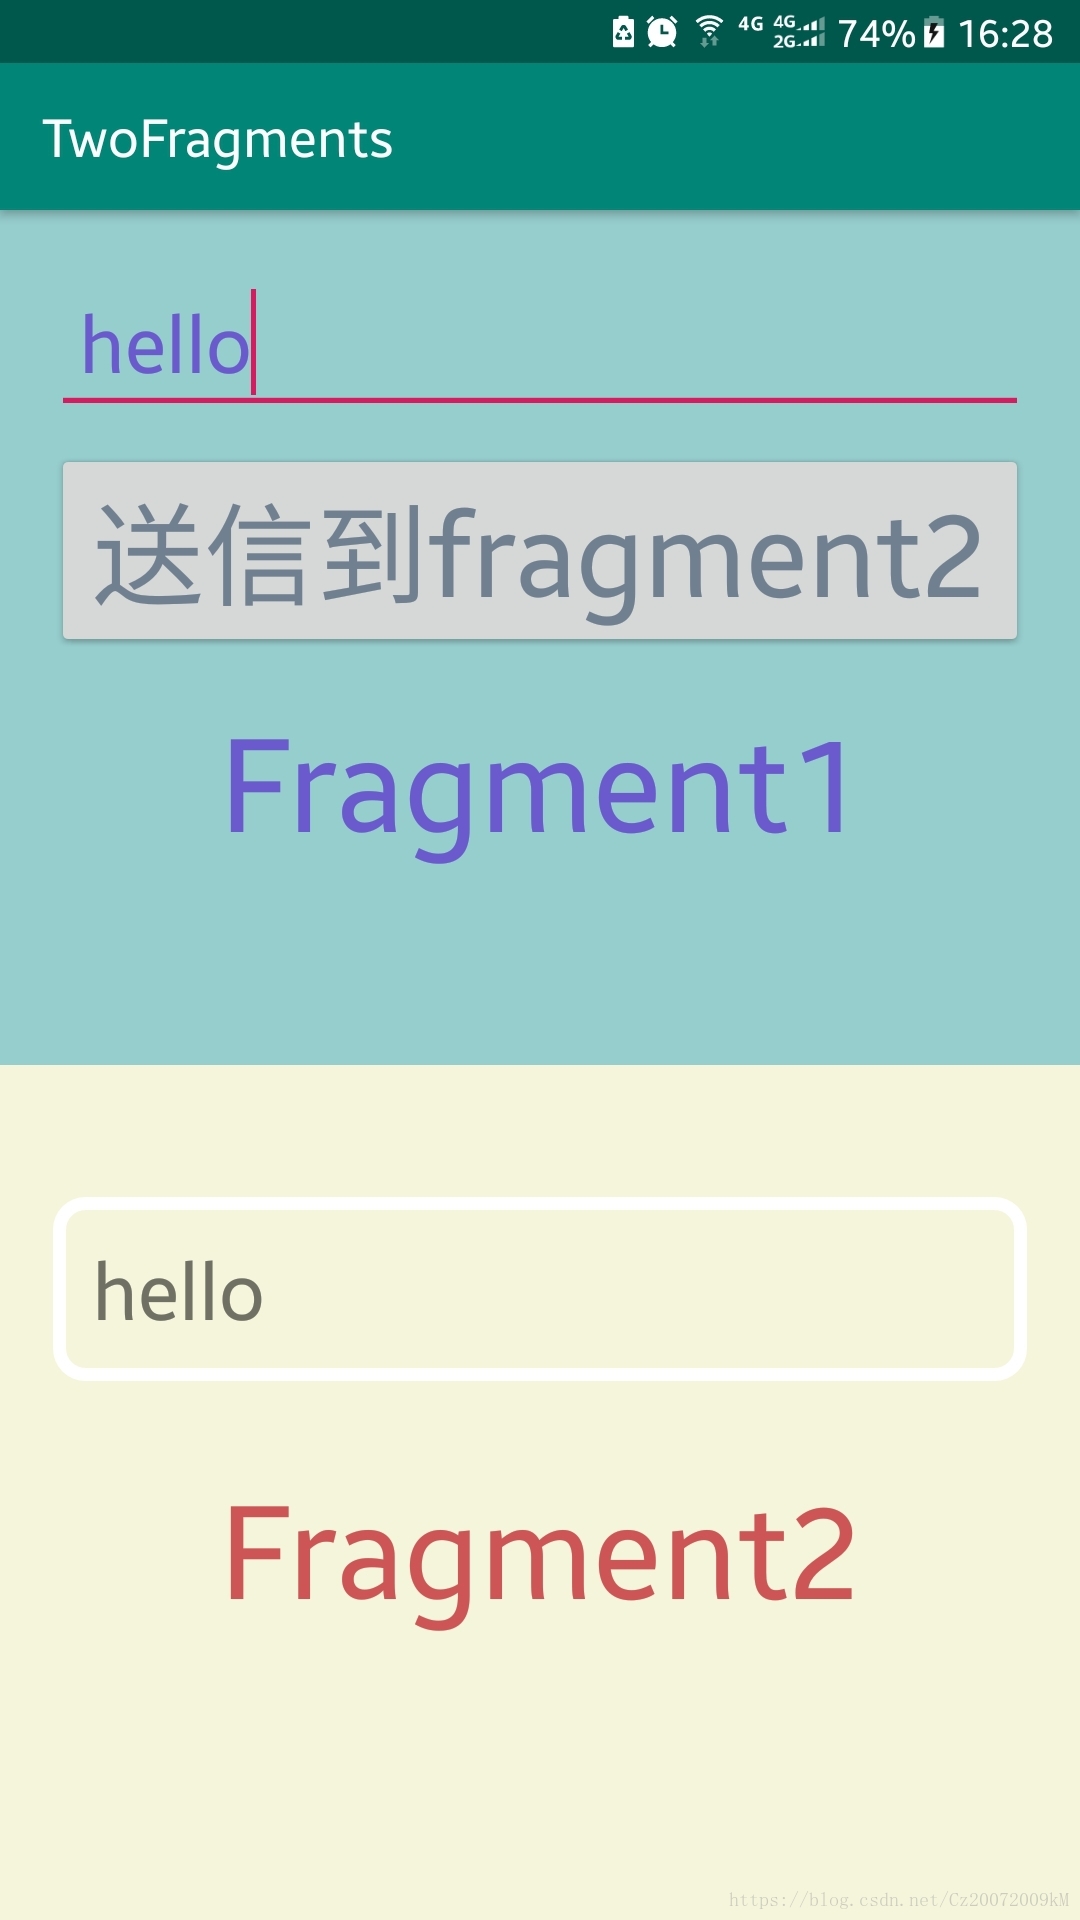
執行效果: