
ubuntu16.04編譯自己的nginx伺服器
1.下載nginx
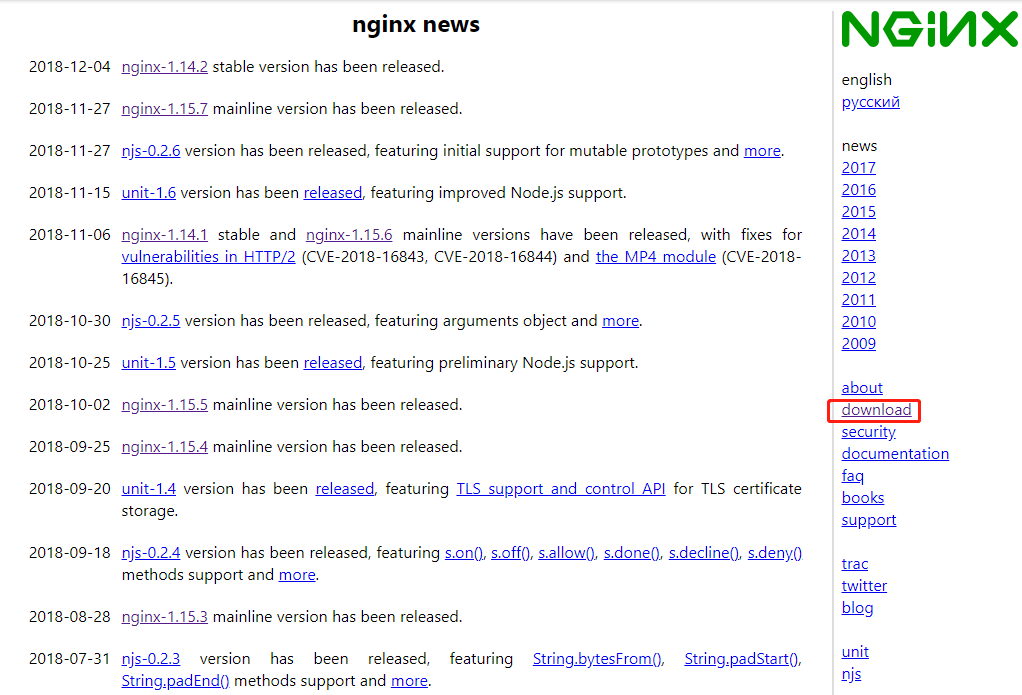
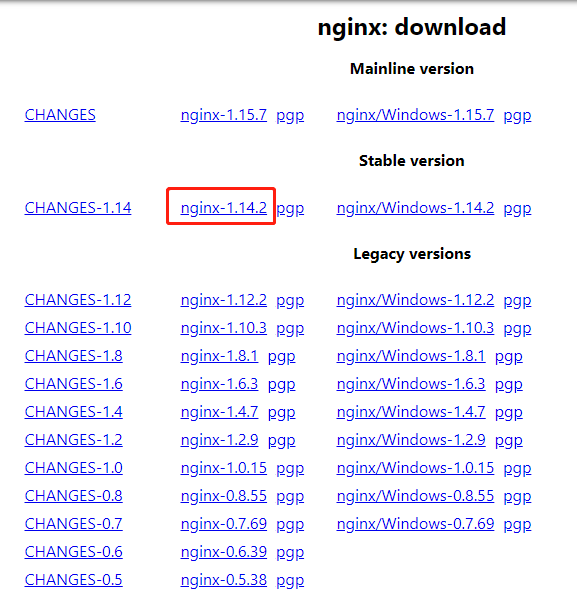
nginx官網:nginx.org
tar.gz檔案 解壓縮命令:
tar -xzf nginx-1.14.2.tar.gz
2.編譯nginx
./configure --preifx=/home/zopen/nginx /home/zopen/nginx改為自己指定的位置
注意: 執行後會提示:error: the HTTP rewrite module requires the PCRE library
解決辦法:需要安裝pcre包
sudo apt-get update
重新執行編譯指令
./configure --preifx=/home/zopen/nginx      /home/zopen/nginx改為自己指定的位置

make install
安裝完成。
在/home/zopen/nginx/sbin目錄下執行./nginx,開啟nginx伺服器,如下圖所示:

相關推薦
ubuntu16.04編譯自己的nginx伺服器
1.下載nginx nginx官網:nginx.org tar.gz檔案 解壓縮命令: tar -xzf nginx-1.14.2.tar.gz 2.編譯nginx ./configure --preifx=/home/zopen/nginx
[學習筆記] Ubuntu16.04編譯安裝nginx
更新系統安裝源 sudo apt update 安裝需要的依賴 sudo apt install build-essential sudo apt install libtool sudo apt install libpcre3 libpcre3-dev sudo a
Ubuntu16.04下配置nginx HTTPS + RTMP流媒體伺服器
Ubuntu16.04下配置HTTPS + rtmp伺服器 1. 在/usr目錄下建立資料夾nginx-install: cd /usr mkdir nginx-install cd nginx-install 2. &nbs
Ubuntu16.04編譯OpenJDK7u40
但是 jvm 一點 genealogy out list nic pda ren 下圖是OpenJDK6、OpenJDK7、OpenJDK7u和OpenJDK8這幾個項目之間的關系: 下面把編譯步驟記錄下來: 編譯環境 Ubuntu 16.04.4 LTS jdk版本
ubuntu16.04編譯opencv3.4.1和contrib遇到的錯誤及解決方法
Cmake error at opencv_contrib-master/modules/datasets/CMakeLists.txt:5 (ocv_append_source_files_cxx_compiler_options): Unknown CMake command "ocv_
ubuntu16.04編譯matcaffe遇到的問題
Makefile:517: recipe for target 'matlab/+caffe/private/caffe_.mexa64' failed make: *** [matlab/+caffe/private/caffe_.mexa64] Error 255 解決方法:
Ubuntu16.04編譯VIORB過程中遇到的問題 尤其是rosbag的問題
下面的連結是非常非常有用的,很詳盡,筆芯博主。 https://blog.csdn.net/Amazingren/article/details/82357179 尤其是解決了我關於rosbag報錯的問題,undefined reference to XXX 看到
Ubuntu16.04編譯tensorflow的C++介面
之前有一篇介紹到在windows下利用VS2015編譯tensorflow的C++介面,接下來這篇就介紹下在Ubuntu下編譯tensorflow的C++介面。 先說一下我的電腦配置,首先是Ubuntu16.04,anaconda用的是3.4.2,CUDA用的是9.0的,cudnn用的是7.
ubuntu16.04 編譯android 6 Marshmallow
之前一直是在別人配置的ubuntu上面編譯android,心血來潮,也想自己搞一下,以下是我的配置方法。 設定阿里源 sudo gedit /etc/apt/sources.list 把以下內容替換到sources.list deb-src http://archive.
Ubuntu16.04編譯tensorflow官方Android demo
1.下載tensorflow官方程式碼 git clone --recurse-submodules https://github.com/tensorflow/tensorflow.git 2.下載Android SDK和Android NDK Android SDK下載:在安裝A
ubuntu16.04編譯安裝mysql原始碼
轉自:https://blog.csdn.net/Touatou/article/details/79601104 虛擬機器安裝:VirtualBox-5.2.0-118431-Win.exe,下載地址:http://cn.ubuntu.com/download/
Ubuntu16.04編譯caffe+matlab2016b報錯集錦
Ubuntu16.04+caffe+matlab編譯報各種錯誤如下: 1 protobuf版本會報以下錯誤: 終極解決方案:安裝protobuf-2.6.0或protobuf-2.6.1,必須安裝此版本的protobuf!!! 重要的事情說三遍:
ubuntu16.04中將自己的ubuntu做成映象
由於在學習深度學習,機器學習的過程中經常把系統搞崩或者使得系統不純淨,這裡選擇將自己配置好的ubuntu做成映象,方便自己以後使用。 在開始之前我們先update以下自己的ubuntu,確保沒啥問題: sudo apt-get update 我電腦得到結果: 接下
使用Navicat for Mysql連線裝在虛擬機器Ubuntu16.04上的mysql伺服器
本文我們主要介紹一下Navicat for Mysql 連線裝在虛擬機器Ubuntu上的mysql伺服器時出現的問題的解決方案。 Navicat 是一套功能強大的MySQL資料庫伺服器管理及開發工具,可以用於在任何3.21或以上的MySQL版本,並支援最新版My
ubuntu16.04編譯CEF的arm版的步驟及問題
#!/bin/sh -e #1 mkdir ~/cef_arm2/automate mkdir ~/cef_arm2/chromium_git #2 cd ~/cef_arm2 curl 'https://chromium.googlesource.com/chromium/sr
Ubuntu16.04編譯opencv3.1 CUDA9.0
2.修改cmake資料夾中的FindCUDA.cmake檔案; (1)查詢“unset(CUDA_nppi_LIBRARY CACHE)”; 替換為: unset(CUDA_nppial_LIBRARY CACHE) unset(CUDA_nppicc_LI
ubuntu16.04編譯核心出現 "mkimage" command not found
按照慣例沒有這個東西就安裝這個東西所以: sudo apt-get install uboot-mkimage結果說沒有找到安裝包,但是提供了替換的安裝包:就是這個 u-boot-toolsReading package lists... DoneBuilding depen
ubuntu 14.04編譯安裝nginx 1.14.2
環境:Ubuntu 14.04+nginx 1.14.1+php 近期,nginx 1.14.1報了漏洞需要將nginx版本升級到1.14.2。apt-get支援的最新版就是1.14.1,所以需要編譯安裝1.14.2。 一、儲存nginx 1.14.1的配置檔案並解除安裝
Ubuntu16.04編譯android6.0原始碼
2016-08-25 因為最近經常編譯android,每次都要去網上搜索教程,這裡把自己編譯的步驟記錄下來,方便以後查詢。 原始碼下載 安裝git 安裝好了後配置下使用者名稱和郵箱地址。 1 2 3 $ sudo apt-get install git
ubuntu16.04編譯gcc-5.4.0原始碼
本文內容參考多個部落格,記錄比較隨意,僅作為個人筆記檢視。 簡介: 由於要移植gcc,所以不得已只能做如此似乎多此一舉的實驗。。 我的系統軟體版本情況如下(供參考): ubuntu 16.04 gcc-5.4.0 目的:編譯gcc-5.4.0 1.獲取程