【工具】Mac 上 iTerm2 的配色方案
阿新 • • 發佈:2018-12-15
由於Mac上自帶的命令列不太好用,推薦使用
iTerm2(號稱Mac上最好用的終端工具)安裝過程就不介紹了,主要介紹一下配色方案。
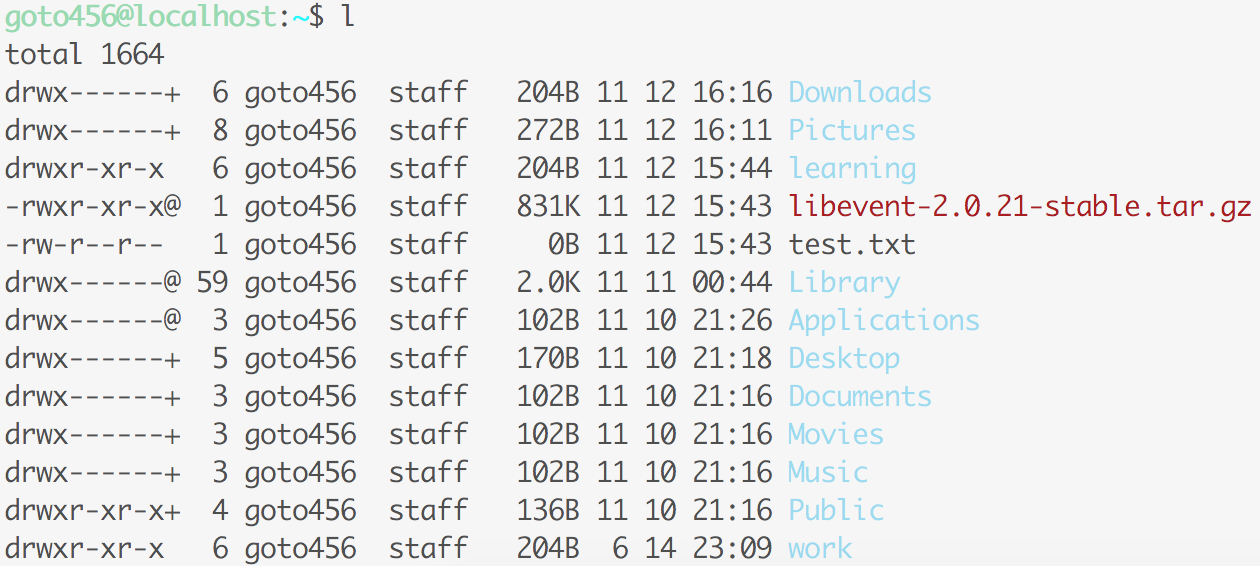
安裝完之後預設是沒有配色的,如下圖所示:
1. 修改.bash_profile檔案
在你的~/.bash_profile檔案中新增如下程式碼:
#enables colorin the terminal bash shell export
export CLICOLOR=1
#sets up thecolor scheme for list export
export LSCOLORS=gxfxcxdxbxegedabagacad
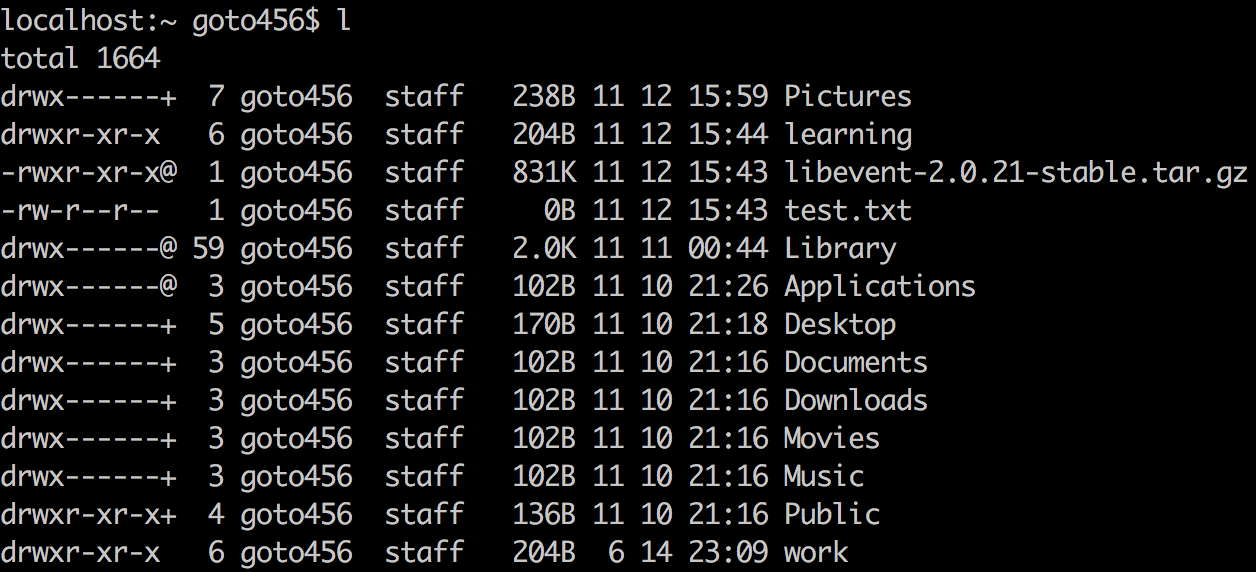
#sets up theprompt color (currently a green similar to linux terminal) 然後重新開啟iTerm2,設定成功。如下圖所示:
2. 設定喜歡的配色方案
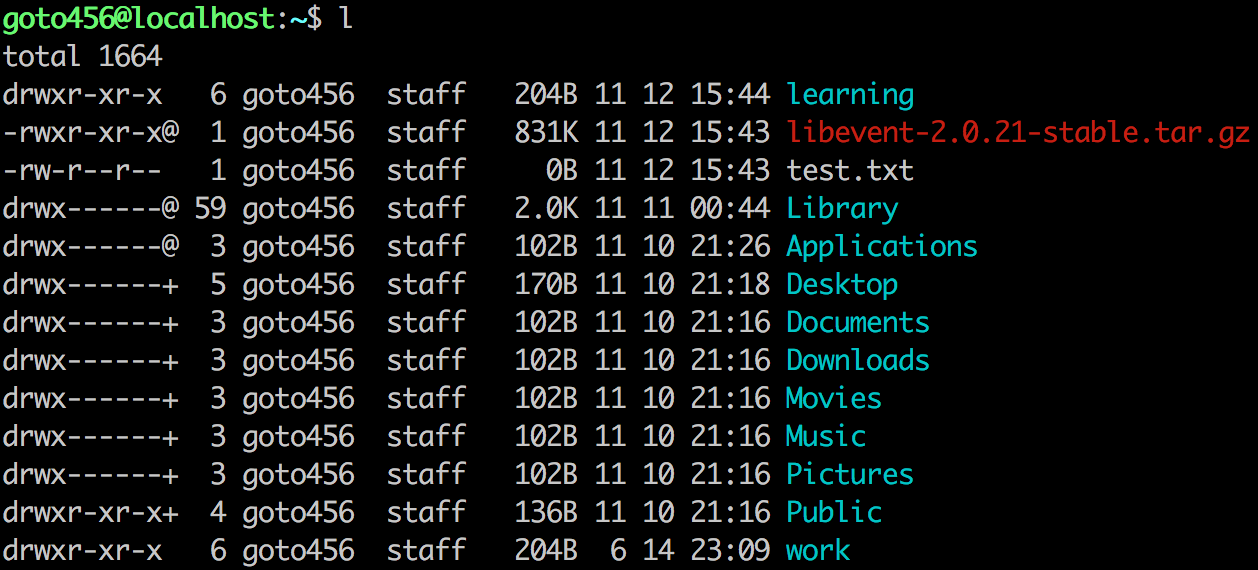
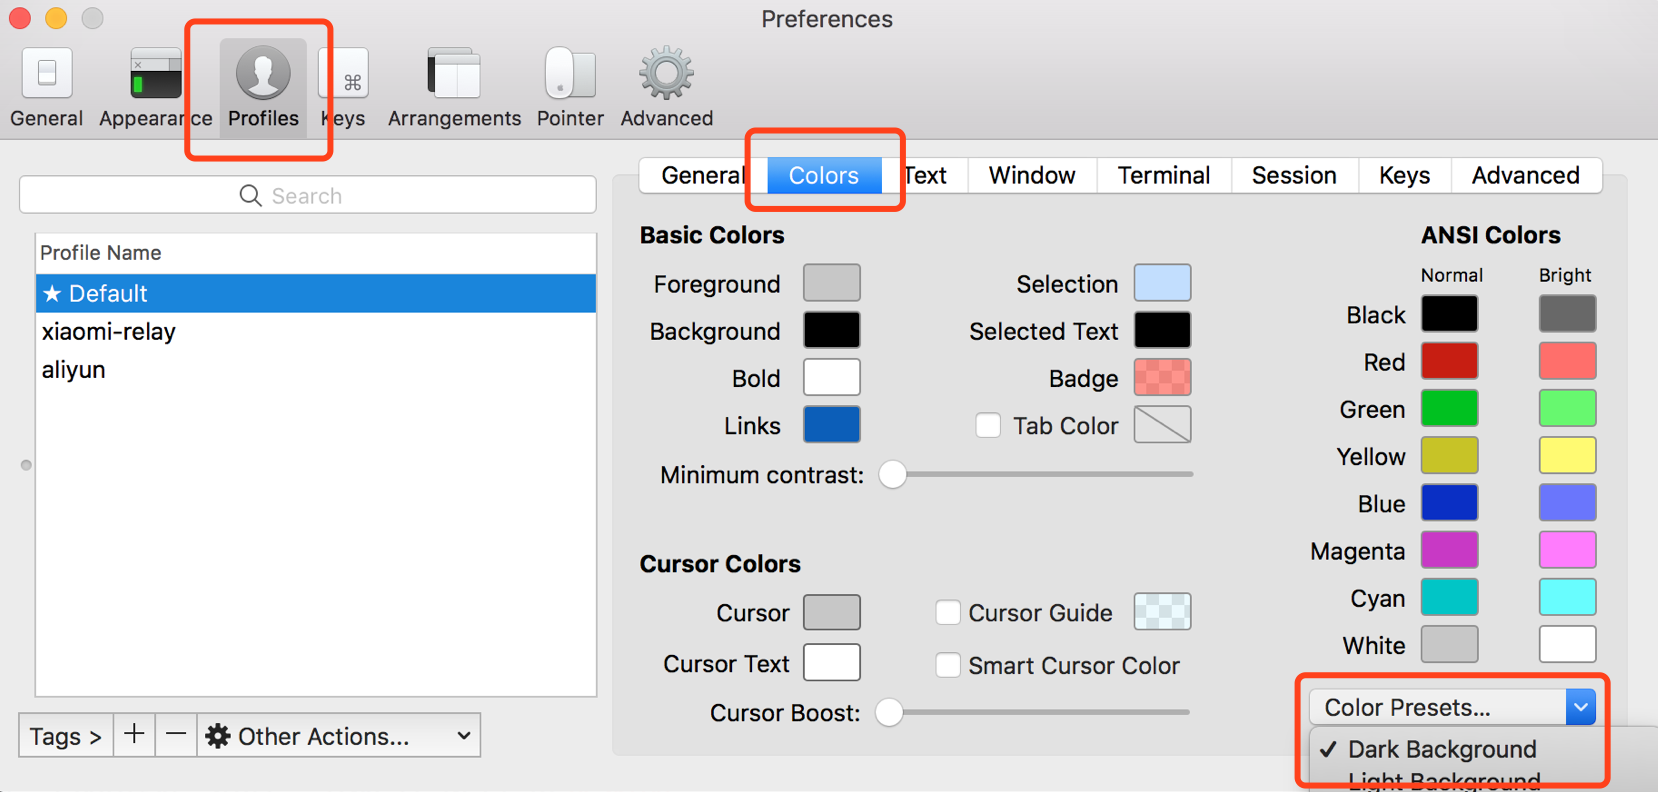
如果不喜歡這種配色方案,可以在:Preferences -> Profiles -> Colors -> Color Presets...選擇你喜歡的配色方案,如下圖所示:
另外還可以匯入自定義的配色方案,比如Ubuntu配色方案或者GitHub配色方案等。
在選擇配色方案的下拉選單Color Presets...
Import...匯入配色方案檔案即可,如下圖所示:
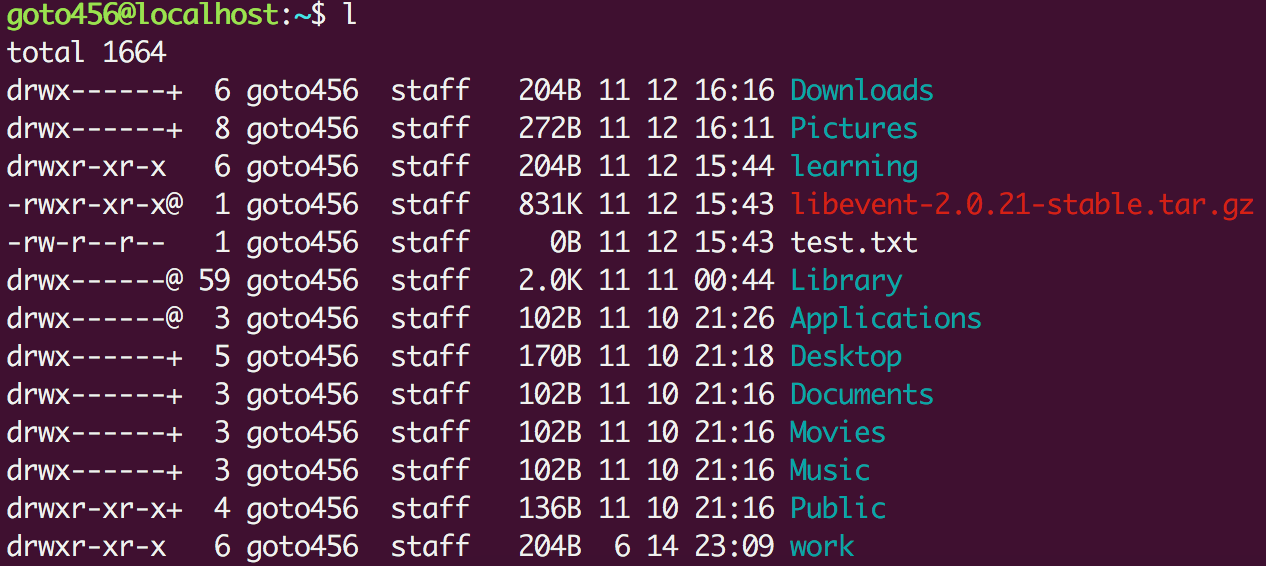
下面列舉幾種配色方案截圖:
(1) Ubuntu配色方案:
(2) GitHub配色方案: