SpringBoot整合ElasticSearch詳細過程
阿新 • • 發佈:2018-12-16
首先呢 在整合之前我們需要安裝ElasticSearch 可以參照之前博主的文章
一、建立工程
使用IntelliJ建立SpringBoot工程 SpringBoot版本為2.0.4 ElasticSearch為5.6.10
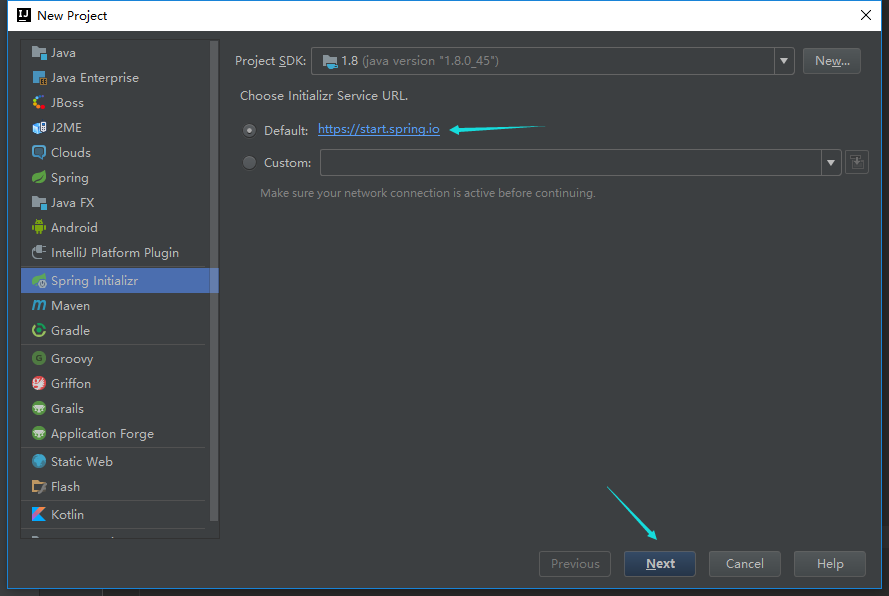
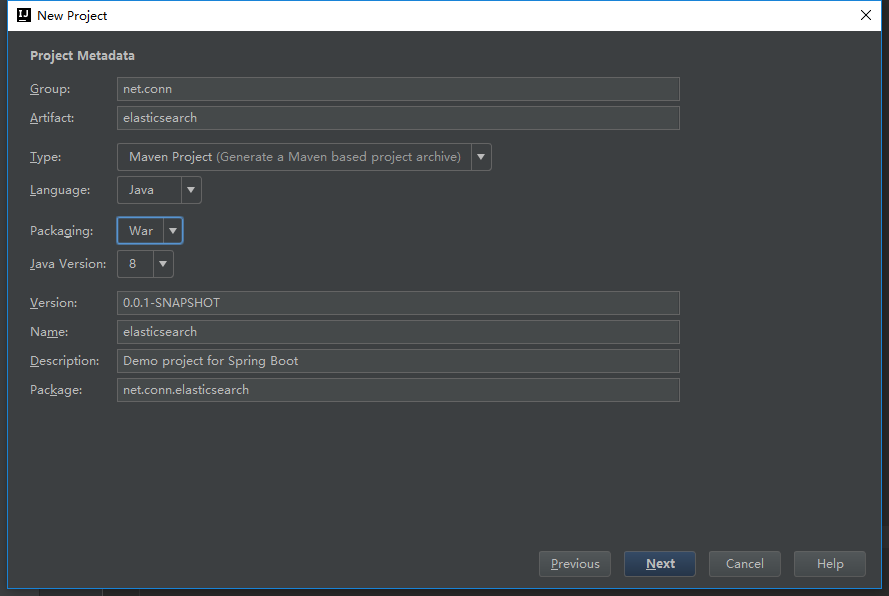
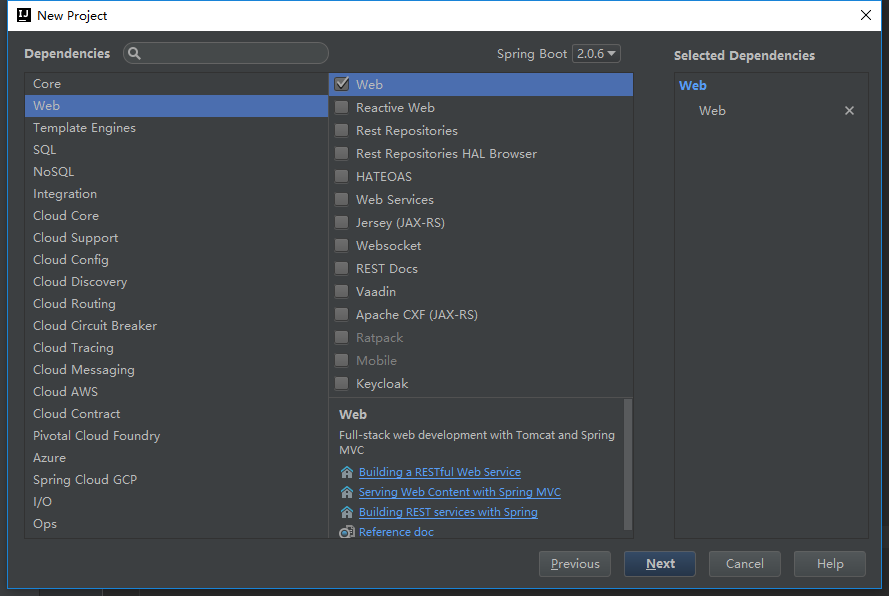
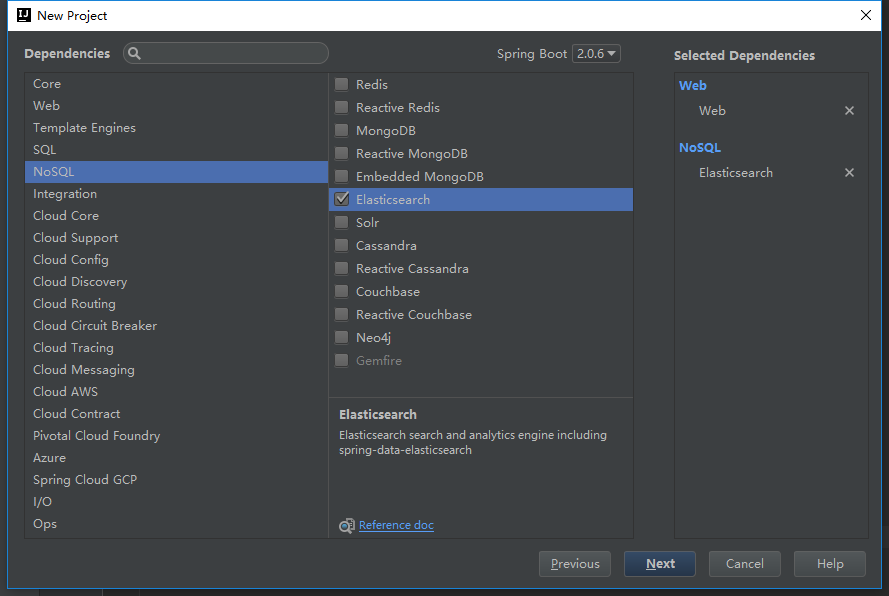
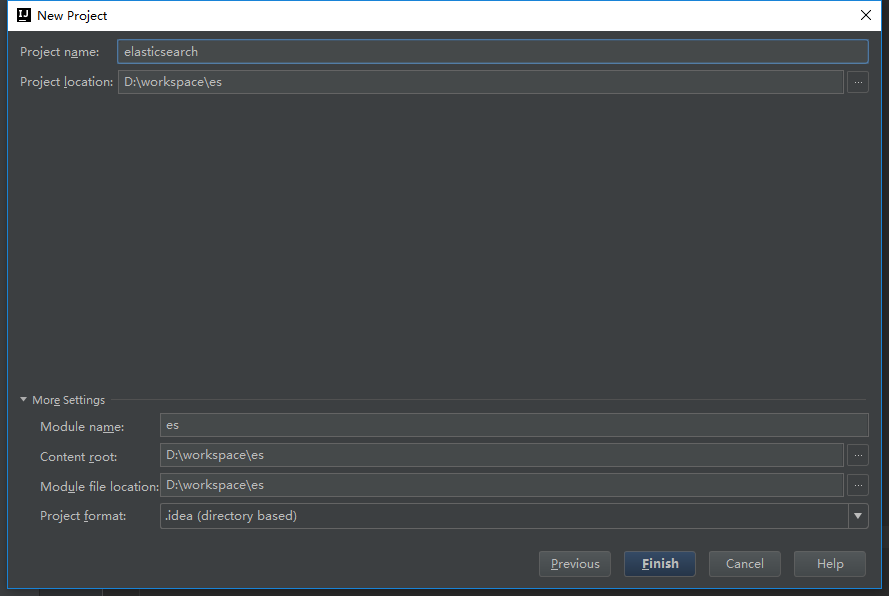
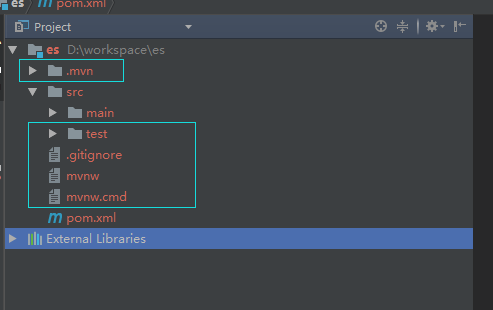
刪掉藍框中的檔案(如上) 最後我們的目錄結構(如下)
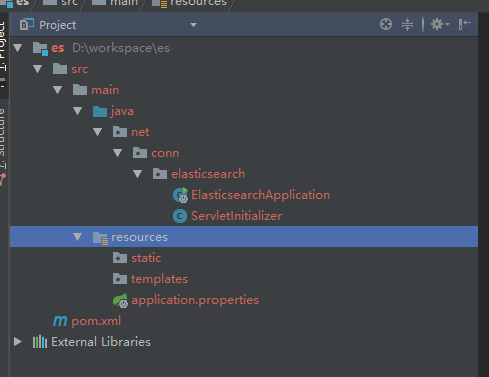
下面pom檔案主要修改的是把spring boot從IntelliJ預設的版本換成2.0.4以及新增netty3的客戶端 否則啟動會報錯
<?xml version="1.0" encoding="UTF-8"?>
<project xmlns="http://maven.apache.org/POM/4.0.0" xmlns:xsi="http://www.w3.org/2001/XMLSchema-instance"
	xsi:schemaLocation="http://maven.apache.org/POM/4.0.0 http://maven.apache.org/xsd/maven-4.0.0.xsd">
	<modelVersion>4.0.0</modelVersion>

	<groupId>net.conn</groupId>
	<artifactId>elasticsearch</artifactId>
	<version>0.0.1-SNAPSHOT</version>
	<packaging>war</packaging>

	<name>elasticsearch</name>
	<description>Demo project for Spring Boot</description>

	<parent>
		<groupId>org.springframework.boot</groupId>
		<artifactId>spring-boot-starter-parent</artifactId>
		<version>2.0.4.RELEASE</version>
		<relativePath/> <!-- lookup parent from repository -->
	</parent>

	<properties>
		<project.build.sourceEncoding>UTF-8</project.build.sourceEncoding>
		<project.reporting.outputEncoding>UTF-8</project.reporting.outputEncoding>
		<java.version>1.8</java.version>
	</properties>

	<dependencies>
		<!--ElasticSearch-->
		<dependency>
			<groupId>org.springframework.boot</groupId>
			<artifactId>spring-boot-starter-data-elasticsearch</artifactId>
		</dependency>
		<!--需要引入transport-netty3-client,否則會啟動報錯-->
		<dependency>
            <groupId>org.elasticsearch.plugin</groupId>
            <artifactId>transport-netty3-client</artifactId>
            <version>5.6.10</version>
		</dependency>
		<dependency>
			<groupId>org.springframework.boot</groupId>
			<artifactId>spring-boot-starter-web</artifactId>
		</dependency>

		<dependency>
			<groupId>org.springframework.boot</groupId>
			<artifactId>spring-boot-starter-tomcat</artifactId>
			<scope>provided</scope>
		</dependency>
		<dependency>
			<groupId>org.springframework.boot</groupId>
			<artifactId>spring-boot-starter-test</artifactId>
			<scope>test</scope>
		</dependency>
	</dependencies>

	<build>
		<plugins>
			<plugin>
				<groupId>org.springframework.boot</groupId>
				<artifactId>spring-boot-maven-plugin</artifactId>
			</plugin>
		</plugins>
	</build>


</project>
二、配置程式碼
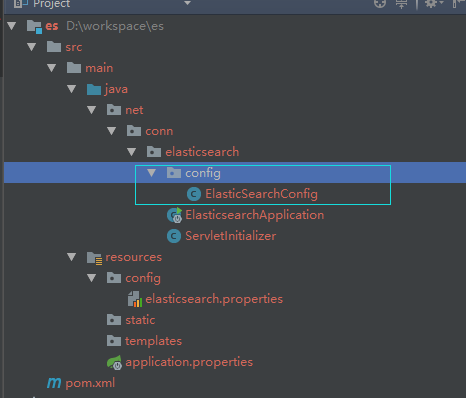
在resources下新建config資料夾 然後建立elasticsearch.properties

#Es地址
es.hostName=localhost

#Es埠號
es.transport=9300

#配置es的叢集名稱,預設是elasticsearch,es會自動發現在同一網段下的es,如果在同一網段下有多個叢集,就可以用這個屬性來區分不同的叢集
es.cluster.name=elasticsearch
在Java工程下建立config資料夾 然後建立ElasticSearchConfig.java
package net.conn.elasticsearch.config;

import org.elasticsearch.client.transport.TransportClient;
import org.elasticsearch.common.settings.Settings;
import org.elasticsearch.common.transport.InetSocketTransportAddress;
import org.elasticsearch.common.transport.TransportAddress;
import org.elasticsearch.transport.client.PreBuiltTransportClient;
import org.slf4j.Logger;
import org.slf4j.LoggerFactory;
import org.springframework.beans.factory.annotation.Value;
import org.springframework.context.annotation.Bean;
import org.springframework.context.annotation.Configuration;
import org.springframework.context.annotation.PropertySource;

import java.net.InetAddress;
import java.net.UnknownHostException;

/**
 * @Author Conn
 * @Date 2018/10/15
 */
@Configuration
@PropertySource(value = "classpath:config/elasticsearch.properties")
public class ElasticSearchConfig {
    private static final Logger logger = LoggerFactory.getLogger(ElasticSearchConfig.class);

    @Value("${es.hostName}")
    private String hostName;

    @Value("${es.transport}")
    private Integer transport;

    @Value("${es.cluster.name}")
    private String clusterName;

    @Bean
    public TransportClient transportClient() {
        logger.info("ElasticSearch初始化開始");

        TransportClient transportClient = null;

        try {
            TransportAddress transportAddress = new InetSocketTransportAddress(InetAddress.getByName(hostName), Integer.valueOf(transport));

            //配置資訊
            Settings es = Settings.builder().put("cluster.name", clusterName).build();

            //配置資訊Settings自定義
            transportClient = new PreBuiltTransportClient(es);

            transportClient.addTransportAddress(transportAddress);
        } catch (UnknownHostException e) {
            logger.error("ES建立錯誤", e);
        }
        return transportClient;
    }
}
三、啟動專案
這時候我們通過springboot啟動器啟動專案會發現控制檯報以下的錯誤
2018-10-19 15:48:05.189  INFO 44964 --- [       Thread-8] s.c.a.AnnotationConfigApplicationContext : Closing org.spring[email protected]418c5a9c: startup date [Fri Oct 19 15:48:02 CST 2018]; root of context hierarchy
2018-10-19 15:48:05.190  INFO 44964 --- [       Thread-8] o.s.j.e.a.AnnotationMBeanExporter        : Unregistering JMX-exposed beans on shutdown
Disconnected from the target VM, address: '127.0.0.1:60159', transport: 'socket'
解決方法是 pom檔案裡註釋掉provided
		<dependency>
			<groupId>org.springframework.boot</groupId>
			<artifactId>spring-boot-starter-tomcat</artifactId>
			<!--<scope>provided</scope>-->
		</dependency>
後記
OK 專案啟動了 我們的整合也就成功了 接下來博主會帶來部分elastic search的Java API的使用方法。
©喜歡我的文章就評論或點個贊吧 至少讓我知道有幫助到你
