Angular實現懸浮球元件
阿新 • • 發佈:2018-12-17
Angular實現懸浮球元件
在手機 App 上,我們經常會看到懸浮球的東東,用著可能很舒服,但是 web 網頁上卻很少見,今天我們就通過 Angular 來實現,當然使用其他框架也是可以的。
功能要求:
- 支援設定直徑
- 支援點選觸發訊號
- 支援設定滑鼠按壓時間
實現的過程中省略的部分天填坑過程。
此專案已經在github開源,歡迎大家 star 和 fork。不勝感激。
開發環境
Angular CLI: 6.1.2
Node: 8.9.4
OS: linux mint 19 x64
IDE: vscode
確定懸浮球的樣式
我大致找了幾個比較漂亮一點的懸浮球作為參考:
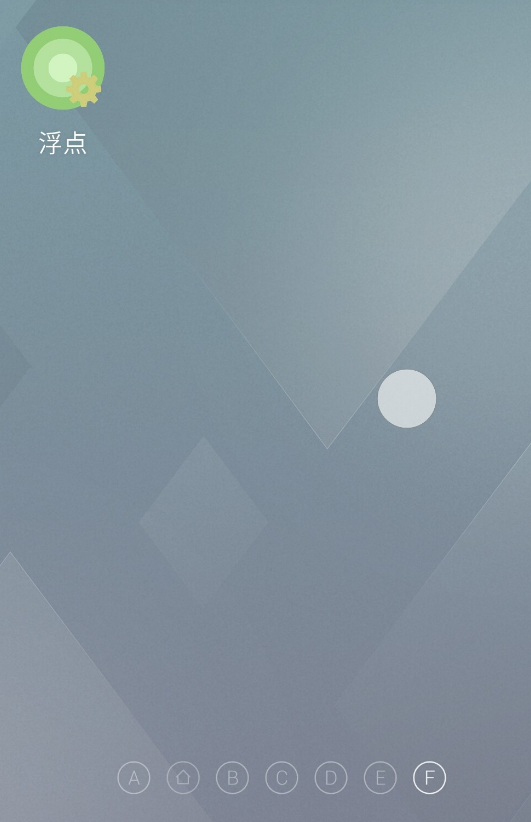
1. 魅族手機懸浮球

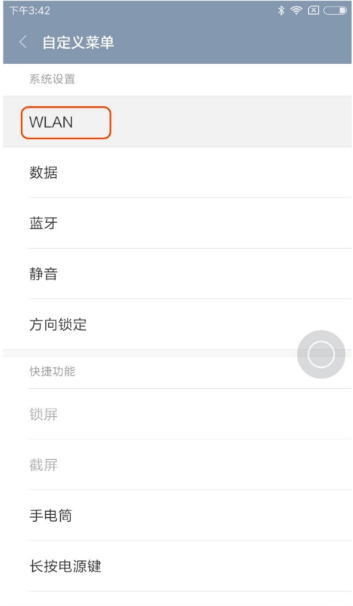
2. 小米手機的懸浮球

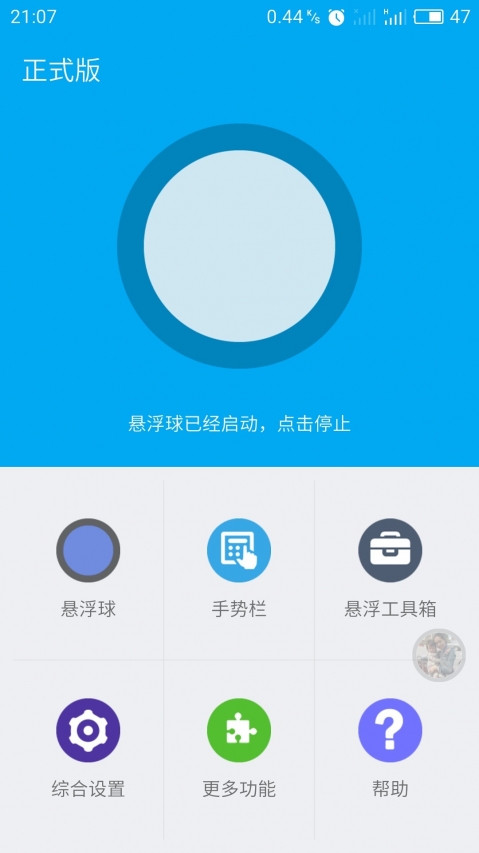
3. 不知名

看了這幾個懸浮球,實在感覺一般般,接下來我們來試一試吧。
建立懸浮球元件
開啟終端執行
ng g c floatingBall此命令生成
floating-ball元件,這裡要感謝 Angular 腳手架的強大。floating-ball/ ├── floating-ball.component.html ├── floating-ball.component.scss ├── floating-ball.component.spec.ts └── floating-ball.component.ts 0 directories, 4 files修改css檔案為scss,相應在ts檔案中的Component裝飾器中也要修改。
html 檔案增加如下
<div id="floating-ball-container" (click)="clicked.emit();" [style.cursor]="currentCursorStyle" [style.width]="addUnit(outerCircleDiameter)" [style.height]="addUnit(outerCircleDiameter)"> <div id="inner-circle" [style.width]="addUnit(innerCircleDiameter)" [style.height]="addUnit(innerCircleDiameter)" [style.top]="addUnit(outerCircleDiameter / 2 - innerCircleDiameter / 2)" [style.left]="addUnit(outerCircleDiameter / 2 - innerCircleDiameter / 2)"></div> </div>html主要是兩個塊級元素div,想了解塊級和內聯元素的區別點選這裡。第一個
div為懸浮球的容器,第二個div為懸浮球的內圓。scss檔案修改如下
$inner-circle-bg: white;            // 內圓的背景色
$container-bg-color: #F44336;       // 懸浮球容器的背景色
$container-bg-start-color: #EF9A9A; // 懸浮球動畫背景開始顏色

// 懸浮球scss配置

#floating-ball-container {

    position: fixed;
    z-index: 2000;   // 設定為最大原因是保持再所有元素的上層
    bottom: 20px;
    right: 20px;
    height: 60px;
    width: 60px;
    border: none;
    border-radius: 50%;
    opacity: 1;

    // 設定陰影效果
    box-shadow: 0 8px 10px 1px rgba(0, 0, 0, 0.14),
                0 3px 14px 2px rgba(0, 0, 0, 0.12),
                0 5px 5px -3px rgba(0, 0, 0, 0.2);

    // 動畫效果, 一閃一閃的效果
    animation: twinkle 1.5s alternate infinite;
    -moz-animation:twinkle 1.5s alternate infinite; /* Firefox */
    -webkit-animation:twinkle 1.5s alternate infinite; /* Safari and Chrome */
    -o-animation:twinkle 1.5s alternate infinite; /* Opera */

    // 容器內的屬性
    #inner-circle {
        position: relative;
        width: 30px;
        height: 30px;
        top: 15px;
        left: 15px;
        border-radius: 50%;
        background-color: $inner-circle-bg;
        opacity: 1;
    }
}

@keyframes twinkle{
    from{background: $container-bg-start-color;}
    to{background: $container-bg-color;}
}

@-moz-keyframes twinkle{ /* Firefox */
    from{background: $container-bg-start-color;}
    to{background: $container-bg-color;}
}
@-webkit-keyframes twinkle{ /* Safari and Chrome */
    from{background: $container-bg-start-color;}
    to{background: $container-bg-color;}
}

@-o-keyframes twinkle{ /* Opera */
    from{background: $container-bg-start-color;}
    to{background: $container-bg-color;}

// 滑鼠懸浮後的偽類樣式設定

#floating-ball-container:hover {

    animation-play-state: paused; // 所有動畫停止
    // 陰影加深 24dp
    box-shadow: 0 16px 24px 2px rgba(0, 0, 0, 0.14),
    0  6px 30px 5px rgba(0, 0, 0, 0.12),
    0  8px 10px -5px rgba(0, 0, 0, 0.2);
}
ts檔案修改如下
import { Component, AfterViewInit,
         EventEmitter, Output } from '@angular/core';

@Component({
  selector: 'app-floating-ball',
  templateUrl: './floating-ball.component.html',
  styleUrls: ['./floating-ball.component.scss']
})
export class FloatingBallComponent implements AfterViewInit {

  // 點選懸浮球訊號
  @Output() public clicked = new EventEmitter();
  @Input() outerCircleDiameter = 60;    // 外圓直徑
  @Input() innerCircleDiameter = 30;    // 內圓直徑
  @Input() pressedTime = 500;           // 滑鼠按壓時間

  isPressed = false;   // 滑鼠是否按下的標記

  posX = 0;            // 懸浮球的x軸位置
  posY = 0;            // 懸浮球的y軸位置

  lastMousePos = {    // 記錄滑鼠按下時的座標
    x: 0,
    y: 0
  };

  mouseOffsetX = 0;    // 滑鼠X偏移量
  mouseOffsetY = 0;    // 滑鼠X偏移量
  elementOffsetX = 0;  // 懸浮球容器的X偏移量
  elementOffsetY = 0;  // 懸浮球容器的Y偏移量

  private timer: any;
  currentCursorStyle = 'default';
  private cursorStyle = { default: 'default', moved: 'move' };

  constructor() { }

  ngAfterViewInit() {
    const rootNode = document.getElementById('floating-ball-container');  // 獲取容器元素
    const viewWidth = window.innerWidth;    // 獲取視窗寬度
    const viewHeight = window.innerHeight;  // 獲取視窗寬度

    rootNode.addEventListener('mousedown', (event) => {
      this.timer = setInterval(() => {
        this.isPressed = true; // 確認滑鼠按下
        this.openMovedCursor(); // 開啟可移動游標
      }, this.pressedTime);
      this.lastMousePos.x = event.clientX; // 記錄滑鼠當前的x座標
      this.lastMousePos.y = event.clientY; // 記錄滑鼠當前的y座標
      this.elementOffsetX = rootNode.offsetLeft; // 記錄容器元素當時的左偏移量
      this.elementOffsetY = rootNode.offsetTop; // 記錄容器元素的上偏移量
      event.preventDefault();                   // 取消其他事件
    }, false);

    // 此處必須掛載在document上,否則會發生滑鼠移動過快停止
    document.addEventListener('mousemove', (event) => {
      if (this.isPressed) {// 如果是滑鼠按下則繼續執行
        this.mouseOffsetX = event.clientX - this.lastMousePos.x; // 記錄在滑鼠x軸移動的資料
        this.mouseOffsetY = event.clientY - this.lastMousePos.y; // 記錄在滑鼠y軸移動的資料
        this.posX = this.elementOffsetX + this.mouseOffsetX; // 容器在x軸的偏移量加上滑鼠在x軸移動的距離
        this.posY = this.elementOffsetY + this.mouseOffsetY; // 容器在y軸的偏移量加上滑鼠在y軸移動的距離
        rootNode.style.left = this.posX + 'px';
        rootNode.style.top = this.posY + 'px';
      }
    }, false);

    // 滑鼠釋放時候的函式
    document.addEventListener('mouseup', () => {
      this.isPressed = false;
      this.closeMovedCursor();
      clearInterval(this.timer);  // 釋放定時器
    }, false);

    rootNode.addEventListener('touchmove', (event) => {
      event.preventDefault(); // 阻止其他事件
      if (event.targetTouches.length === 1) {
        const touch = event.targetTouches[0]; // 把元素放在手指所在的位置
        this.posX = touch.pageX; // 儲存x座標
        this.posY = touch.pageY; // 儲存Y座標
        rootNode.style.left = this.posX + 'px';
        rootNode.style.top = this.posY + 'px';
      }
    });
  }

  openMovedCursor(): void {
    if (this.currentCursorStyle === this.cursorStyle.moved) {
      return;
    }

    this.currentCursorStyle = this.cursorStyle.moved;
  }

  closeMovedCursor(): void {

    if (this.currentCursorStyle === this.cursorStyle.default) {
      return;
    }
    this.currentCursorStyle = this.cursorStyle.default;
  }

  addUnit(value: number): string {
    return value + 'px';
  }
}
在app中使用
<app-floating-ball></app-floating-ball>執行檢視
npm start
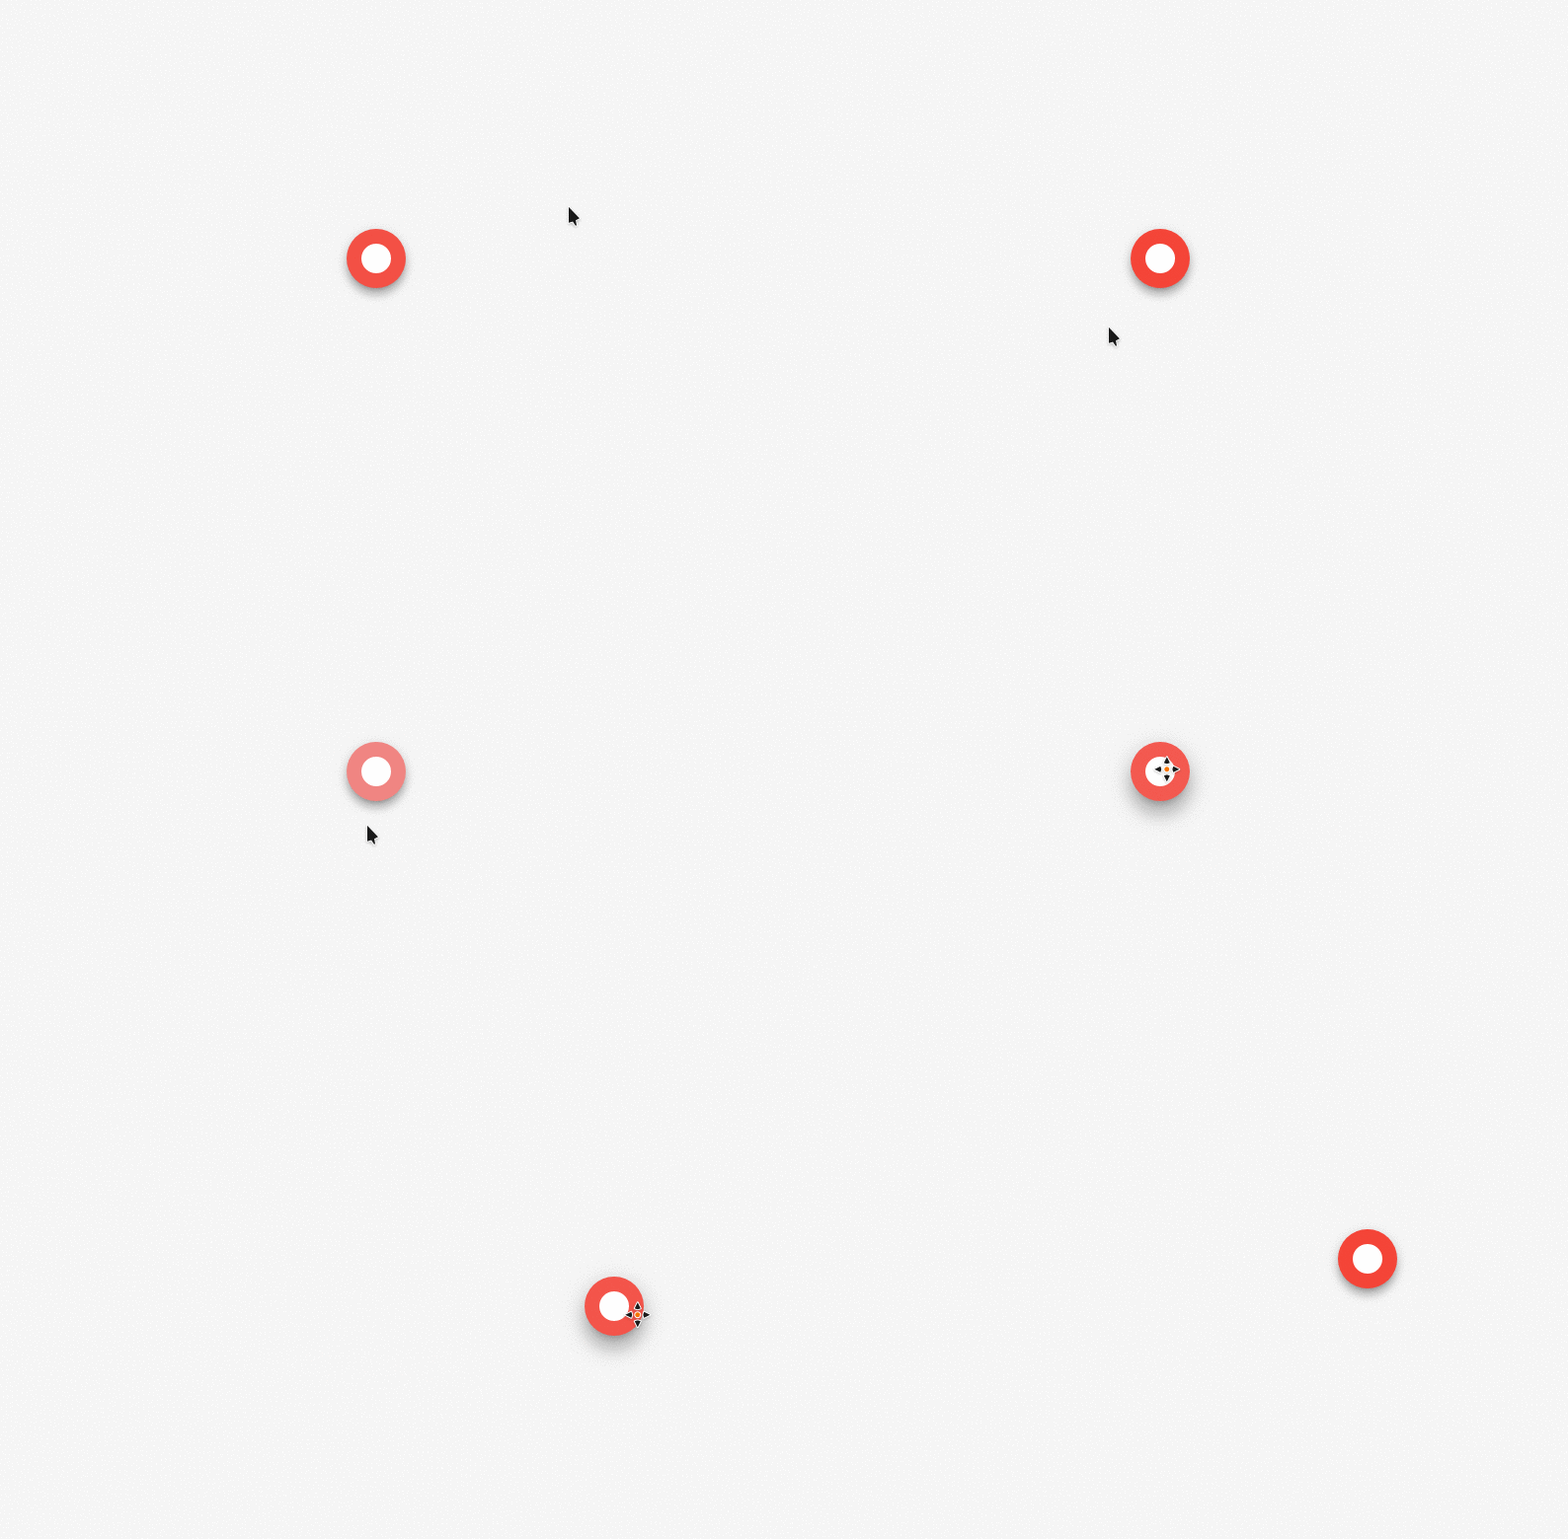
結果展示:

