Publish an iOS application in the AppStore
Publish an iOS application in the AppStore
https://medium.com/@franciscoigor/publish-an-ios-application-in-the-appstore-ab87ebd52b53
Nov 29
The next step after creating your application, is to publish an iOS application in the AppStore. This is a “quick” guide to publish iOS applications, if we want to make them public to the world. The process could be long for the first time.
The main steps involved in this process are:
- Create an Apple ID
- Join the Apple’s Developer program
- Create and build your application in Xcode
- Create an archive of your signed application
- Register your application in App Store Connect
- Upload or export your application
- Submityour application for Review
- Your application will be verified and published in the App Store.
Create an Apple ID
The rest of the process requires an Apple ID. To create an Apple ID you need a valid email address, and you can do it by different ways:
- During the setup of your new iPhone, or MacBook
- When using the AppStore or iTunes for the first time
- Registering at Apple.com site (https://appleid.apple.com/account/)
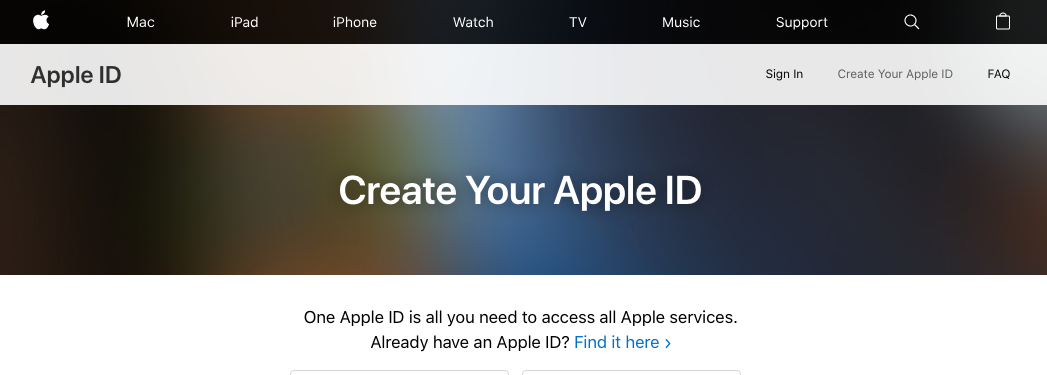
You need to enter identification information and some personal data. After validating your email with a security code, you account will be active.
Register as a Developer
The next step is to register in the site https://developer.apple.com/ as a Developer, to start publishing applications in the AppStore.
- Enter in the Apple developer’s site
- Accept the Apple Developer Agreement
- You will enter in the Developer’s portal
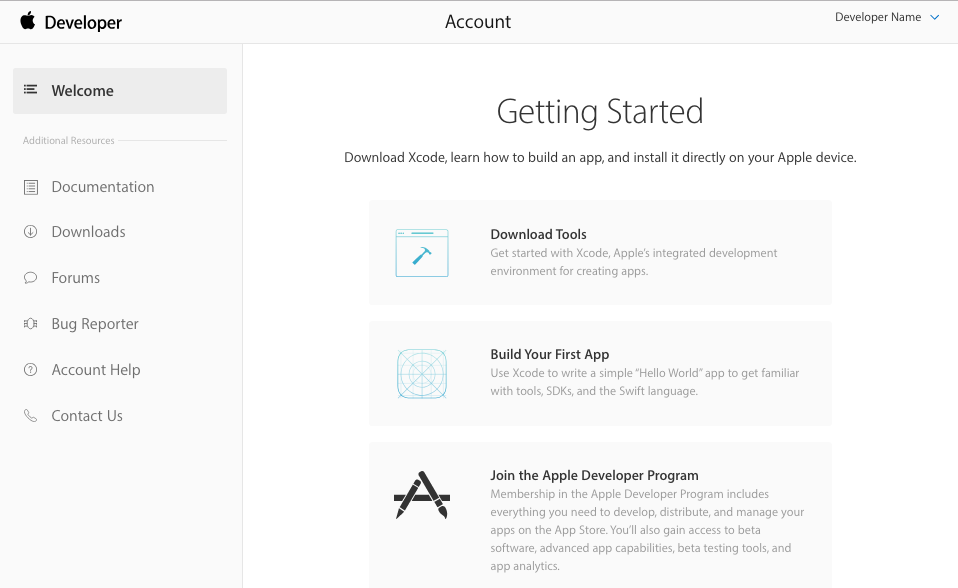
With this account you have limited access to general resources for developers (SDKs, downloads, development tools). After that, you need to join the Apple’s Developer Program to access all the features, including publishing apps to the AppStore.
Join the Apple Developer Program
You need to Join the Apple Developer Program to start publishing apps.
- In the main page, you can click on the “Join the Apple Developer Program”
- Click on the button link “Enroll”
- Start your enrolment as an Individual or as an Organization.
- You need to enable Two factor authentication for your apple account, in your iPhone or MacBook.
- After entering the information needed to enroll, you will be prompted to pay $99 for a one-year subscription membership.
This last step allows you to publish an iOS application in the AppStore, as well as for MacOS applications.
Note: After submitting and paying for your iOS Developer registration, you’ll need to wait for Apple to process your order.
Generate App Certificates
After validating your new developer account. You will be able to work with the publishing tools in the Apple developer site. The first step to publish is to generate application certificates:
Create a CSR file
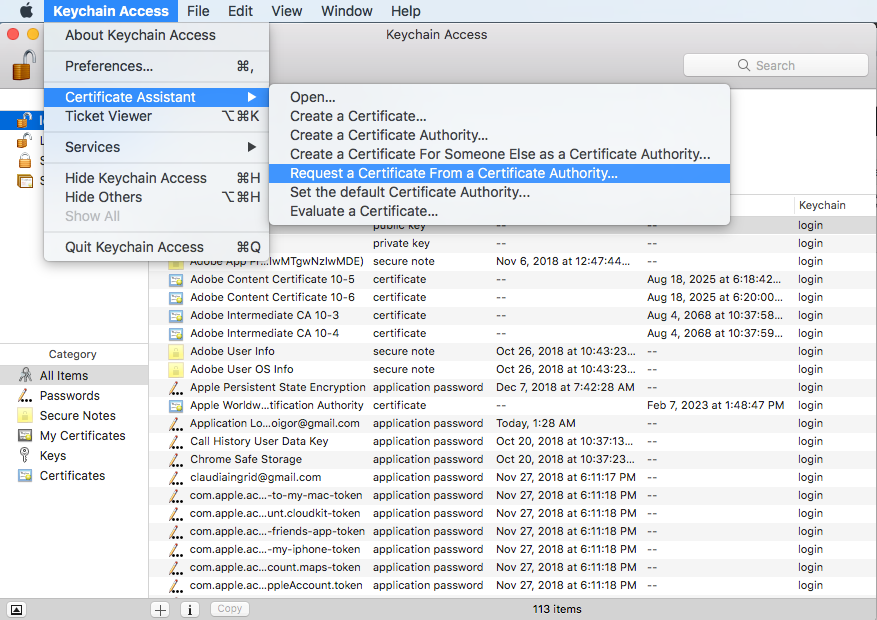
- In the Applications folder on your Mac, open the Utilities folder (Other folder) and launch Keychain Access.
- Select Keychain Access > Certificate Assistant > Request a Certificate from a Certificate Authority.
- In the Certificate Information window, enter the following information:
- User Email Address
- Create a name for your private key (e.g., MyDevKey).
- The CA Email Address field should be left empty.
- In the “Request is” group, select the “Saved to disk” option.
- Click Continue within Keychain Access to complete the CSR generating process.
- Save the certificate to disk and keep it accesible for the next steps.
Upload your certificate to your developer account
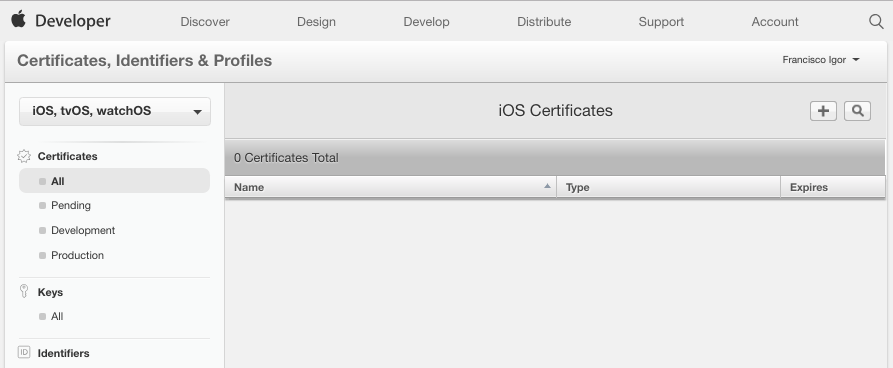
- Go to the “Certificates, Identifiers and Profiles” link (https://developer.apple.com/account/ios/certificate)
- You will see all your certificates created. It will be empty for the first-time.
- Upload this certificate file in the Apple Developer site
- After upload, it will generate an
ios_distribution.cercertificate. Download it to your computer. - Open the
ios_distribution.cerfile, and when prompted, add it to your local Keychain Access.
Register Devices
You don’t need a real iOS device to publish your application, but if you are planning to test or deploy your application to some testing devices, you need to register them in Apple Developer portal:
- Connect your phone to a MacBook and open the iTunes app
- Select the current iOS device from the sidebar and you will see some info about your phone. Copy the UDID code.

- Open the Apple Developer portal and select from the sidebar “Devices” -> “All”
- Click on the “Add” button (plus sign) and register the name of your device, and paste the UDID from the iTunes application.
- Now you can install and test applications created by you directly in your phone.
Create an Application ID
Each application needs an Unique ID to be registered in the App Store.
- Open the Apple Developer portal and select from the sidebar “Identifiers” -> “App IDs”
- Click on the “Add” button (plus sign) and register the name and id of your application.
- The App Name is a global identifier for your application in the App Store.
- The App ID suffix is like a reverse DNS address for your application (example: com.mycompany.apps.demo)
- Activate the services used by your application. Generally, if you are using only standard components, you can leave this section as is.
- Use the App bundle identifier as the in your Xcode project.
Create Provisioning Profiles
You will use Development provisioning profiles to build and install versions of your app during your development process. You use Distribution provisioning profiles when you submit your apps to the App Store.
- Open the Apple Developer portal and select from the sidebar “Provisioning Profiles” -> “All”
- Click on the “Add” button (plus sign) and register a new provisioning profile
- First of all, select iOS App Development to create a development provisioning file:
- You need to specify an App ID (the last Bundle ID created in the previous step)
- Select the computers where you plan to develop and test your application.
- Select the iOS devices to use for testing
- Create a profile name (example: Myapp.development)
- Download the generated provisioning file.
- Second, Add another profile for App Store distribution provisioning
- Select the App bundle ID, computers for development and iOS devices for testing, like in the previous step.
- Download the provisioning file
- You can specify the provision file in your Xcode project configuration. Also, if you have registered your Apple Id in Xcode, the application manages automatically the certificates and provisioning, providing only the App Store account as a team.
- Now you can test and prepare applications for publishing.
Build your application for publish
Now, you are ready to package and distribute your application. The first part of the process is done via the Xcode application:
App Store Connect : Publish
The App Store Connect portal allows you to publish your applications in the App Store. You need to register your application here, and complete the required information to create your application download page.
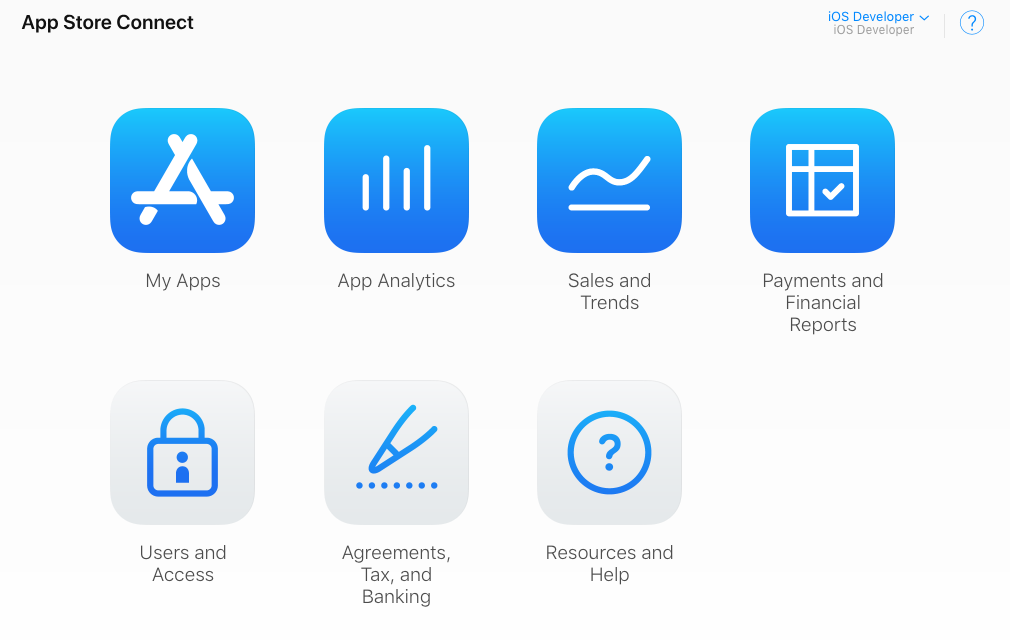
- Go to the App Store Connect web site (https://appstoreconnect.apple.com/)
- Go to the “My Apps” section
- Click on the plus sign [ + ] to add a new iOS app
- Enter a unique name for the App Store
- Select the primary language
- Choose the application Bundle ID (created previously)
- Create a number of SKU (for internal reference only)
- Select Limited or Full access
App Information
Fill in the App information :
- App Title, and optional subtitle
- URL to a privacy-policy text file (You can use a file like this)
- Select the Bundle ID, Category, and Subcategory
Pricing and Availability
Fill in the Pricing and Availability section
- Select a price. It could be free or paid.
- Select the availability: you can select a group of countries to publish your application. Otherwise, it will be published to all countries.
- Check and select other additional availability options.
Prepare for Submission
Fill in the Prepare for Submission section:
- Upload at least 3 images of 1242 x 2208 (default iPhone 5.5 inch), with screenshots of your application. You can capture some screenshots with
Command+Shift+4, and then resize using the Preview app in MacOS (check this link for more information) - Upload 1 additional screenshot image of 2048 x 2732 (iPad Pro), if you are publishing your application for iPad, as well.
- Fill in the details of your published application: Promotional Text (This text will appear above your description on the App Store), Description (A description of your app, detailing features and functionality), Include one or more keywords that describe your app (separated by comma).
Support URL (Website URL of your app support page, if any). - Upload an icon for your application. It must be 1024 x 1024 pixels.
- Fill in the contact information for your application.
- Open the “Rating” section and select the best option for each topic. For example, if your application shows some mature graphic content.
- In the “Build” section, you can’t select a build until you upload your application.
Xcode : Build and Archive
- Register your Apple ID in Xcode (Menu Xcode -> Preferences -> Accounts)
- In the Project configuration (Root element) make sure you are using the App Bundle ID generated in the previous section “Create an Application ID”.
- Make sure you are selecting a development Team (your Apple ID account), in this way, your certificates will be managed automatically. Otherwise, you need to select and specify your files manually.
- You application must contain the following minimum resources in the Assets.xassets file:
- App logos for iPhone: 120 x 120 px (iPhone App 2x)
- iPad App logos: 167 x 167 px (iPad Pro) and 152 x 152 px (iPad App 2x)
- An App store icon (1024 x 1024 px)
- Select as the target device “Generic iOS Device”
- Open the menu “Product” -> “Archive”. This command will generate an archive package of your application.
- A popup window will open with your most recent archives.
At this point, you have an archive of application, and you can submit it using 2 methods: Upload automatically or Export, to upload manually using Application Loader.
Option 1: Publish using Upload
Open the Archives organizer window (Menu Window -> Organizer) and select the archived version you want to upload to the App Store.
- Select the last one you created for your application, and press “Distribute App”
- Choose the iOS App Store distribution
- Select to Upload the application
- When prompted, accept to include the files required and activate automatic signing for your application.
- Finally, you may be prompted for a password (the MacBook user password)
- Your application will be uploaded to the App Store connect. This process could take some minutes to complete. Sometimes this process take a long time. If you want to wait, you may prefer to Export your app and submit it manually.
- If you choose Export
- you will be prompted to save the packaged application in a local folder. Take note about the location
- Use the Application Loader to upload your application
Option 2: Export and publish manually
Open the Archives organizer window (Menu Window -> Organizer) and select the archived version you want to upload to the App Store.
- Select the last application created, and press “Distribute App”
- Choose the iOS App Store distribution
- Select to Export the application
- When prompted, accept to include the files required and activate automatic signing for your application.
- After processing some files, you will be prompted to save the packaged application in a local folder (Take note about the location)
- A new folder will be created, and inside, a file with
.ipaextension (your application package) is ready to publish. - Use the Application Loader to upload your application.
Use the Application Loader to upload your application
After exporting your application in the previous step, you need to upload your application manually using the Application Loader tool.
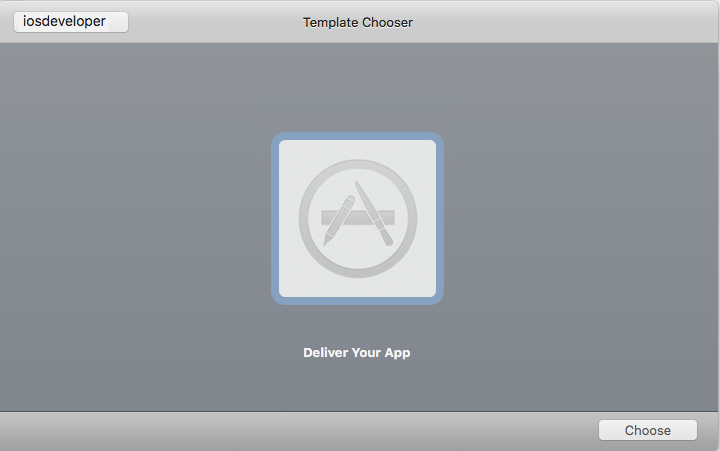
- In Xcode, open from the XCode menu -> Open Developer Tool -> Application Loader.
- Open the application exported in the previous step. Select the .ipa file inside the folder previously exported.
- Follow the steps of the Application Loader process
- If the Loader warns for missing elements or errors, correct all of them and repeat the process of Build, Archive and Export.
- After finishing this steps, you will receive a message: You have successfully added your application to the App Store.
Publish your application
After submitting your application, finally, you can do the final steps to make it public:
- Go to the App Store Connect web site (https://appstoreconnect.apple.com/)
- In the “My Apps” section, and select your application
- Enter in the section “Prepare for submission”. In the “Build” section, now you can select the application package you submitted in the previous step.
- Save your changes and press “Submit for review”
- If all fields are filled correctly, you will be prompted to fill additional information about your submission. Answer Yes or No to each question.
- You are ready. Your application is submitted and changed the state to “Waiting for review”
- In a couple of hours (in some cases, in the next day) you will receive a confirmation email: The status of your app, is now “Ready for Sale”
- You can check your submission in the App Store Connect page, and view the published application using the link URL provided.
- Note: In some cases, you will receive a notification email to modify, fix or change something in you app, by different reasons:
- Not following Apple guidelines to publish your application.
- Some types of applications will not be accepted, for example, book applications.
- See the Common App rejections page to be warned about what kind of applications and situations are not accepted when submitting an application.
Note: Originally posted in https://developerhowto.com/2018/11/29/publish-an-ios-application-in-the-appstore/

