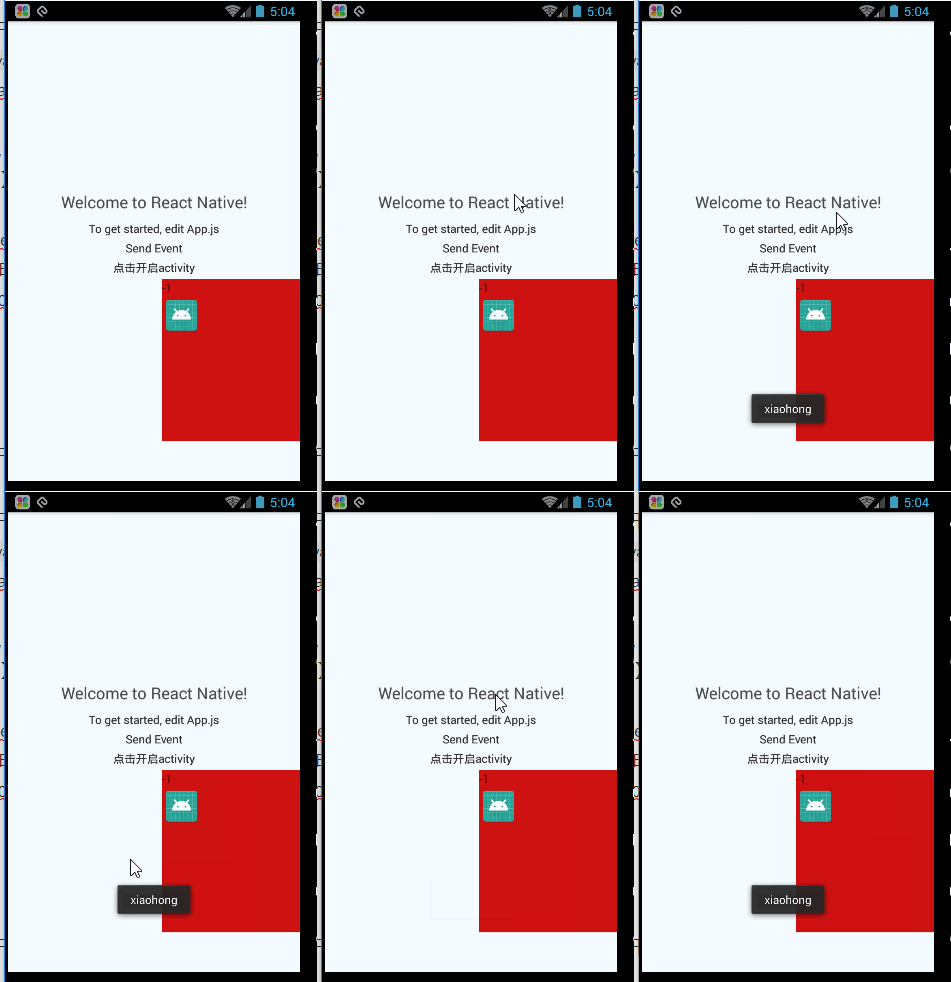
ReactNative 呼叫Android 原生(一)——原生模組(一)
阿新 • • 發佈:2018-12-20
前言
React native呼叫Android原生主要2種方式: 1、呼叫原生模組 2、呼叫原生元件 這裡之所以強調有2種方式主要是自己剛開始弄rn調原生的時候感覺很懵,感覺沒有學習的方向,所以提醒一下大家咱們的學習目標。 官網也有給說明:https://reactnative.cn/docs/native-modules-android/
簡介
一共5步:
1、新建rn專案,並用AndroidStudio開啟新專案下的Android目錄
2、建立一class繼承ReactContextBaseJavaModule (這裡alt+enter重寫構造器+getName()方法,getName()方法返回的string值將在js中被呼叫
簡單使用(一)

主要為了熟悉下上面幾個步驟
1、新建rn專案,並用AndroidStudio開啟新專案下的Android目錄。(這個就不多說了)
2、建立一class繼承ReactContextBaseJavaModule
public class TestModules extends ReactContextBaseJavaModule {
    private ReactApplicationContext mContext;

    public TestModules(ReactApplicationContext reactContext) {
        super(reactContext);
        mContext = reactContext;
    }

    @Override
    public String getName() {
        //注意 這裡的名字才是RN中被呼叫的名字
        return "TestModules";
    }

    /**
     * 呼叫Android原生模組,可傳遞的引數型別如下
     * Boolean -> Bool
     *Integer -> Number
     * Double -> Number
     * Float -> Number
     * String -> String
     * Callback -> function
     * ReadableMap -> Object
     * ReadableArray -> Array
     * 想了解ReadableMap使用 參考:https://blog.csdn.net/danfengw/article/details/83859935
     * @param msg
     */
    @ReactMethod
    public void Toasts(ReadableMap msg) {
        ReadableNativeMap map= (ReadableNativeMap) msg;
        HashMap map2=map.toHashMap();
        Toast.makeText(mContext, (String) map2.get("name"), Toast.LENGTH_SHORT).show();
    }
 }
3、建立一class 實現ReactPackage介面,(這裡將重寫createNativeModules()方法【用於新增Module】+createViewManagers()方法)
public class TestPackages implements ReactPackage {
    @Override
    public List<NativeModule> createNativeModules(ReactApplicationContext reactContext) {
        List<NativeModule> nativeModules = new ArrayList<>();
        nativeModules.add(new TestModules(reactContext));
        return nativeModules;
    }

    @Override
    public List<ViewManager> createViewManagers(ReactApplicationContext reactContext) {
        return Collections.emptyList();
    }
}
4、MainApplication.java中新增第3步中的package。
public class MainApplication extends Application implements ReactApplication {

    private final ReactNativeHost mReactNativeHost = new ReactNativeHost(this) {
        @Override
        public boolean getUseDeveloperSupport() {
            return BuildConfig.DEBUG;
        }

        @Override
        protected List<ReactPackage> getPackages() {
            return Arrays.<ReactPackage>asList(
                    new MainReactPackage(),
                    new SQLitePluginPackage(),  // register SQLite Plugin here
                    new TestPackages()
            );
        }

        @Override
        protected String getJSMainModuleName() {
            return "index";
        }
    };

    @Override
    public ReactNativeHost getReactNativeHost() {
        return mReactNativeHost;
    }

    @Override
    public void onCreate() {
        super.onCreate();
        SoLoader.init(this, /* native exopackage */ false);
    }
}
5、在rn中呼叫 匯入NativeModules 就直接在App.js裡面改的
import React, {Component} from 'react';
import {Platform, StyleSheet, Text, View, NativeModules, DeviceEventEmitter} from 'react-native';
import NativeTimerView from "./src/component/NativeTimerView";
type Props = {};
export default class App extends Component<Props> {
  constructor() {
    super();
  }
  toast = () => {
    let obj = {
      id: 1,
      name: "xiaohong"
    };
    //這裡的TestModules對應 getName()返回的
    NativeModules.TestModules.Toasts(obj);
  };
  render() {
    return (
      <View style={styles.container}>
        <Text style={styles.welcome}
              onPress={this.toast}
        >Welcome to React Native!</Text>
      </View>
    );
  }
}

const styles = StyleSheet.create({
  container: {
    flex: 1,
    justifyContent: 'center',
    alignItems: 'center',
    backgroundColor: '#F5FCFF',
  },
  welcome: {
    fontSize: 20,
    textAlign: 'center',
    margin: 10,
  },
  instructions: {
    textAlign: 'center',
    color: '#333333',
    marginBottom: 5,
  },
});
