
原始碼安裝cuDNN v7.3.0 for CUDA 10.0,並測試cuDNN是否安裝成功
參考:
前提:CUDA 10.0 已經安裝完成!!
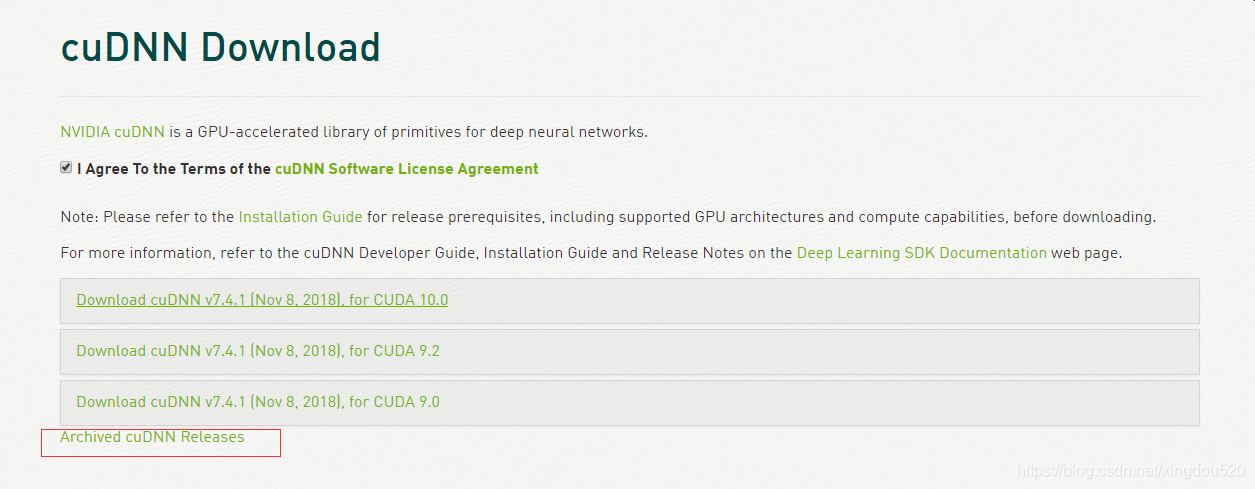
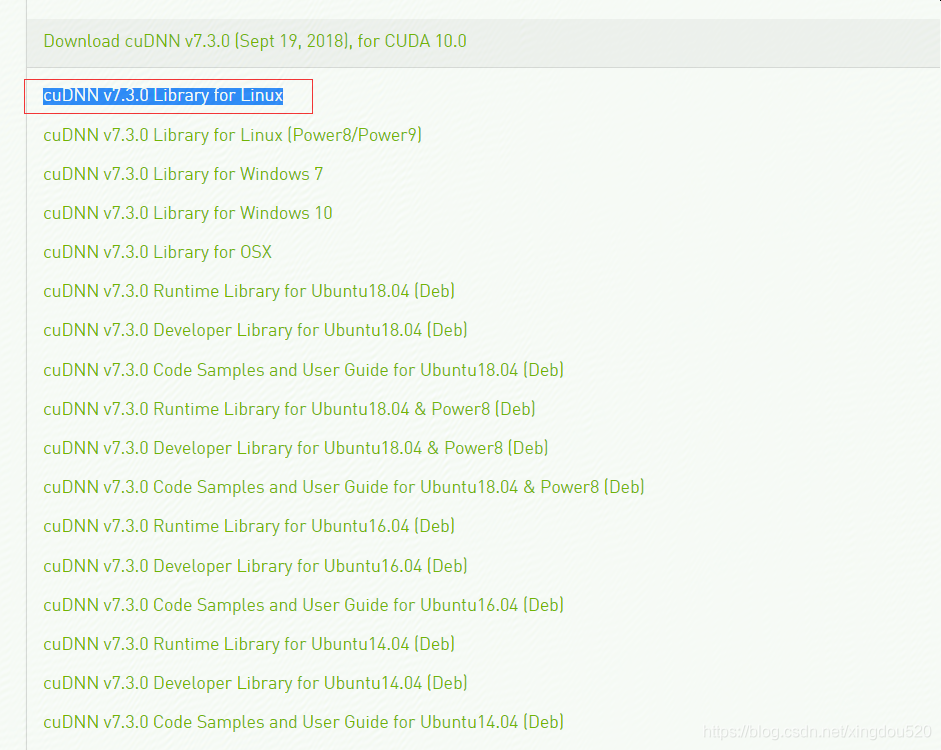
1、下載cuDNN:
選擇其他版本:
下載後,解壓,直接將對應標頭檔案和庫拷貝到CUDA的安裝目錄即可,記得修改庫檔案的檔案許可權
-
Unzip the cuDNN package.
$ tar -xzvf cudnn-9.0-linux-x64-v7.tgz
-
Copy the following files into the CUDA Toolkit directory, and change the file permissions.
$ sudo cp cuda/include/cudnn.h /usr/local/cuda/include
$ sudo cp cuda/lib64/libcudnn* /usr/local/cuda/lib64
$ sudo chmod 777 /usr/local/cuda/include/cudnn.h /usr/local/cuda/lib64/libcudnn*
3、測試cuDNN
-
Copy the cuDNN sample to a writable path.
$sudo cp -r /usr/src/cudnn_samples_v7/ ~/
-
Go to the writable path.
$ cd ~/cudnn_samples_v7/mnistCUDNN
-
Compile the mnistCUDNN sample.
$sudo make clean && make
-
Run the mnistCUDNN sample.
$ ./mnistCUDNN
If cuDNN is properly installed and running on your Linux system, you will see a message similar to the following:如果安裝成功 測試完成後顯示:
Test passed!