linux docker容器中安裝maven nexus倉庫
阿新 • • 發佈:2018-12-21
2.建立資料夾:/usr/local/work/maven
3.執行docker,拉取nexus映象。
docker search nexus;
#拉取nexus映象
docker pull sonatype/nexus;
#執行
docker run -idt -p 8081:8081 --name nexus -v /usr/local/work/maven:/sonatype-work sonatype/nexus
#檢視日誌
docker logs -f nexus
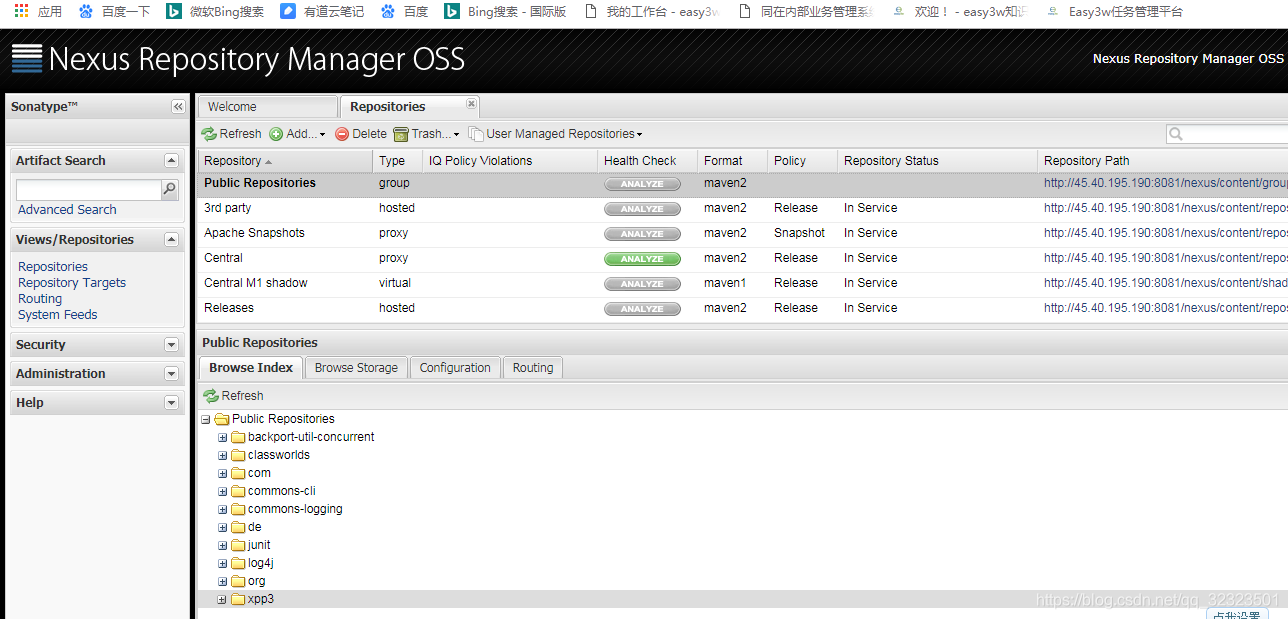
瀏覽器中訪問:http://ip:8081/nexus
 這樣nexus就已經開始正常工作了,接下來我們開始使用私有倉庫;
4.使用私有倉庫
- 下載maven
- 需要配置maven的資訊,開啟maven安裝目錄下的conf/settings.xml檔案;
在mirrors節點下新增一個mirror節點,內容如下:
在profiles節點下新增一個profile節點,內容如下:<mirror> <id>nexus</id> <mirrorOf>*</mirrorOf> <url>http://安裝nexus伺服器的ip:8081/nexus/content/groups/public/</url> </mirror>
新增一個activeProfiles節點,該節點和profiles節點一個層次,內容如下:<profile> <id>nexus</id> <repositories> <repository> <id>central</id> <url>http://central</url> <releases><enabled>true</enabled></releases> <snapshots><enabled>true</enabled></snapshots> </repository> </repositories> <pluginRepositories> <pluginRepository> <id>central</id> <url>http://central</url> <releases><enabled>true</enabled></releases> <snapshots><enabled>true</enabled></snapshots> </pluginRepository> </pluginRepositories> </profile>
至此關於中央倉庫的資訊就配置好了。<activeProfiles> <activeProfile>nexus</activeProfile> </activeProfiles> - eclipse建立maven project,執行maven命令就會發現jar包都是從配置的nexus上下載的:

