
為Jekyll Blog新增文章評論的功能 • cenalulu's Tech Blog
阿新 • • 發佈:2018-12-23
當按照上一篇jekyll入門教程步驟操作後,你就擁有了一個屬於自己的免費Blog。本文將介紹如何為自己的靜態部落格新增一個博文評論的功能
disqus註冊
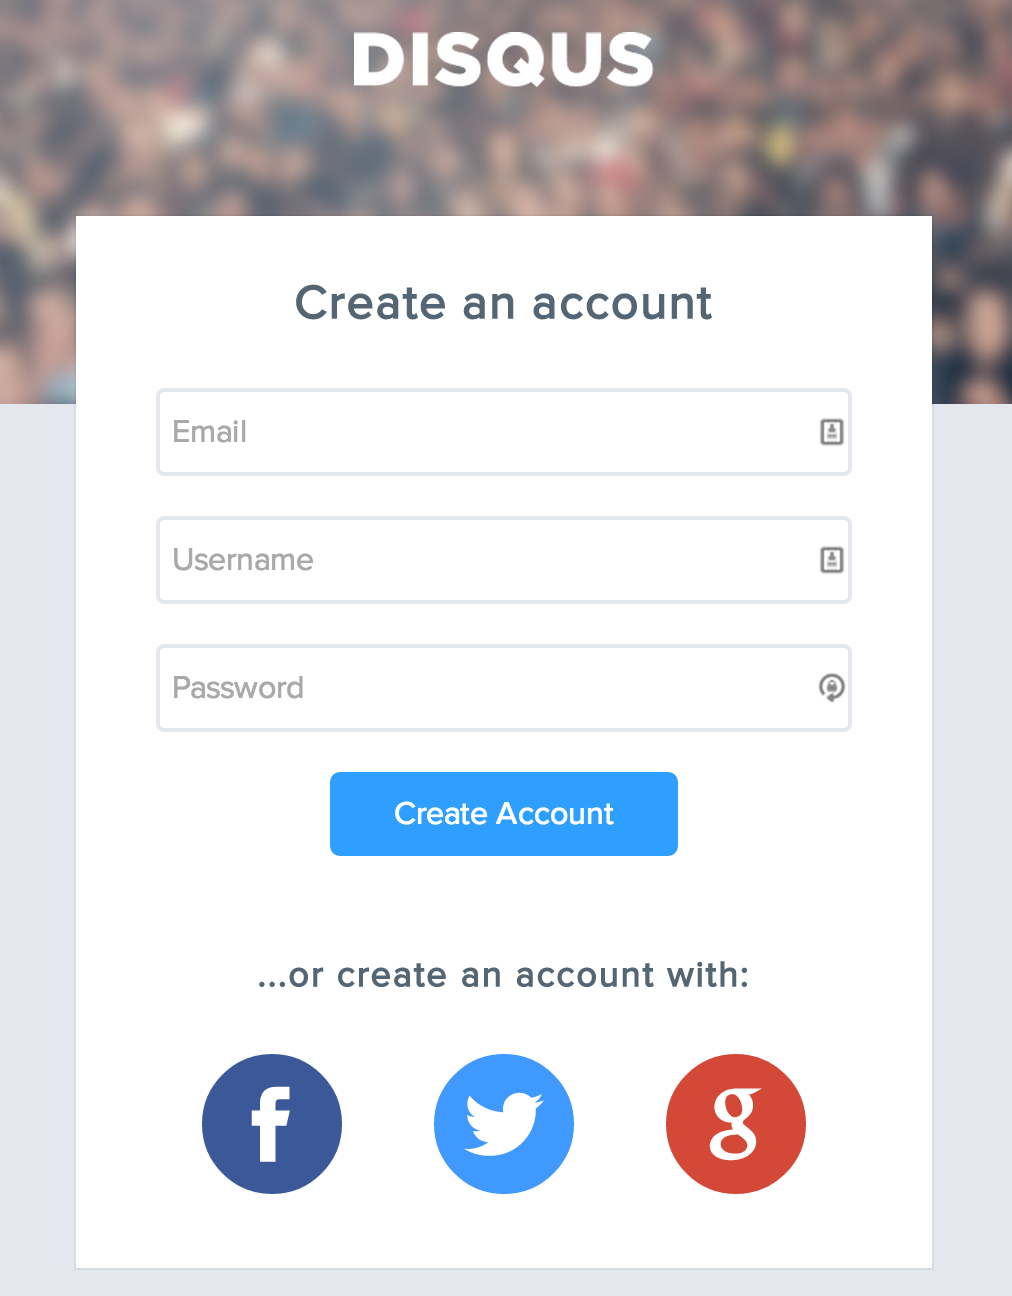
註冊過程比較簡單,甚至不需要驗證郵箱(當然驗證郵箱才能夠使用所有完整功能,博主還是建議註冊後立即去郵箱進行啟用)。註冊成功並登陸後就可以進入自己的後臺配置介面啦。
生成屬於自己的comment js程式碼
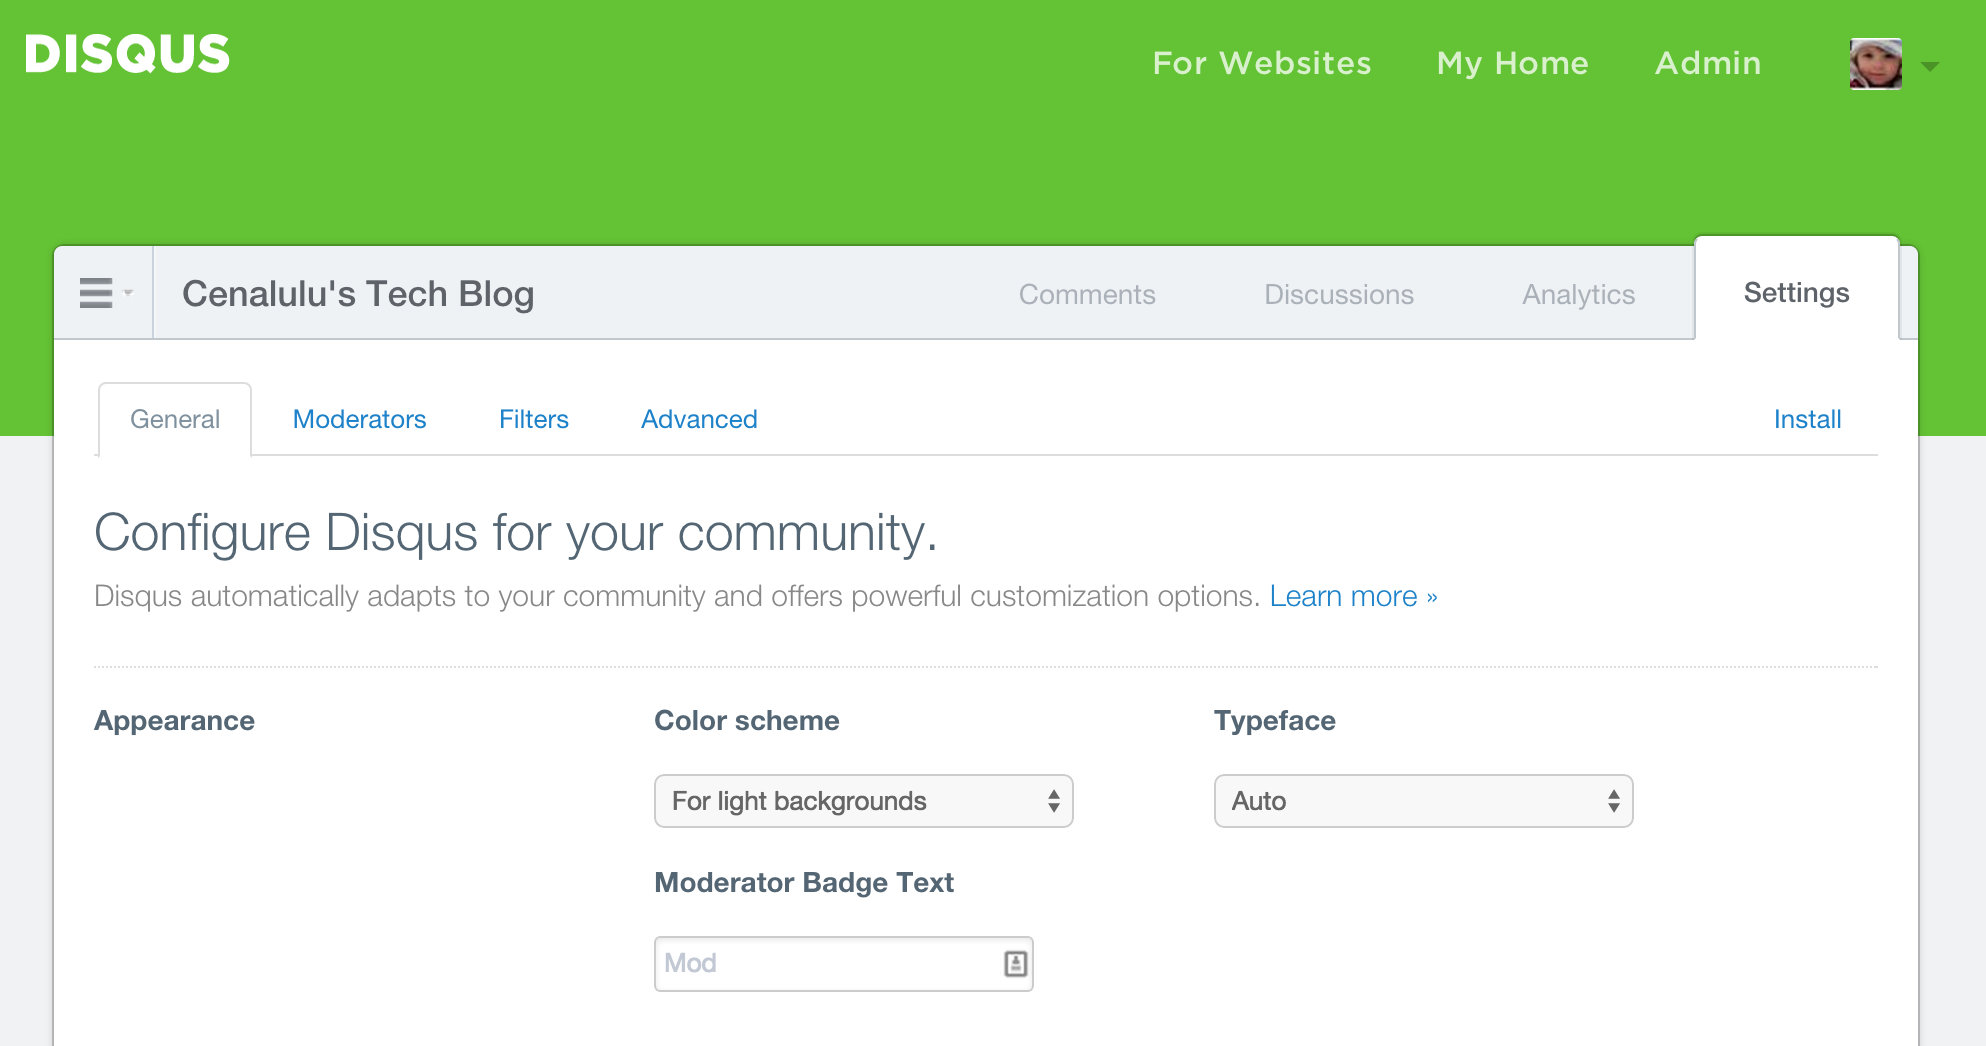
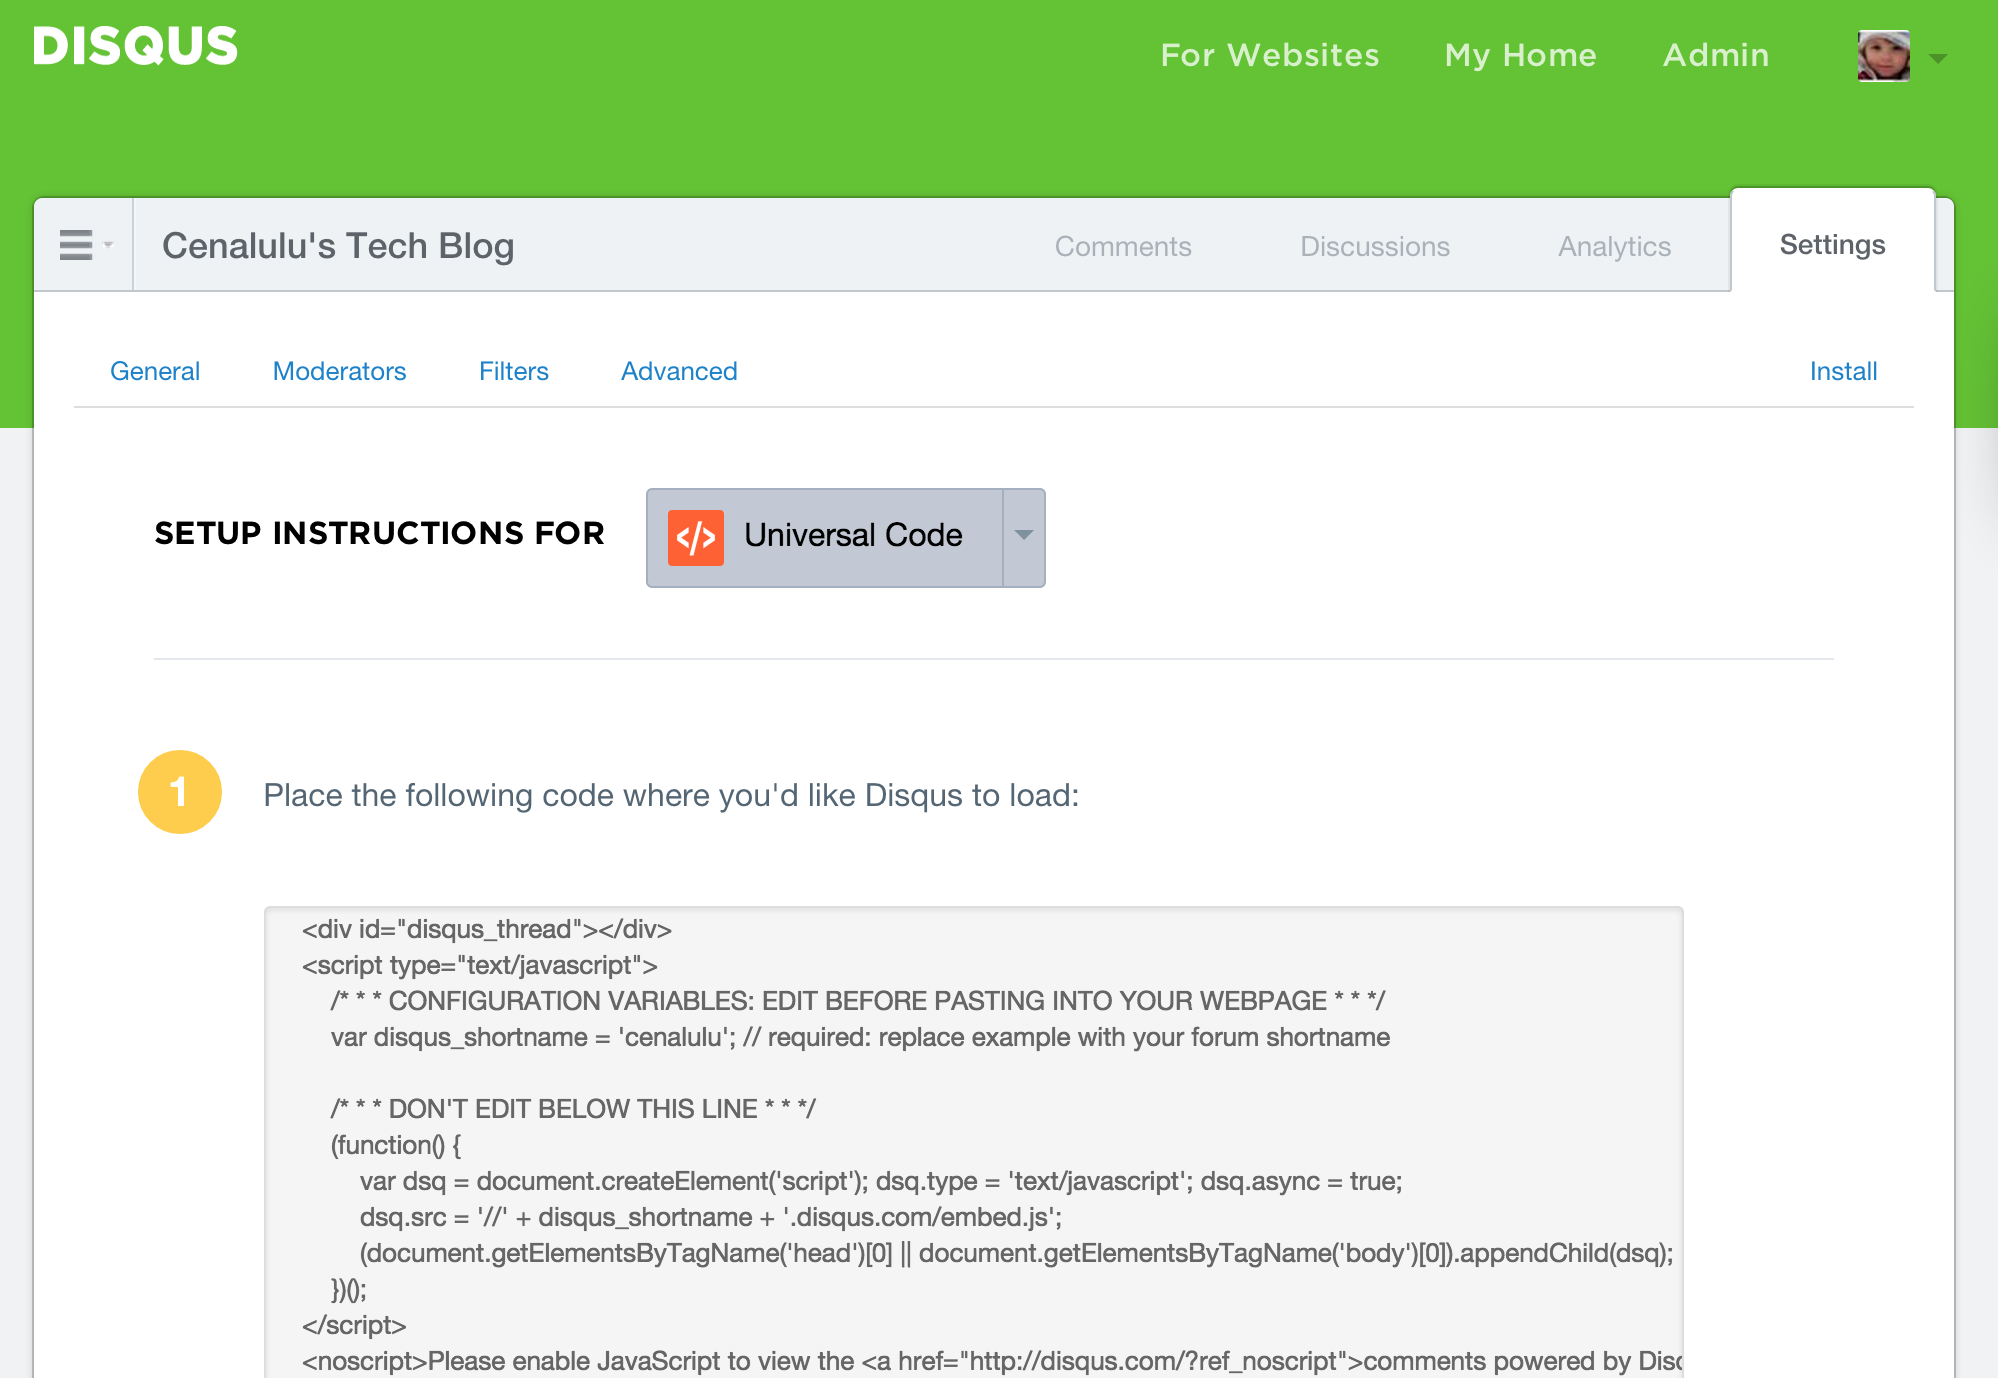
註冊並登陸後,通過右上角的settings按鈕進入admin介面。然後在settingstag下就可以進行自己的comment專區的配置了。配置完成後點選install即可選擇想要嵌入的目標部落格型別。這裡我們選擇universal code
將js程式碼嵌入到Jekyll post模板中
通過修改_layouts/post.html將剛才admin介面中生成的comment js程式碼嵌入到模板的正文後
<div id="disqus_thread"> </div>
<script type="text/javascript">
/* * * CONFIGURATION VARIABLES: EDIT BEFORE PASTING INTO YOUR WEBPAGE * * */
var disqus_shortname = 'cenalulu' 效果展示
效果當然就如你所見,本篇博文的下面就是成功配置了disqus的效果啦!