
SpringBoot2.X整合Redis3.2 Jedis
概述
前兩三年使用Redis,後面工作中也一直使用。這次由於搭建公司框架,在SpringBoot的基礎上整合Redis。
win10下安裝Redis3.2
下載Redis3.2
首先下載Redis3.2,目前來講,3.2是相對穩定且比較新的版本了。下載地址:Redis-64(V3.2)

安裝Redis3.2
安裝很簡單,將下載的檔案進行解壓即可。

啟動測試Redis
啟動時,進入Redis的安裝目錄,在硬碟的路徑一欄輸入“cmd”,然後回車,即可直接cmd命令視窗,且目錄已經是Redis的安裝目錄。

然後在cmd視窗中輸入命令:redis-server redis.windows.conf,如下圖所示,說明啟動成功。

安裝Redis Desktop Manager
Redis Desktop Manager是Redis的桌面管理工具,可以說是Redis的視覺化視窗工具。下載地址:Redis Desktop Manager。
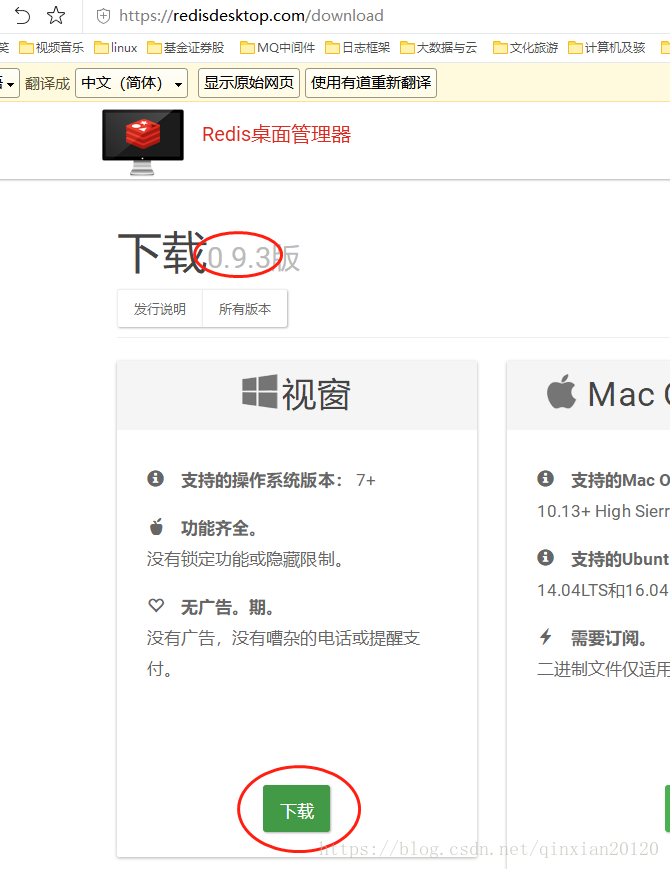
下載後,安裝基本上下一步,很簡單。安裝完成時,提醒檢視Redis Desktop Manager的快速入門:快速入門。
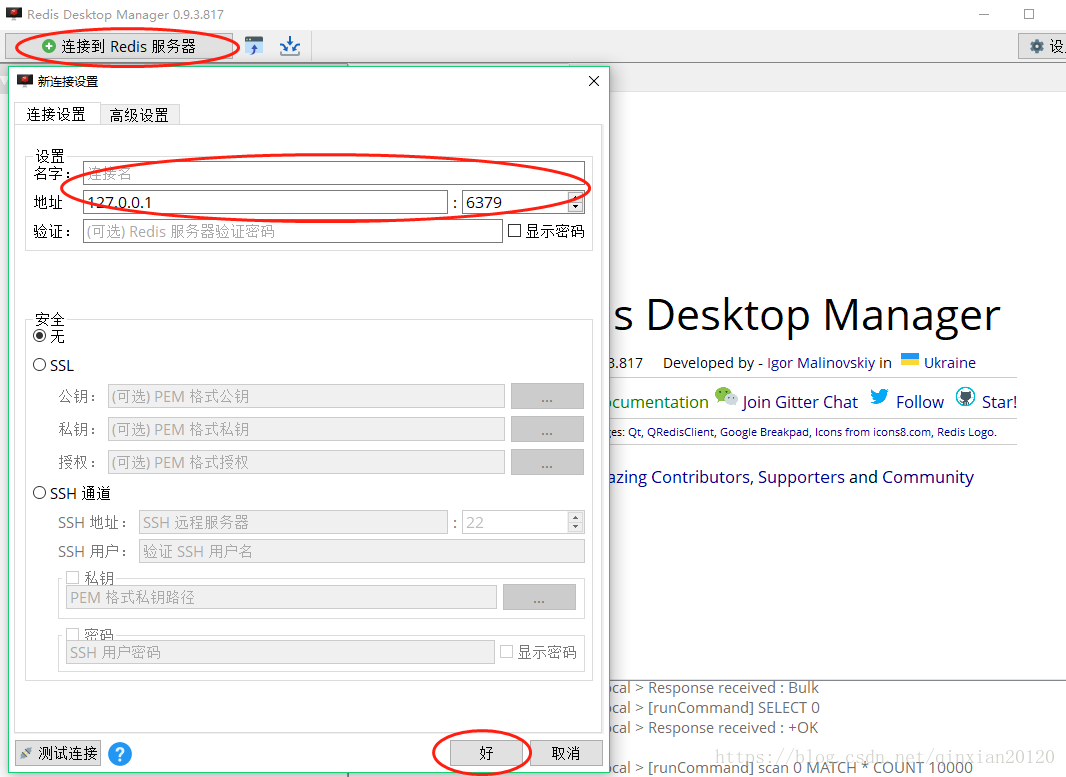
Redis Desktop Manager連線Redis服務
安裝好Redis Desktop Manager後,就可以連線之前啟動的Redis服務了。因為之前沒有配置Redis服務密碼,所以下面不需輸入密碼,只要輸入連線名、地址、埠,然後連線就可以了。
連線成功後,如下圖所示。之所以會的db0到db15,是因為Redis預設會給出16個db,且是從0開始的。 Redis Desktop Manager的具體使用,可以參考上面給出的快速入門連線,網上也有很多資料。

SpringBoot整合Redis3.2
引入Redis的依賴
這裡要特別說明一下,因為我使用的SpringBoot是2.X,Redis是3.2,SpringBoot2.X預設採用lettuce,而1.5預設採用的是jdeis,本文描述的是使用jedis,所以在依賴裡要排除lettuce。否則會報錯:
Caused by: org.springframework.beans.factory.BeanCreationException: Error creating bean with name 'redisConnectionFactory' defined in class path resource [org/springframework/boot/autoconfigure/data/redis/LettuceConnectionConfiguration.class]: Invocation of init method failed; nested exception is java.lang.NoClassDefFoundError: io/netty/handler/ssl/SslProvider
<!-- Redis -->
		<dependency>
			<groupId>org.springframework.boot</groupId>
			<artifactId>spring-boot-starter-data-redis</artifactId>
			<!-- 1.5的版本預設採用的連線池技術是jedis,2.0以上版本預設連線池是lettuce, 因為此次是採用jedis,所以需要排除lettuce的jar -->
			<exclusions>
				<exclusion>
					<groupId>redis.clients</groupId>
					<artifactId>jedis</artifactId>
				</exclusion>
				<exclusion>
					<groupId>io.lettuce</groupId>
					<artifactId>lettuce-core</artifactId>
				</exclusion>
			</exclusions>
		</dependency>

		<!-- jedis客戶端 -->
		<dependency>
			<groupId>redis.clients</groupId>
			<artifactId>jedis</artifactId>
		</dependency>

		<!-- spring2.X整合redis所需common-pool2,使用jedis必須依賴它-->
		<dependency>
			<groupId>org.apache.commons</groupId>
			<artifactId>commons-pool2</artifactId>
			<version>2.5.0</version>
		</dependency>
		<!--<dependency>-->
			<!--<groupId>org.springframework.session</groupId>-->
			<!--<artifactId>spring-session-data-redis</artifactId>-->
		<!--</dependency>-->
Redis配置檔案
當引入依賴成功後,在書寫配置資訊時,會自動給出提示,如下圖所示。

具體配置內容如下所示。寫在application-dev.properties中。
#redis
#redis資料庫索引,預設為0
spring.redis.database=0
#服務地址
spring.redis.host=localhost
#埠
spring.redis.port=6379
#密碼,預設為空,本地沒有設定密碼,所以這裡不填寫
spring.redis.password=
#連線池最大的連線數,若使用負值表示沒有限制
spring.redis.jedis.pool.max-active=8
#連線池最大阻塞等待時間,若使用負值表示沒有限制
spring.redis.jedis.pool.max-wait=-1
#連線池中的最大空閒連線
spring.redis.jedis.pool.max-idle=8
#連線池中的最小空閒連線
spring.redis.jedis.pool.min-idle=0
#連線超時時間(單位為毫秒)
spring.redis.timeout=0
因為我們儲存的資料有可能是字串、物件等不同的內容,也會有中文等不同編碼的資料,所以這裡先自定義下Redis的序列化器。

SpringBoot與Redis整合測試
測試程式碼如下:


到這裡,SpringBoot2.x與Redis3.2的整合已經成功了,至於在專案中怎麼使用,主要還是看團隊的情況了。
Redis簡要說明
下面對本次整合過程中一些點進行簡要說明。
首先是在啟動Redis的時候,輸入的命令是:redis-server redis.windows.conf,其中redis-server對應是redis-server.exe,即Redis的服務程式,redis.windows.conf對應的是windows系統下Redis的配置檔案,可以配置Redis的埠、密碼等。
在整合過程中,一定要注意SpringBoot和Redis不同版本的情況。此次使用的SpringBoot版本是2.X,Redis版本是3.2,SpringBoot2.X預設採用lettuce,而1.5預設採用的是jdeis,本文描述的是使用jedis,所以在引入依賴裡要排除lettuce。更大的區別是SpringBoot2.X整合Redis的時候,引入的依賴spring-boot-starter-redis,而SpringBoot2.X使用的依賴是spring-boot-starter-data-redis,它們的RedisCacheManager就不一樣了,在寫Redis的配置類時就會遇到問題。