
In Using AWS Amplify and Amazon Cognito
Integrate the awsconfiguration.json file into your iOS project
When using the AWS Amplify CLI to provision backend resources, it produces a file called awsconfiguration.json in the root of your iOS Xcode project. This file contains a description of the resources that you can access via your app and is updated (synced) with your project anytime a resource is added, updated, or deleted by the Amplify Toolchain. This auto-update of the configuration file is one of the great benefits of using the Amplify CLI to provision AWS resources from your local mobile development environment.
You only need to add the awsconfiguration.json file to your Xcode project just once. You can do this by dragging it to your Finder in the Xcode project organizer.
You will be prompted if you want to copy the file. UNCHECK THE COPY ITEMS BOX. The AWS Amplify CLI updates this file when things change. If you check the Destination box, then your project may not receive the updates if copied. If you uncheck the box, this file is updated whenever you modify the project resources via the Amplify CLI.
Add Google Sign-In URL scheme into your iOS app
The Google Sign-in callback flow requires a custom URL scheme to be added to your iOS project. This URL scheme is your OAuth iOS Client ID that you copied in step #3 of Obtain Google Project Credentials (OAuth Client IDs).
To add the custom scheme we are going to edit the Xcode project Info.plist:
Launch Xcode, open its Info.plist file using Right-click > Open As > Source Code.
Your iOS Client ID goes in the string value of the Info.plist but in the REVERSE order.
The reversed client ID is your iOS client ID (in the form of a URL) with the order of the dot-delimited fields reversed. For example:


Now that you’ve configured your Xcode project, you can add Google Sign-In UI to your iOS app managed by the AWSMobileClient and built-in Auth UI as part of the AWS Mobile SDK.
Initialize the AWSMobileClient in your AppDelegate
There are three (3) snippets of code you’ll add to your AppDelegate for integrating with the AWSMobileClient. I’ve outlined each step visually in the image below. These are the exact same steps as the Facebook Login implementation.
In the AppDelegate.swift file of your iOS project:
1. Add import AWSMobileClient statement
2. Add the new open URL function with AWSMobileClient intercept
3. Add AWSMobileClient singleton to the didFinishLaunching
We are done with the AppDelegate. Let’s move onto the ViewController.
Implement your built-in Google Sign-In UI
In your root UIViewController or related screen that you want users to sign-up or sign-in, add the following code referenced in the image below. Again, this code is the exact same for Facebook Login:
1. Add the imports from line 2–3
2. Add showSignIn() call to bottom of your viewDidLoad() as shown on line 11
3. Add the new function showSignIn() from line 14–27 to your view controller.
Warning. A UINavigationController is required: The auth UI as part of the AWS Mobile SDK and it requires that your app have a UINavigationController.
To add a UINavigationController to your app, if one does not exist:
Add a UINavigationController to your iOS app: From your Xcode project, select the ViewController in Storyboard then select menu options:
Editor->Embed In -> Navigation Controller.
Build and Run Your App
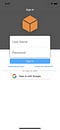
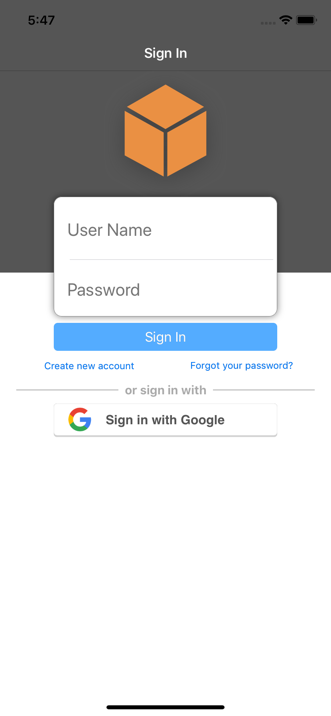
You should see the AWS SDK pre-built sign-in UI for your app as the user is not initially authenticated. The AWS SDK for iOS provides a standard default UI that now allows the user to Sign in via Google along with register (sign-up), trigger “forgot password” functionality, and of course sign-in capabilities built-in along with the default username/email and password fields.
Click on the Sign in with Google button. The user is then redirected and asked to sign in with their Google credentials. Once authenticated, the UI dialog will disappear and you should now see your view controller screen.
At this point, the app user is authenticated through Google and the user now assumes the authenticated IAM role and is granted permissions associated with that role, however, that role still has an empty access policy. This is the same process we went through when the user authenticated with username/password via Cognito User Pools or Facebook. This time, the user authenticated with Google as an identity provider for Cognito Identity Pool.