
Dependency Injection with Swinject
Dependency Injection with Swinject
In this article, we will cover the basics of Dependency Injection and how to apply it to an iOS project using an open-source framework called Swinject.


What is Dependency Injection?
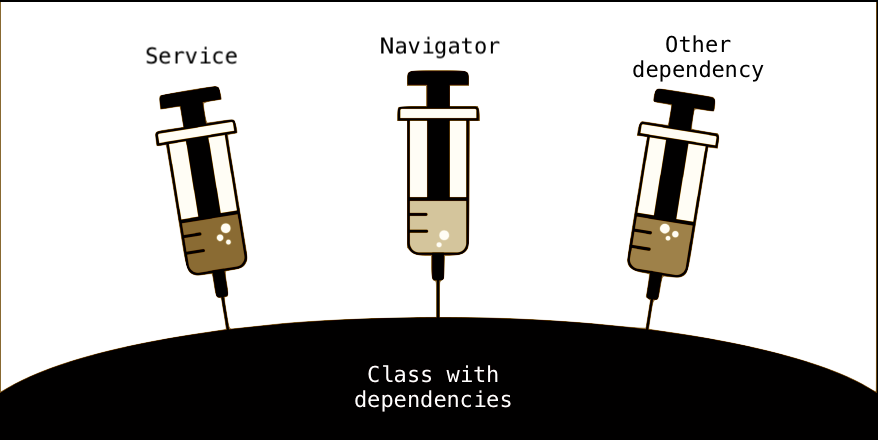
Dependency Injection (DI) is a technique in which you set the dependencies of an entity from outside of its own scope, turning your system into loosely coupled modules. Imagine a class holding references to every other component of the app saving you from communication patterns between UIViewControllers for example.

DI is a just software design pattern that implements Inversion of Control (IoC) for resolving dependencies. One of the greatest achievements IMO is to use proper implementations according to the selected scheme. This turns objects fully testable and mocking data gets much easier.

How to use Swinject?
Swinject is a great framework for DI on Swift projects and again, it’s open-source. It uses generics to de-couple your code in a very easy and simple way and to use it, the first step is to add it to your project via CocoaPods
- pod ‘Swinject’
If your codebase is in Objective-C, you might be willing to check Typhoon DI Framework.
Registrations can consume quite a lot of lines of code, so you can separate it into an extension or create a loader class for example. It may sound a bit weird but, the order of registration doesn’t really matter here because we’re registering everything on the beginning of the execution of our app, so before anything is instantiated.
In the ‘Screen’ class, you will have the dependency:
var dataPresenter: DataPresenterProtocol!
It doesn’t have to know which implementation of this protocol it will be, as long as this implementation conforms to this same protocol, only the registration will tell who’s coming, and who’s not.
When using DI, if you forgot to register some dependency you might have the nil value for it. Also, when navigating between screens, you shouldn’t instantiate the screen, but resolve it using the container. That’s why creating a Navigator class for your app is a good idea, this way you don’t have to pass the container from the AppDelegate through the screens, but the navigator instead.
But then I’ll have a different instance of ‘Navigator’ for each screen?
No, you can define a singleton for a registration when you use .inObjectScope(.container) This way, every time you resolve it, you will have the same instance. There are great navigation patterns that work well along with DI, but that’s a topic for another post.
Conclusion
When using dependency injection, you’ll end up with quite fewer lines of code and a much more organized project. Besides that, the testability of your objects will improve and you can avoid using communication patterns between view controllers.
Special thanks to my mentor Csabi Vidó for helping me reviewing the article.