Setting up ESLint and EditorConfig in React Native projects
Setting up ESLint and EditorConfig in React Native projects


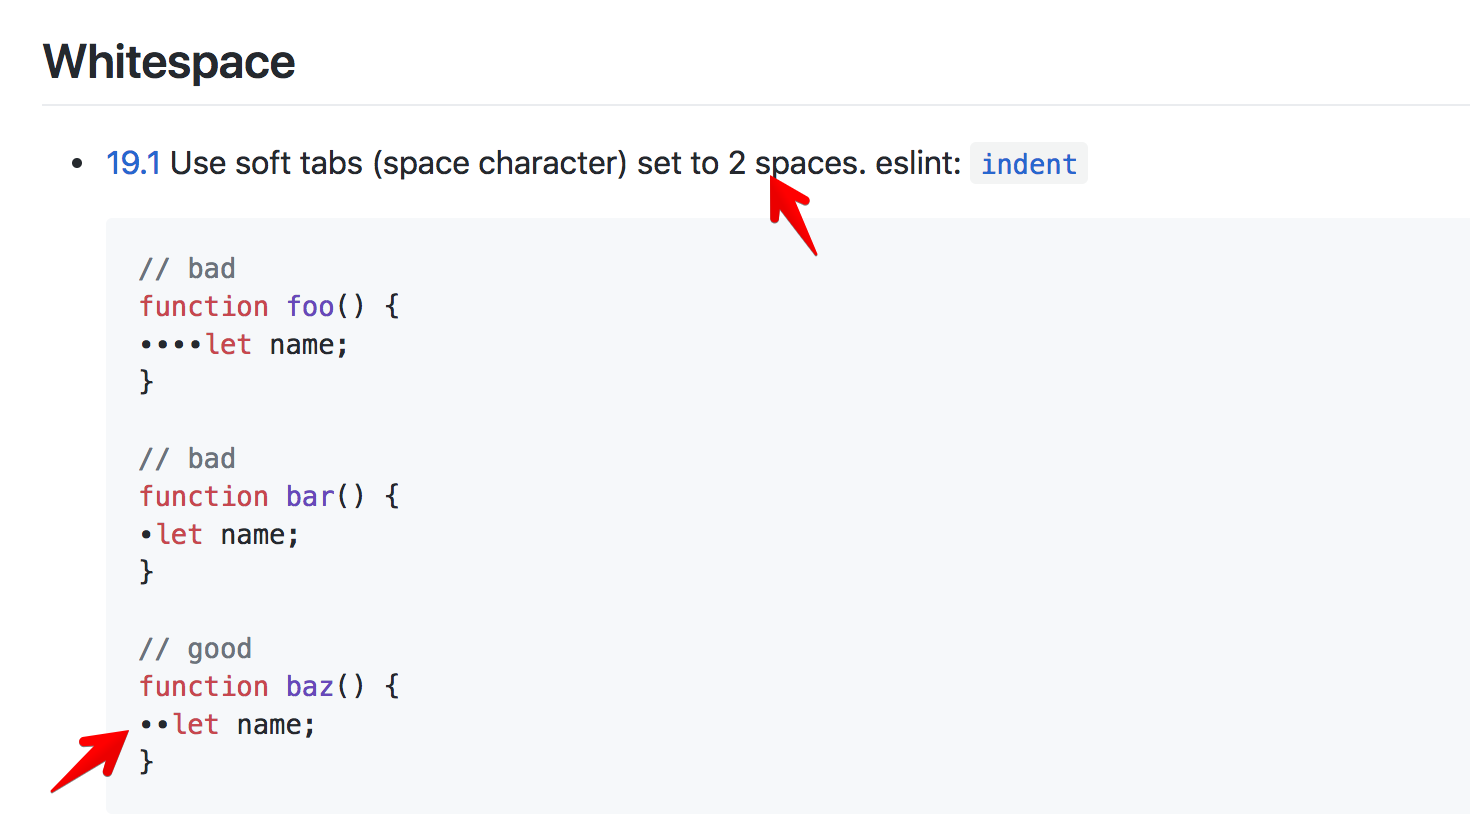
I had a hard time going from 4 spaces to 2 spaces indentation, now I’m quite comfortable with it, and I’m happy that airbnb agrees with me


It’s good to have a common coding convention in project. React Native and React is just Javascript project, so let’s use the most popular linter
ESLint is an open source project originally created by Nicholas C. Zakas in June 2013. Its goal is to provide a pluggable linting utility for JavaScript.
In Javascript, there are usually 1000 libraries for a problem, a quick search for ESLint in React Native shows something like eslint-plugin-react-native
How to set up ESLint
For a project set up with react-native init, ESLint is not bootstrapped by default. But it’s extremely easy to setup. Just run
npm install eslint babel-eslintFor React and JSX syntax, we need to install some more dependencies, they are all crucial for ESLint to work
npm install eslint-config-airbnb eslint-plugin-jsx-a11y eslint-plugin-react eslint-plugin-importCreate a configuration file at the root of the project, called .eslintrc.js There is a full configuration guide, but the minimum you can use is
module.exports = { 'extends': 'airbnb', 'parser': 'babel-eslint', 'env': { 'jest': true, }, 'rules': { 'no-use-before-define': 'off', 'react/jsx-filename-extension': 'off', 'react/prop-types': 'off', 'comma-dangle': 'off' }, 'globals': { "fetch": false }}We use airbnb Javascript style guide with 'extends': 'airbnb' . There are a bunch of rules and I see the best way to learn them is to use them in practice.
Next, we can add a script to package.json to lint just javascript files
"lint": "eslint *.js **/*.js"
Running npm run lint will show all the linter problems in your project. How nifty is that!
ESLint extension for Visual Studio Code
If we use Visual Studio Code, there’s a bunch of cool extensions. One of them is the ESLint extension. The only requirement is that we have ESLint configured, which we just did.
The extension uses the ESLint library installed in the opened workspace folder. If the folder doesn’t provide one the extension looks for a global install version. If you haven’t installed ESLint either locally or globally do so by runningnpm install eslintin the workspace folder for a local install ornpm install -g eslintfor a global install.
In Visual Studio Code, head over to Extensions tab and install ESLint, we then need to reload Visual Studio Code for the new extension to take effect


Now the extension will highlight the linter error right inside the editor, and we can disable or tweak the rule however we want. But as the airbnb style guide are quite popular and reasonable, stick with them as much as possible


Setting up EditorConfig
EditorConfig helps developers define and maintain consistent coding styles between different editors and IDEs. The EditorConfig project consists of a file format for defining coding styles and a collection of text editor plugins that enable editors to read the file format and adhere to defined styles. Thanks to my friend Tim for showing me this.
Since Visual Studio Code supports EditorConfig, let’s add .editorconfig file
root = true
[*]charset = utf-8end_of_line = lfindent_size = 2indent_style = spaceinsert_final_newline = truetrim_trailing_whitespace = true
This way, the editor always uses 2 spaces indentation, trims trailing whitespace and inserts final new line. They are all good practices and follow ESLint airbnb rules, all done automatically for us when we save a file. Bravo !
There’s of course an Editor Config extension for Visual Studio Code.
Where to go from here
This post shows how to set up ESLint with airbnb style guide and EditorConfig. Hope you find it useful. In the meantime before you actually integrating ESLint, try the ESLint Demo https://eslint.org/demo/
