
Best HTML, CSS, Javascript Practice : Chrome Extension
Best HTML, CSS, Javascript Practice : Chrome Extension
For people who just finished Codecademy.
When you study programming, the most efficient way to self-study is developing a product. This approach is much faster than taking any programming course to improve your programming skills.
Normally, people start to learn programming with HTML, CSS, and basic Javascript in web programming, however, before they reach the server-side part it’s difficult to make a meaningful application.
So, I always tried to convince the students like this,
It’s gonna be fun if you start to learn server-side and launch some application. Please, don’t give up.
but many students stop learning programming while at the HTML and CSS stage.
(Maybe, starting with HTML is not a good idea in order to encourage people to study programming.)
One day, I opened my Chrome browser to start work when I realized that I had actually been using the best application that you can build using only HTML, CSS, and Javascript.
Momentum
To be brief, if you install this extension on Chrome, every time you open a new tab there will be a greeting message over a super cool picture. The number of downloads is already several million. If you haven’t used this, I highly recommend you to install it. Maybe you’ll only experience this application for 2 to 3 seconds per new tab, but you can relax for that little moment
Let’s try to clone this application!
Phase 1: Things to prepare
- HTML
- CSS
- Javascript
- Nice picture: from unsplash
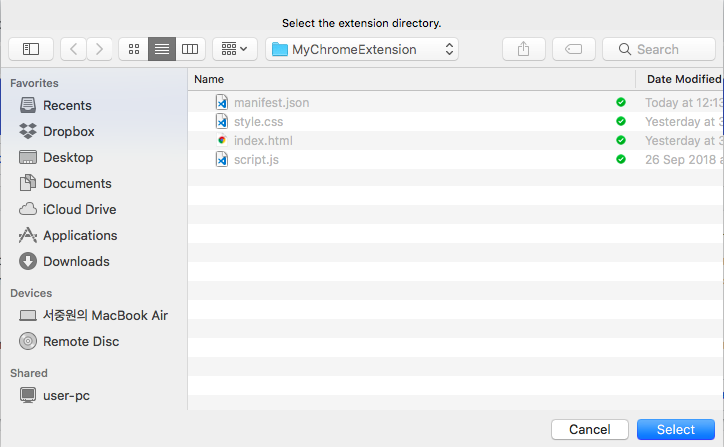
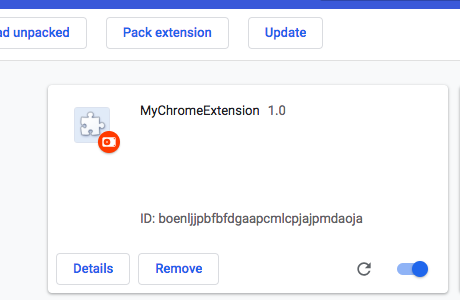
- manifest.json (to be loaded from Chrome)
The way I developed the application quickly was by focusing on the present, not the future. Of course, it’s important to have a concrete plan when it’s not your solo project. But! The lifetime of self-motivation is very short, so when you feel like developing something you better finish it very quickly. If you start to think about other options that will improve your product, you’ll never finish your project.
Let’s keep it simple.
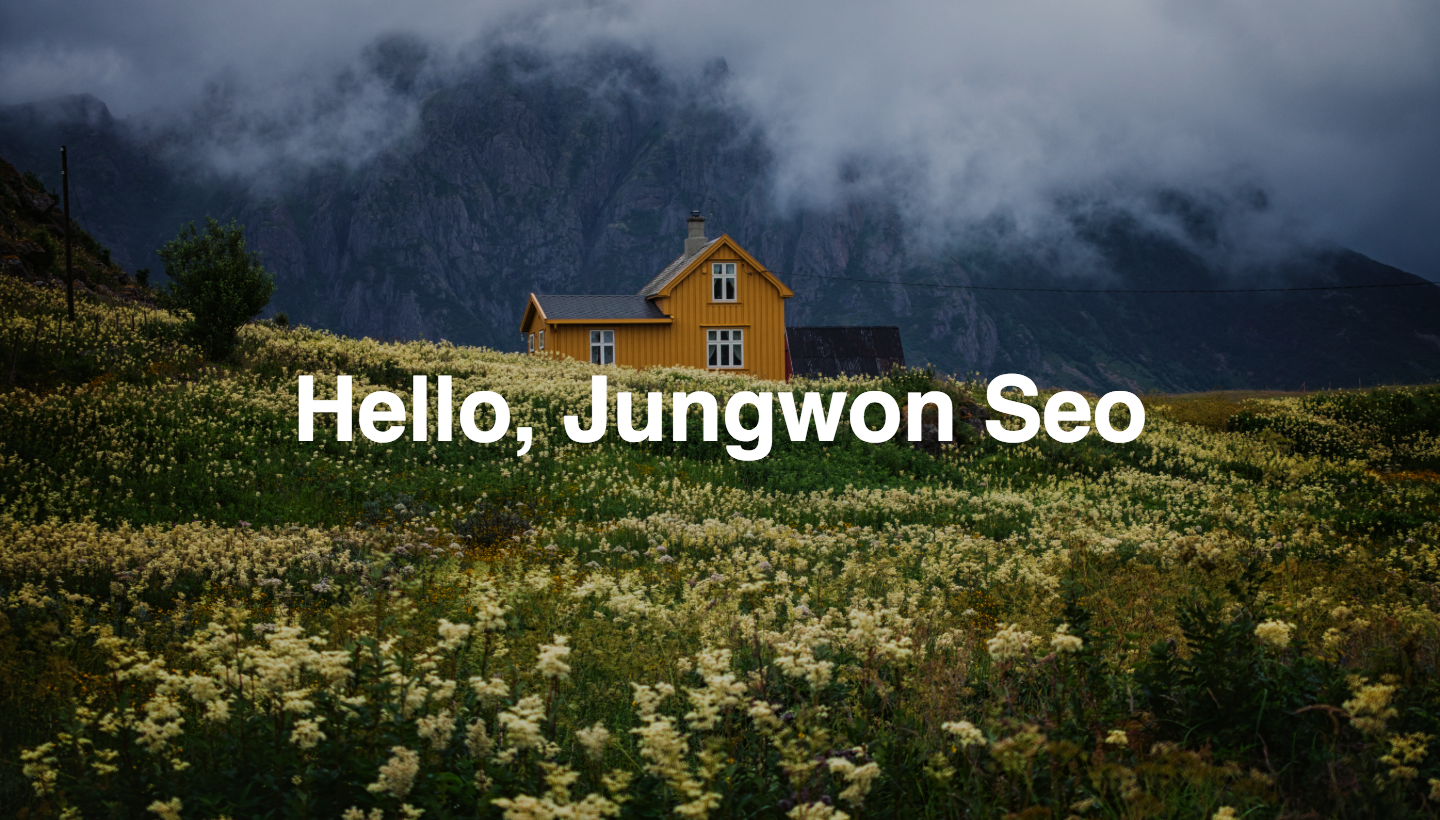
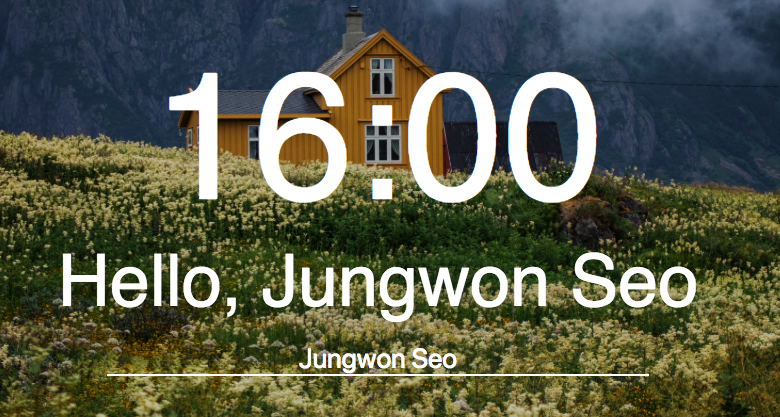
We’re making one website with one big picture, one big greeting message and maybe the current time.
Find a picture
If you go to the Unsplash website you can find tons of cool license-free images.
Since I’m in Norway, I decided to use this picture. Thanks, Vidar Nordli-Mathisen. (It’s always important to acknowledge their talent.)
Make a project

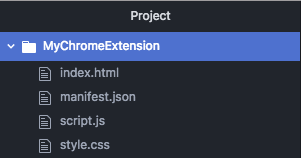
One HTML file, one CSS, one Javascript, and one manifest file.
That’s all we need.
Okay, this is the first version.

This is a simple webpage. Now, to be loaded from Chrome, you have to add the following manifest.json file.
“chrome_url_overrides” is the most important property in this application.


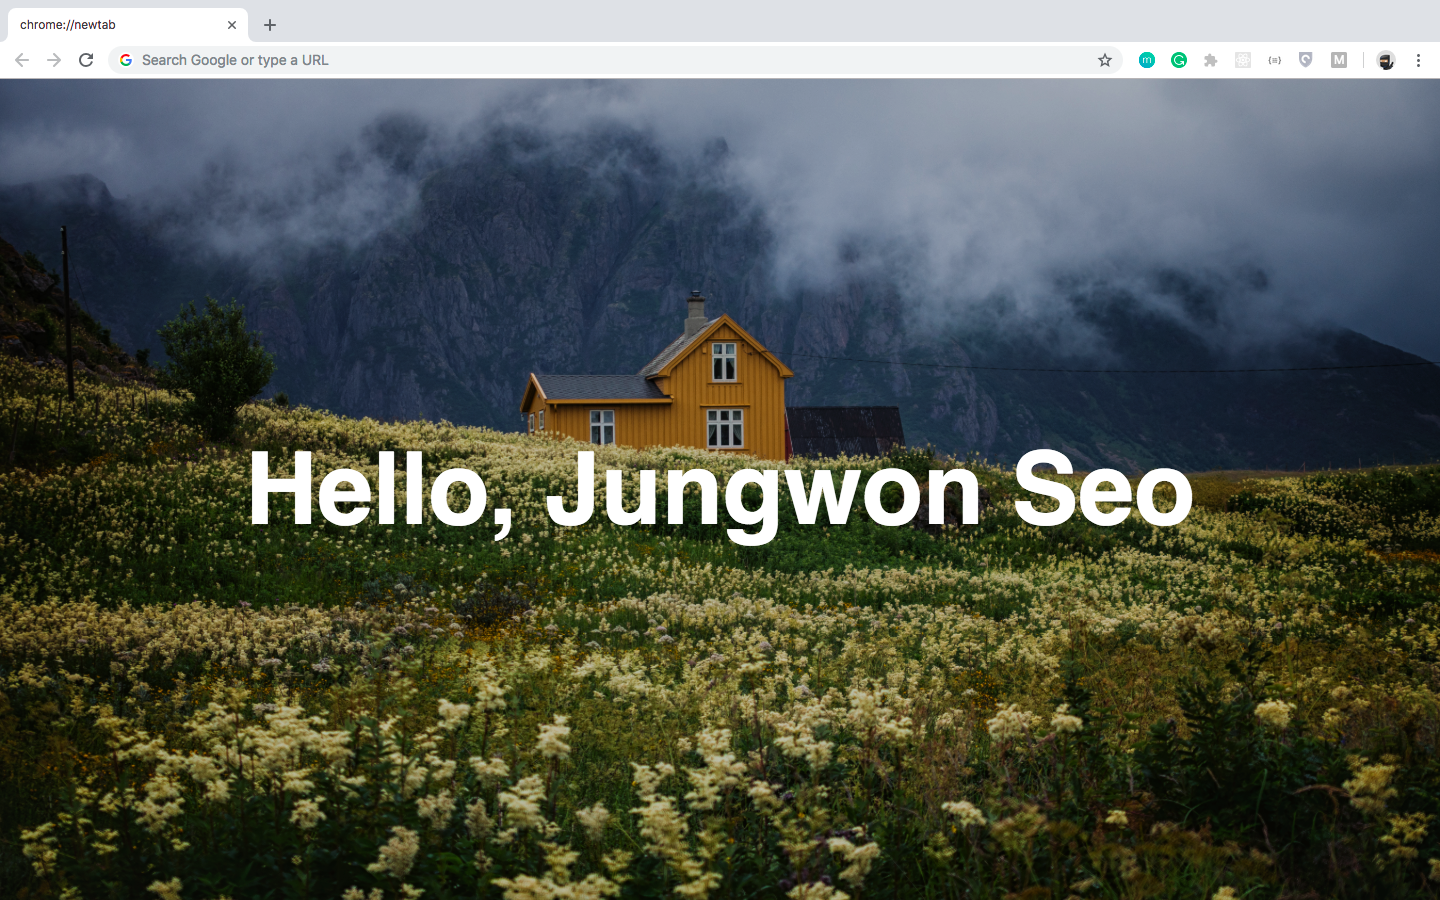
There you go, we’ve just finished our first project.
You can use it with only this functionality. Maybe you can edit the text to something you want to motivate yourself with, such as “ impossible is nothing”, “just do it”, “we are the world”, something-something. Or maybe you can put your family photo instead.
But let’s make it better than this.
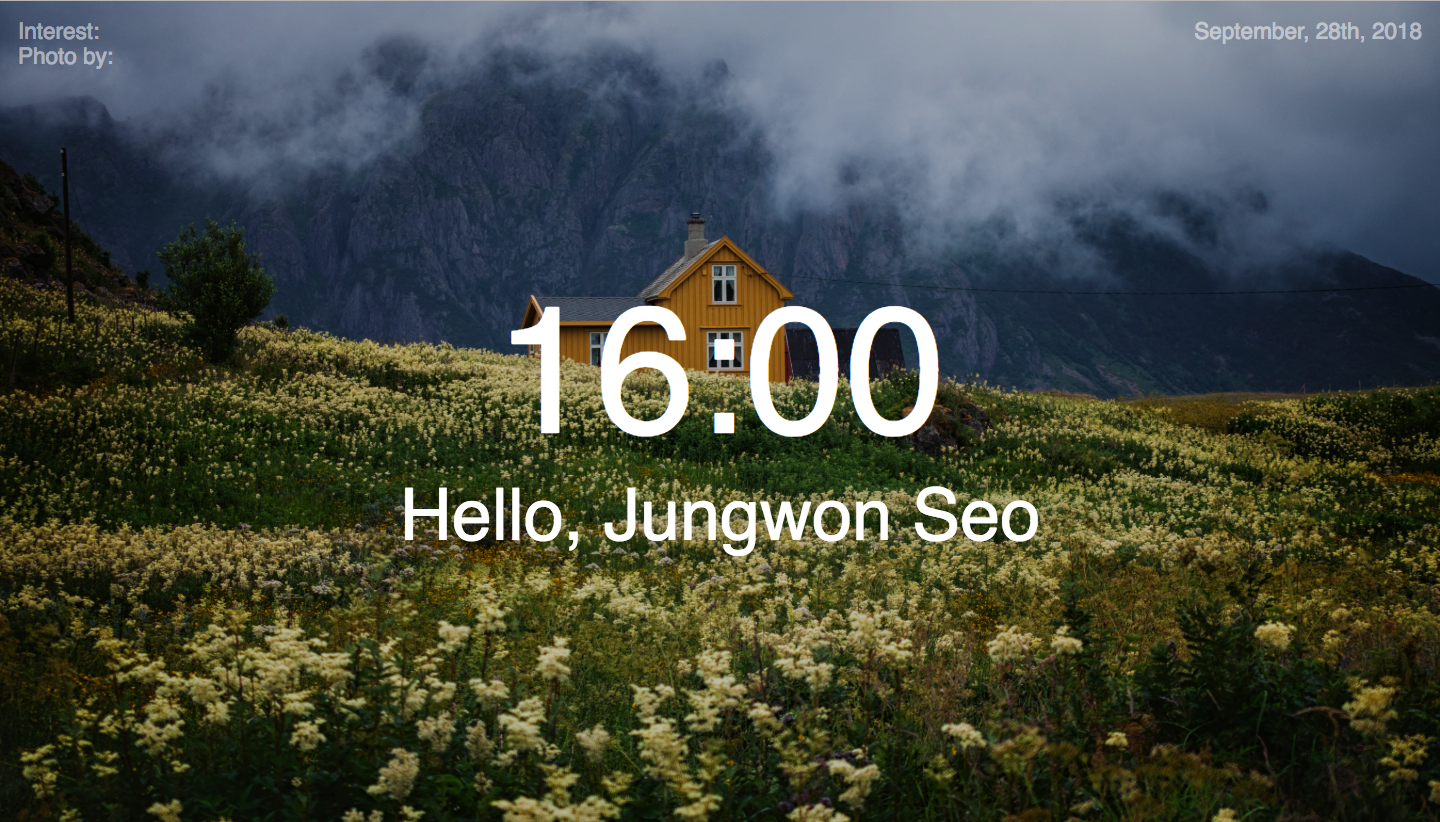
Phase 2: Things to be added
- Current time
- Name changing function
- Picture changing function
To include those three new features, I changed the HTML file like below.
CSS should be changed too.
Then the new page will be like below.

Updating manifest.json
Now, we’ll add two features.
First of all, we’ll add an input form to this application so that people can put their name on it. We’ll add this form under the “Hello, Jungwon Seo” message.

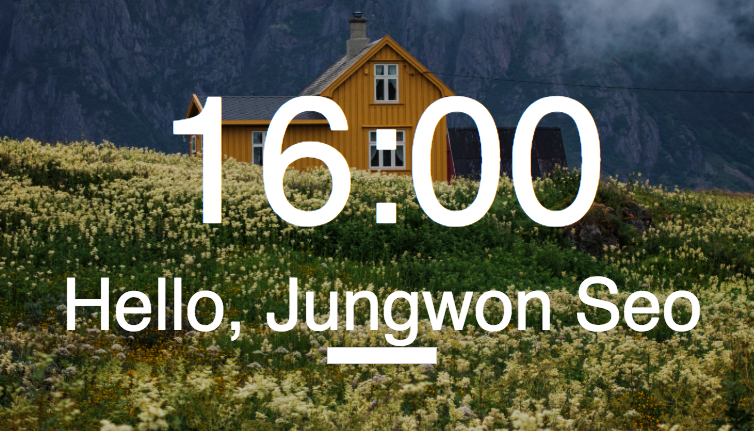
New style for the input tag.

From now on, we need to think about how to store this information.
We’ll use “cookie”, but we need to add one more property in manifest.json.
We need to add a “storage” permission as shown in line 4.
Also, since I still prefer using jQuery, let’s add it.
I tried to add jQuery CDN, but…

Don’t worry, we just need to add one more property in manifest.json.
Good, now we’re ready to code in the script.js file.
What I want to do first is:
- Make users type their name.
- Store into Cookie (let’s use just the most popular code)
- Fade out the input form and fade in the greeting message.
Now, this is the first time that we have to think like a real developer.
Case 1: When you open it for the first time.Case 2: When you open it after you type your name.
We need to decide what should be visible and what shouldn’t be.
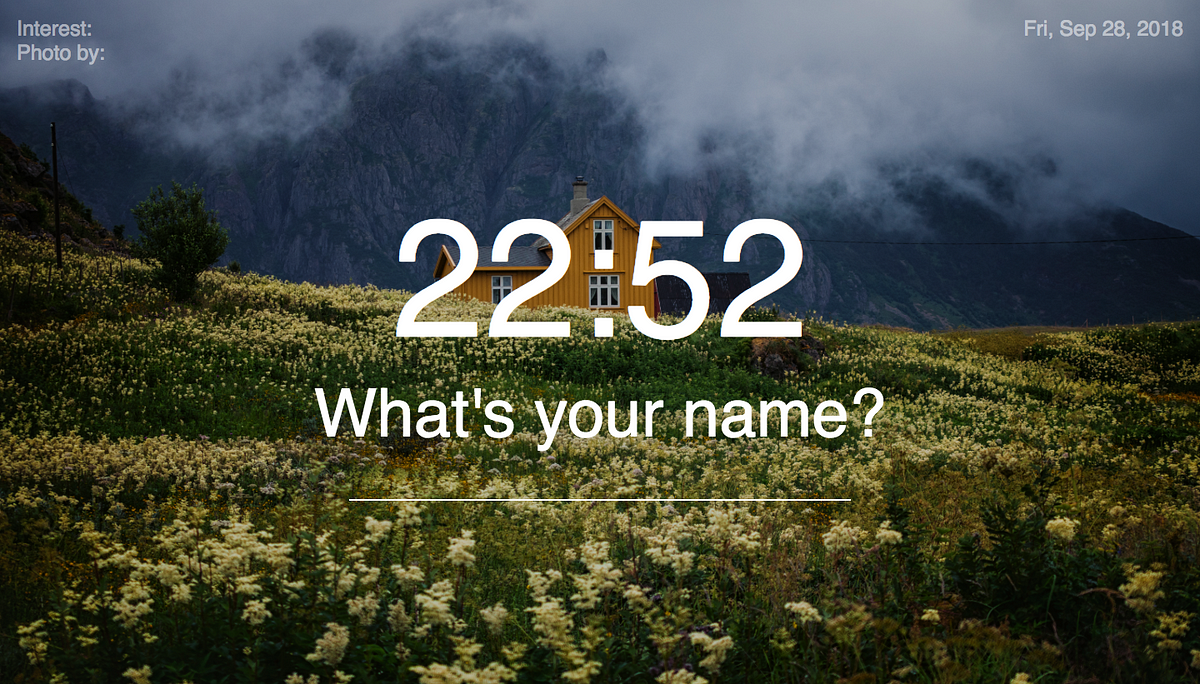
Case 1:Time: Current timeGreeting Message: What is your name?Input form: Visible
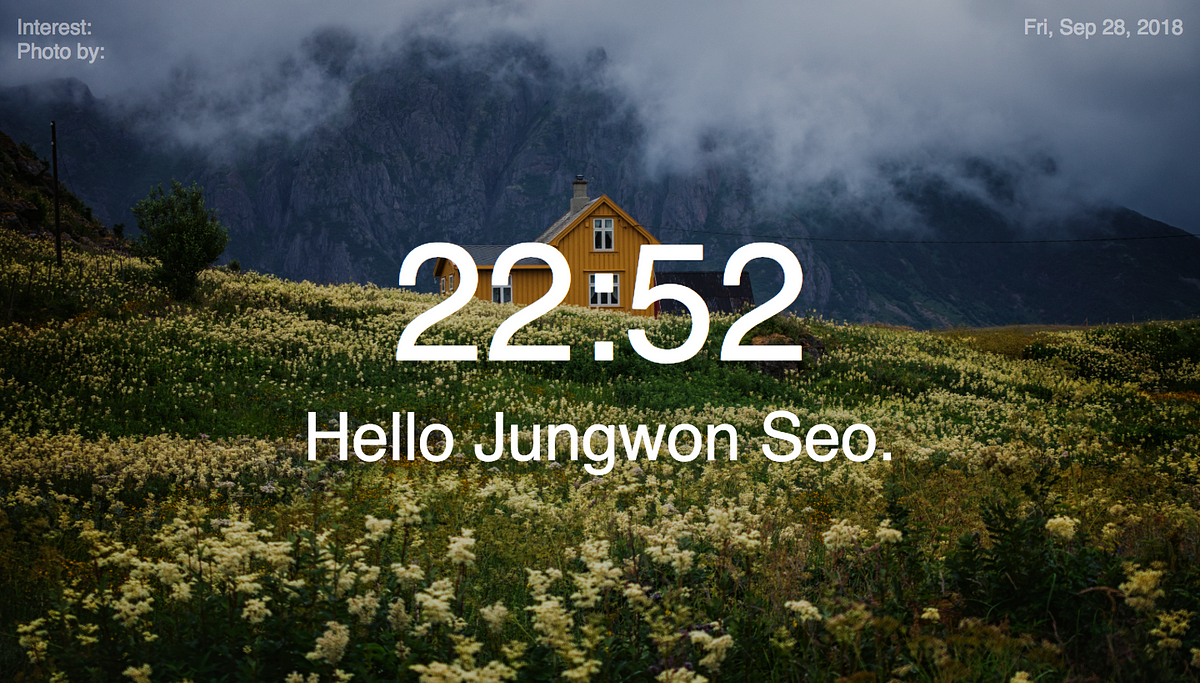
Case 2:Time: Current timeGreeting Message: Hello, <name>!Input form: Invisible
And, the way to differentiate these two cases is to check if the cookie has the key ‘username’.
With time updating function, the new script.js will be like below.


Okay, it seems to be working.
Of course, there are some things we still need to improve, such as transition effects.
But, I’ll give it to you.
Now, what else?
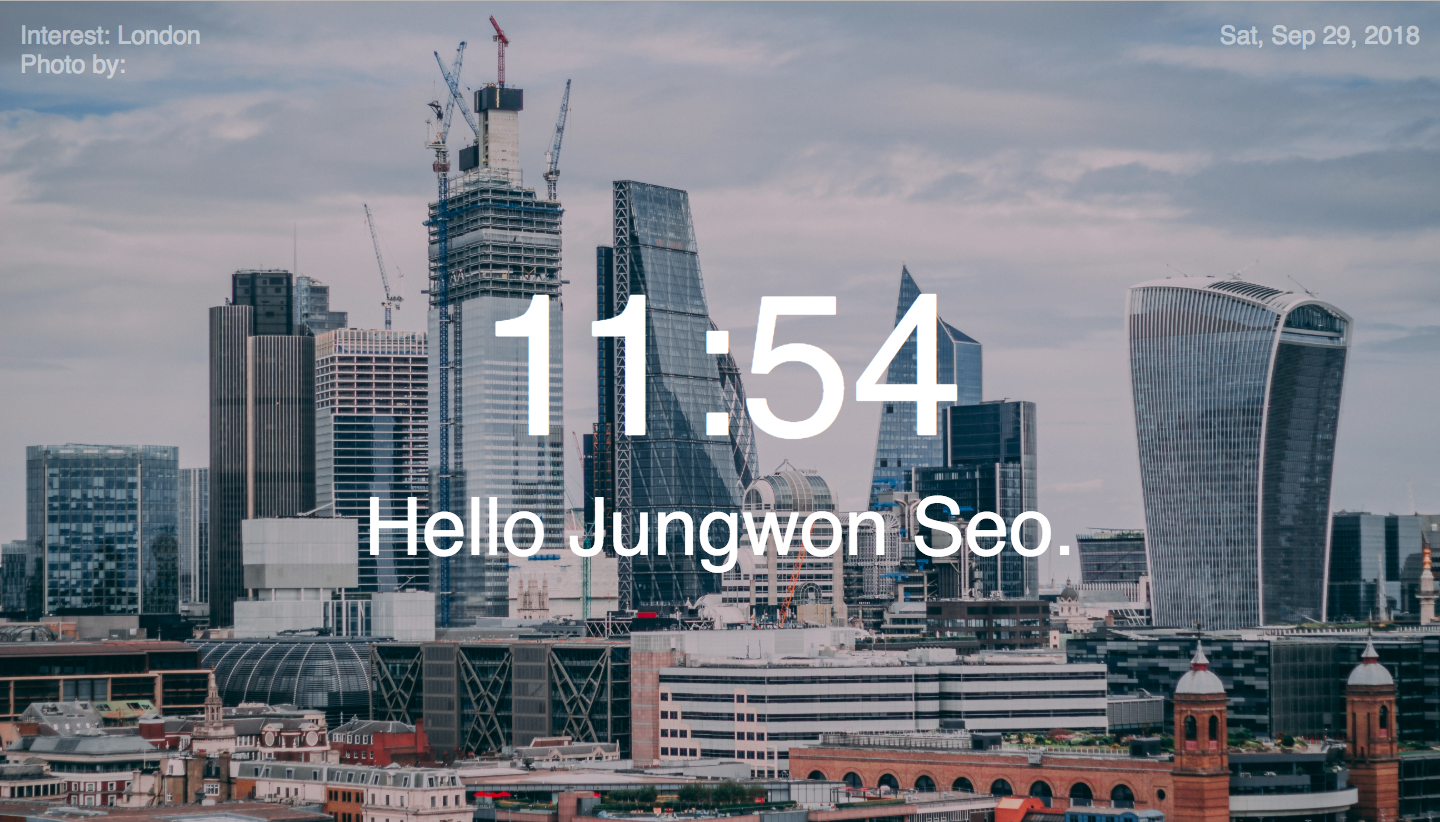
We need to add the functionality that allows users to change their picture.
Unsplash API
You can easily register and get a token from this page.
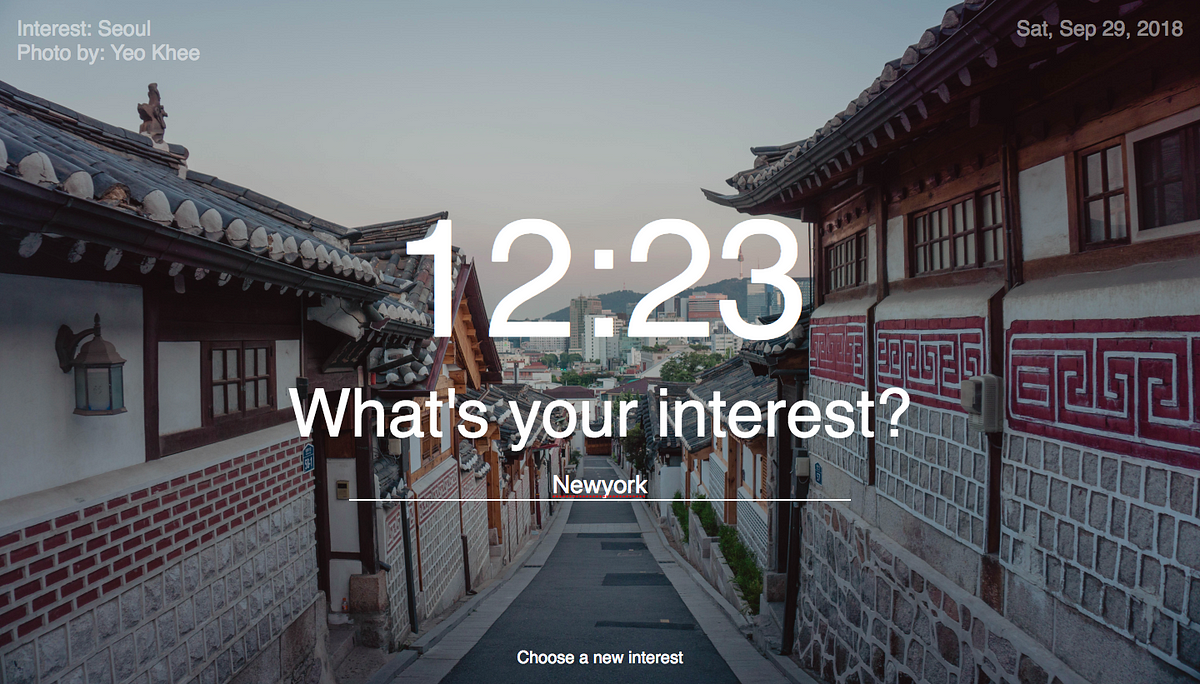
Here’s the scenario. All people have different interests. So I want to ask their interest first, and then I’ll search that image using Unsplash API. After that, I’ll keep updating the image every 12 hours (same keyword, different picture).
So the AJAX function will be like below.
And this function will be called after you type your interest.
Then, as you can expect, we need to be a developer again.
Case 1–1: Very first timeCase 1–2: After the nameCase 2: After you type your interestCase 3: 12 hours later.
Okay, let’s decide one by one.
In Case 1–1, we just need to hide all the image related part. Skip this.
In Case 1–2, just shows the input form for the interest.
In Case 2, call AJAX and save the image information.
In Case 3, let’s just set the expiration time to 12 hours and if the cookie is empty, call AJAX request again.

Yes, it’s working.
Phase 3: Final touches
It’s not mandatory to credit the photographer, but why not?
We can write a couple more line of code and credit the photographer’s name and page to the top-left side.
So that we can use the photographer’s information when you check the cookie for the first time.
One more thing, what if somebody want’s to change their interest?
Let’s add that functionality that allows people to re-type their interest.


There you go. If you click the button “Choose a new interest”, it will trigger to open the input form where you typed your interest before.

Phase 3: Make your own product.
I just want you to experience the process from the beginning to end. Still, you need to develop this by yourself to really absorb the skill that you’ve learned.
There must be some functions that you think it would be good to include such as the way to choose the random picture. Or you may think some of my codes are inefficient. You can improve your version of the same product with a better code.
Good luck and don’t give up!