利用GPIO的命令控制樹梅派的GPIO
The picture on the right shows a breadboard. Cables and component leads can be inserted into the holes to build circuits. The holes are linked by copper strips underneath the surface of the breadboard.
The holes at the edge are connected lengthways in two lines along the breadboard. The line of holes nearest the blue line is used as the negative supply line, and the line nearest the red line is used for the positive supply line. The rest of the holes are connected to each other in rows of five.
Connect the socket built in the previous post to the breadboard.
Many LEDs only need about 20mA to light up. If too much current flows through them, they burn out. A 330 Ohm resistor is needed to limit the current flowing through the LED.
Take a 330 Ohm resistor, and connect one lead to a hole in line with pin 25 on the GPIO cable socket. The other resistor lead should be placed in a hole past the end of the socket.
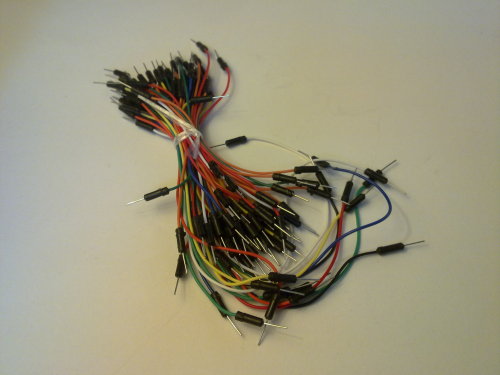
Connect a jumper cable from one of the GND pins to the negative supply rail.
Next you need to place the LED in the breadboard. LEDs only allow current to flow in one direction, so you have to get it the right way round. The negative lead is slightly shorter than the positive lead. One side of the circular rim of the LED may be flattened to show that it is the negative side. The negative lead should be inserted into the negative supply line. The LED's positive lead should be inserted into a hole in the same row as the resistor lead.
Now all you need to do is turn on pin 25 of the GPIO header. If you have installed wiringPi, you can use the 'gpio' command to control GPIO pins from the command line.
Run these commands in a terminal to test your LED:
$ gpio -g mode 25 out
$ gpio -g write 25 1
$ gpio -g write 25 0

You should see the LED light up when you write a '1' to pin 25, and it should go off when you write a '0'.
