
springboot與swagger2的整合
https://www.cnblogs.com/fengli9998/p/7522973.html
1、swagger是什麼,這個我覺得凡是一個開發人員就應該知道度娘啊,絕對強大。
簡單說下,它的出現就是為了方便進行測試後臺的restful形式的介面,實現動態的更新,當我們在後臺的介面修改了後,swagger可以實現自動的更新,而不需要認為的維護這個介面進行測試。
2、springboot與swagger的整合:
第一步:jar包的引入:
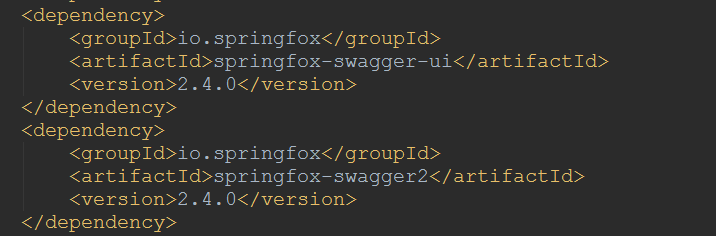
關於jar包的引入出現了一個問題就是版本的問題,可能需要與你的編輯器或者jdk要匹配吧,試了幾個才最終成功匯入jar。
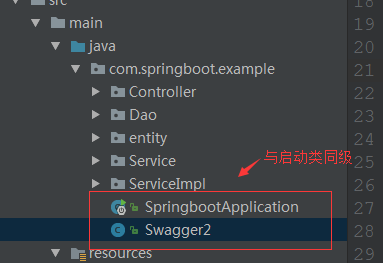
第二步:swagger的配置啟動類編寫:
要使用swagger要進行一些配置,這個在介面的圖上是可以顯示的:類似於說明書:在這個類中我們會使用註解來進行啟動swagger:
具體配置如下:
| 1 2 3 4 5 6 7 8 9 10 11 12 13 14 15 16 17 18 19 20 21 22 23 24 25 26 27 28 29 30 31 32 33 34 35 36 37 38 39 40 41 42 43 44 45 46 47 48 |
|
這裡的坑是:所使用類的引入檔案要注意到底是哪個,之前因為這個出錯了,
| 1 2 |
|
| 1 2 |
|
第三步:使用swagger來進行模擬測試:
使用swagger2來進行測試介面主要是在哪些類中使用:這裡我們依然選擇在controller層:
| 1 2 3 4 5 6 7 8 9 10 11 12 13 14 15 16 17 18 19 20 21 22 23 24 25 26 27 28 29 30 31 32 33 34 35 36 37 38 |
|
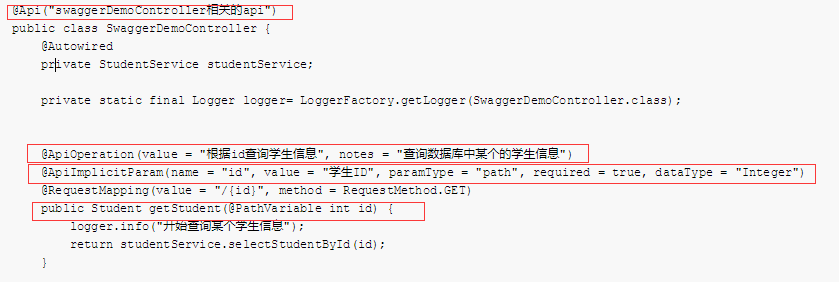
上面這些可以看下具體的註解是什麼意思:
這樣swagger2與springboot就整合完畢了。
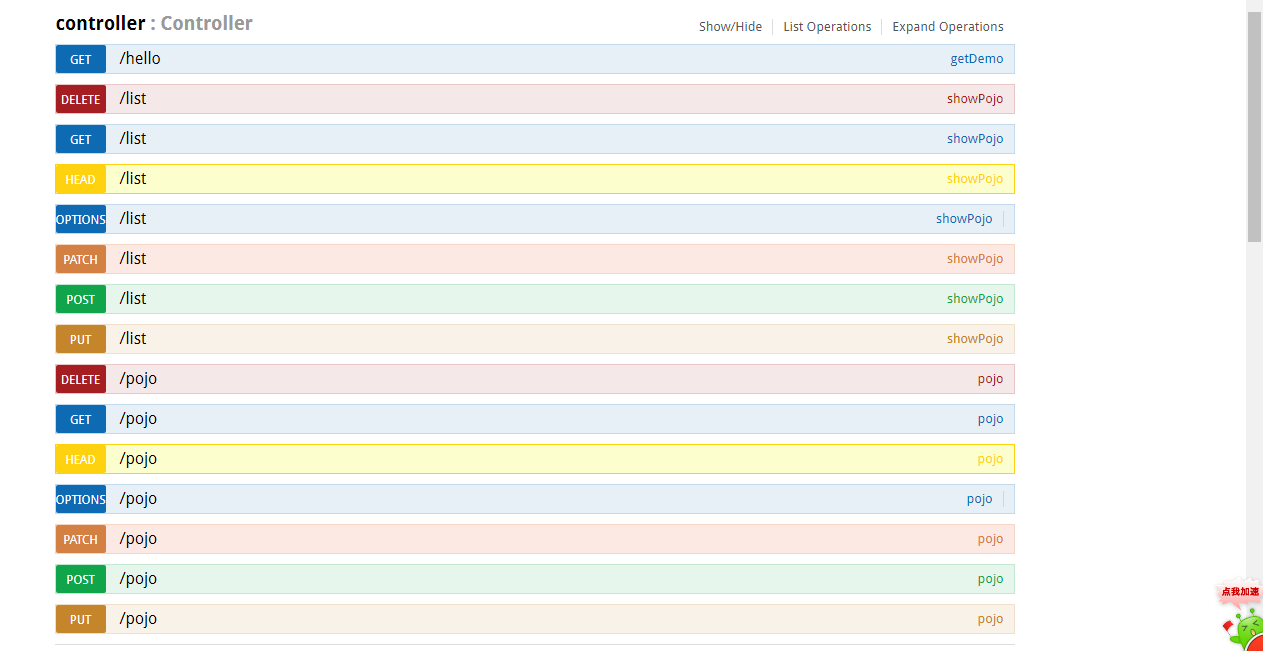
看下最終效果吧:
訪問路徑:
http://localhost:8080/swagger-ui.html

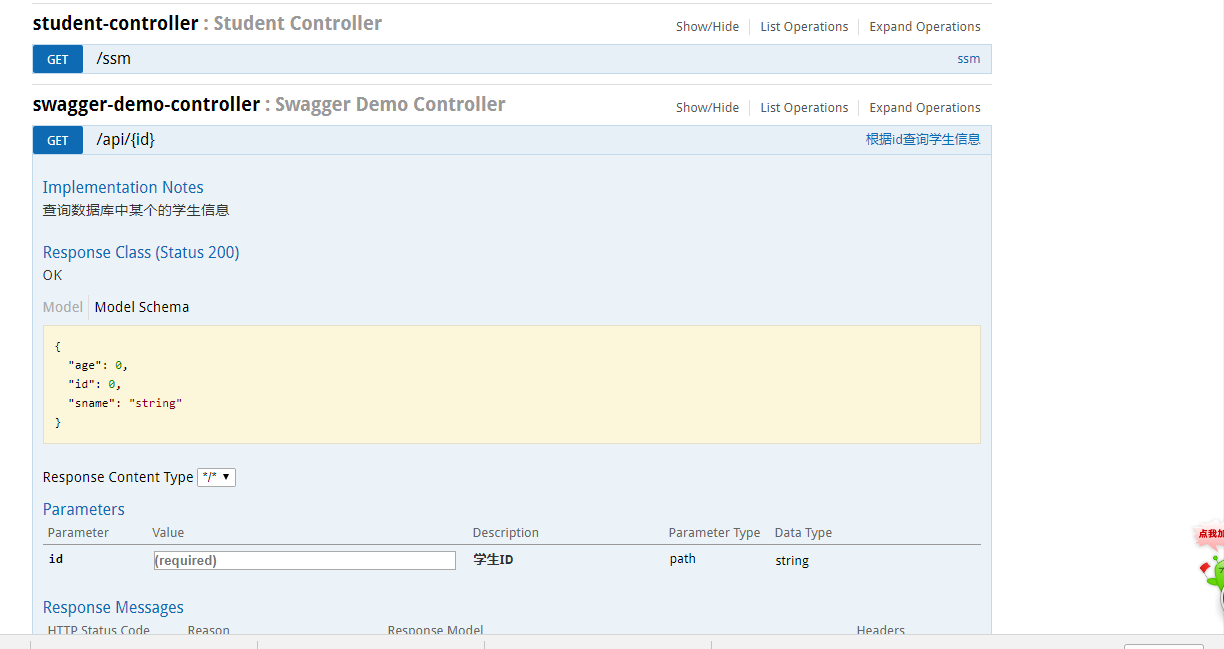
輸入id後,我們可以看到查詢結果:、
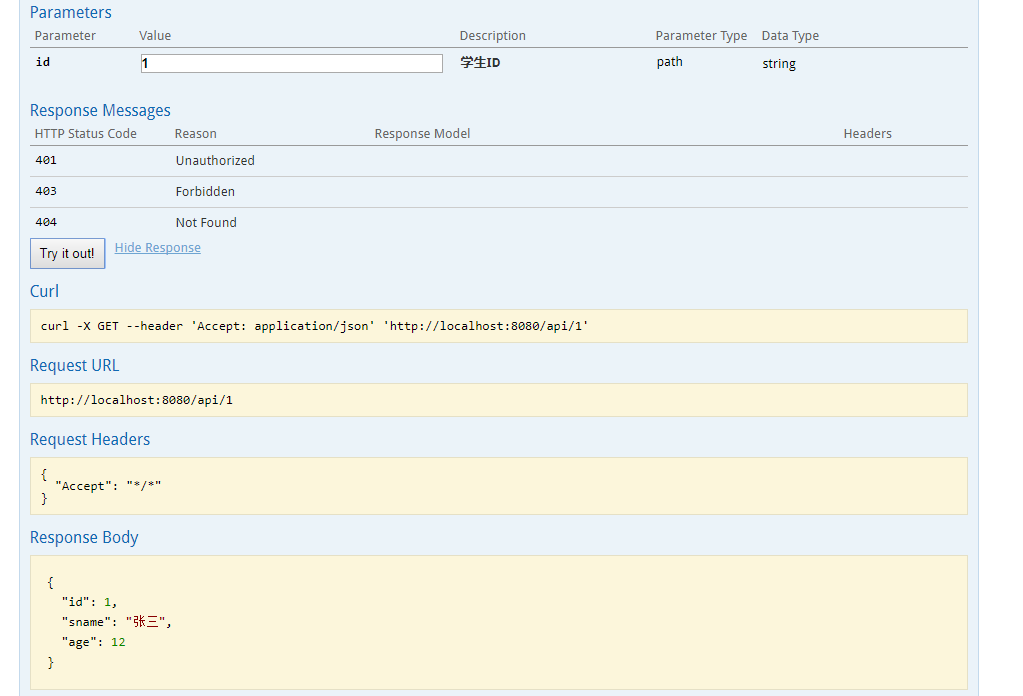
是不是很方便,我們不用像postman一樣來編寫入口,swagger2自動完成:
而且實時更新:
是不是很方便!
至此swagger2與springboot的整合完畢。