SpringMVC——實現檔案上傳下載
阿新 • • 發佈:2019-01-02
一、檔案上傳
1.引入依賴包
在pom.xml檔案中新增如下內容,引入 commons-fileupload 和 commons-io 兩個包。
<dependency>
<groupId>commons-fileupload</groupId>
<artifactId>commons-fileupload</artifactId>
<version>1.3.1</version>
</dependency>
<dependency>
<groupId 2.spring-mvc.xml
<!--檔案上傳-->
<bean id="multipartResolver" class="org.springframework.web.multipart.commons.CommonsMultipartResolver">
<!--最大上傳大小(位元組)--> 3.fileUpload.jsp
form中加入 enctype=”multipart/form-data” 屬性,表示將檔案一二進位制流傳輸,否則報錯。
<%@ page contentType="text/html;charset=UTF-8" language="java" %>
<html>
<head>
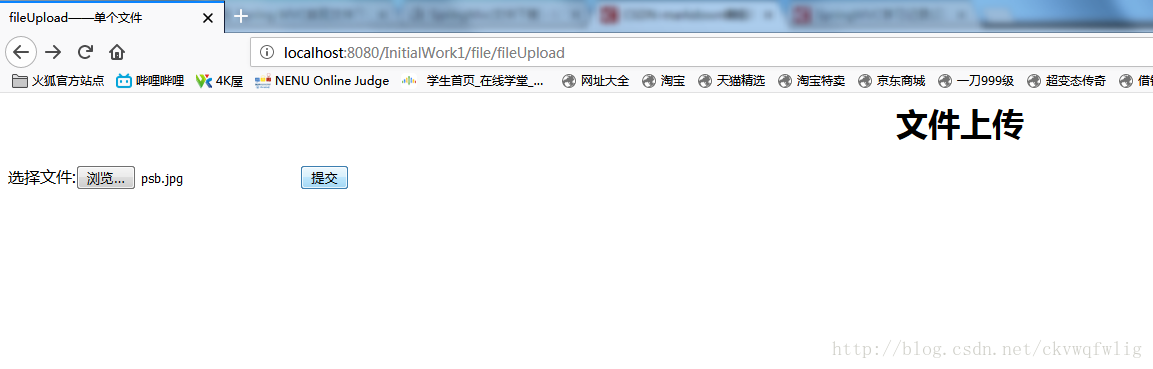
<title>fileUpload —— 單個檔案</title> 4.Success.jsp
<%@ page contentType="text/html;charset=UTF-8" language="java" %>
<html>
<head>
    <title>success</title>
</head>
<body>
<h1 align="center">Success!</h1>
</body>
</html>
5.index.jsp
<%@ page contentType="text/html;charset=UTF-8" language="java" %>
<html>
<body>
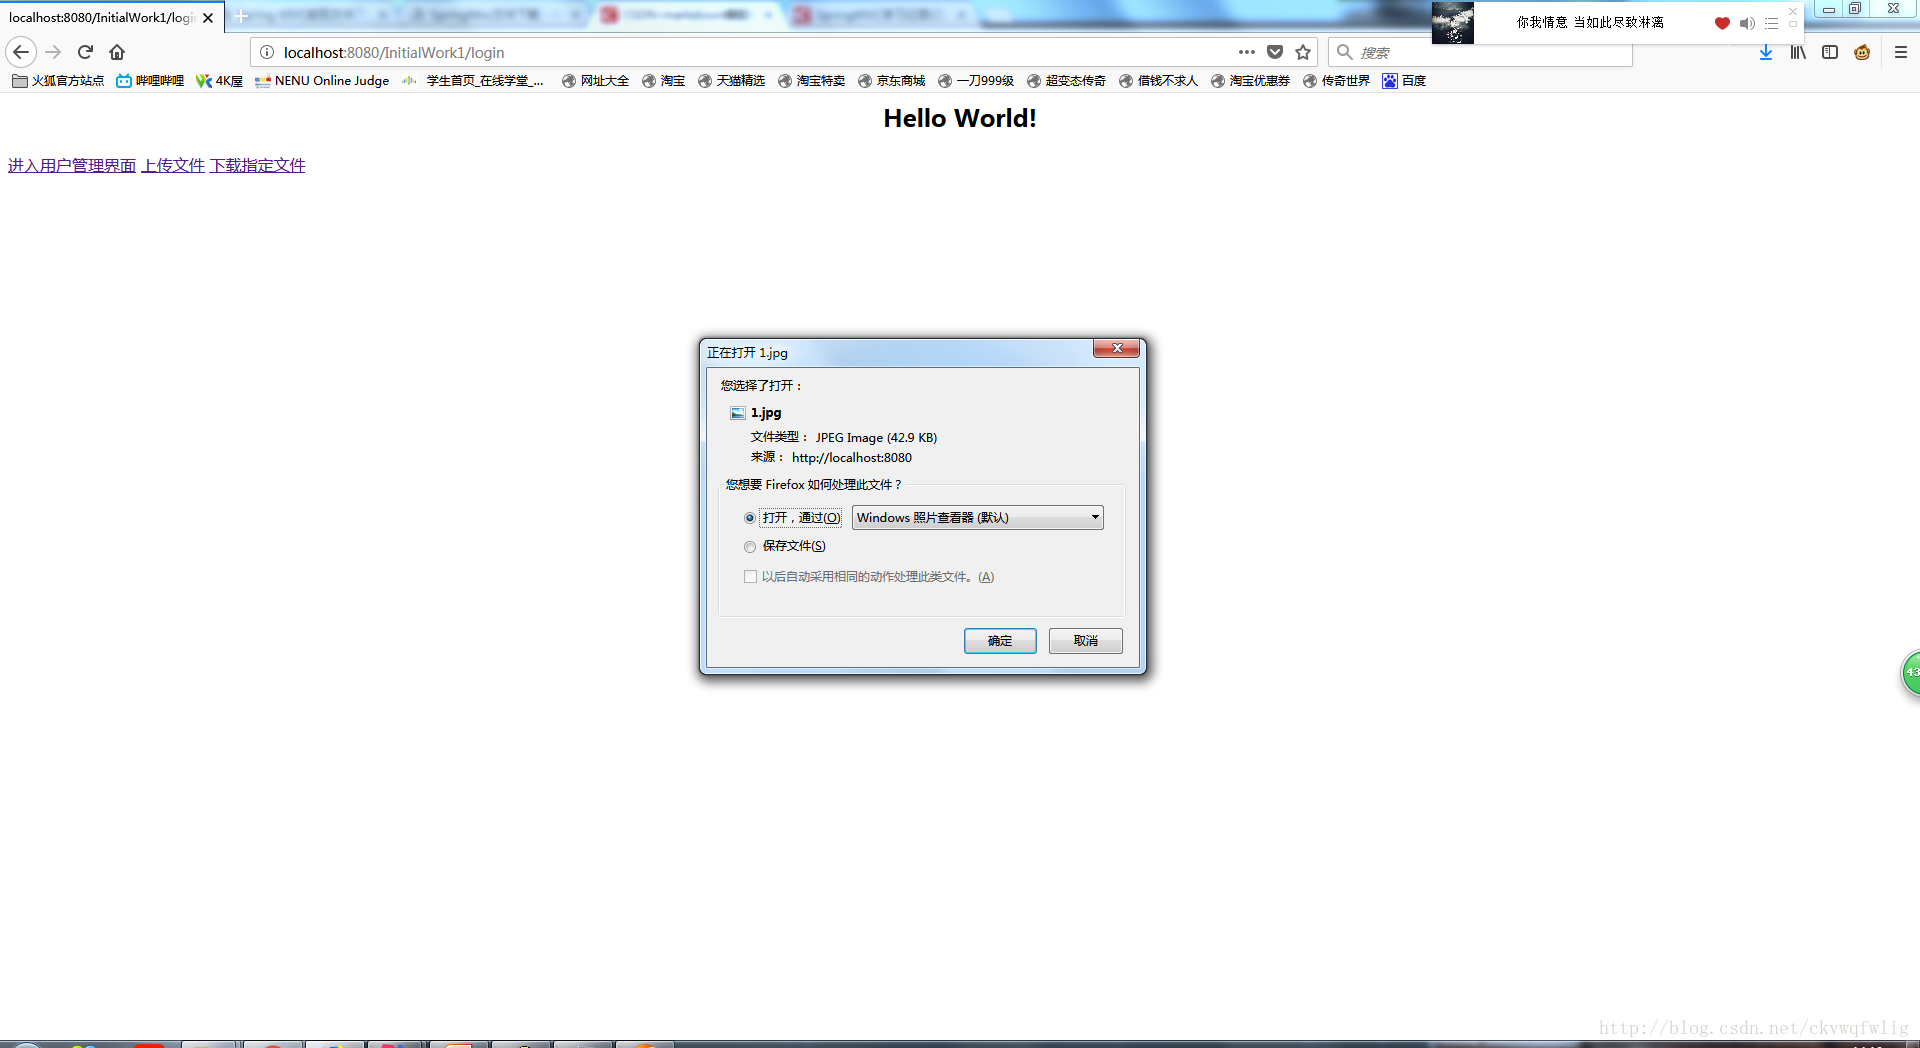
<h2 align="center">Hello World!</h2>
<a href="${website}admin/listUser">進入使用者管理介面</a>
<a href="${website}file/fileUpload">上傳單個檔案</a>
<a href="${website}file/multiFileUpload">上傳多個檔案</a>
<%--<a href="${website}file/fileDownload">下載檔案</a>--%>
<a href="${website}file/download">下載指定檔案</a>
</body>
</html>

6.FileController
    /**
     * 去檔案上傳頁面
     *
     * @return
     */
    @RequestMapping(value = "fileUpload", method = RequestMethod.GET)
    public String toFileUpload(){
        return "/file/fileUpload";
    }

    /**
     * 單個檔案上傳
     *
     * @param file
     * @return
     */
    @RequestMapping(value = "upload", method = RequestMethod.POST)
    public String fileUpload(@RequestParam("file")MultipartFile file){
        if (!file.isEmpty()){
            try {
                //存入F:\temp目錄下
                FileUtils.copyInputStreamToFile(file.getInputStream(), new File("F:\\temp",
                        System.currentTimeMillis()+ file.getOriginalFilename()));
            } catch (IOException e){
                e.printStackTrace();
            }
        }
        //上傳成功,跳轉至success頁面
        return "file/success";
    }
7.多個檔案上傳
    /**
     * 去多個檔案上傳頁面
     *
     * @return
     */
    @RequestMapping(value = "multiFileUpload", method = RequestMethod.GET)
    public String toMultiFileUpload(){
        return "/file/multiFileUpload";
    }

    /**
     * 多個檔案上傳
     *
     * @param multiRequest
     * @return
     */
    @RequestMapping(value = "multiUpload", method = RequestMethod.POST)
    public String multiFileUpload(MultipartHttpServletRequest multiRequest) throws IOException {
        Iterator<String> filesNames = multiRequest.getFileNames(); //獲得所有的檔名
        while(filesNames.hasNext()){    //迭代,對單個檔案進行操作
            String fileName =filesNames.next();
            MultipartFile file =  multiRequest.getFile(fileName);
            if(!file.isEmpty()){
                FileUtils.copyInputStreamToFile(file.getInputStream(), new File("F:\\temp",
                        System.currentTimeMillis()+ file.getOriginalFilename()));
            }

        }
        //上傳成功,跳轉至success頁面
        return "file/success";
    }
二、檔案下載
1.index.jsp
<%@ page contentType="text/html;charset=UTF-8" language="java" %>
<html>
<body>
<h2 align="center">Hello World!</h2>
<a href="${website}admin/listUser">進入使用者管理介面</a>
<a href="${website}file/fileUpload">上傳檔案</a>
<%--<a href="${website}file/fileDownload">下載檔案</a>--%>
<a href="${website}file/download">下載指定檔案</a>

</body>
</html>
2.FileController
現在實現的功能是點選“下載指定檔案”則下載在controller中指定好的檔案,還沒有實現把上傳的檔案傳入資料庫,也沒實現下載資料庫中要存的檔案,日後慢慢改進。
    /**
     * 指定檔案下載
     *
     * @return
     * @throws IOException
     */
    @RequestMapping(value = "download",produces = "application/octet-stream;charset=UTF-8")
    public ResponseEntity<byte[]> download() throws IOException {
//                指定檔案,必須是絕對路徑
        File file = new File("F:\\temp\\1513489657107psb.jpg");
//                下載瀏覽器響應的那個檔名
        String dfileName = "1.jpg";
//                下面開始設定HttpHeaders,使得瀏覽器響應下載
        HttpHeaders headers = new HttpHeaders();
//                設定響應方式
        headers.setContentType(MediaType.APPLICATION_OCTET_STREAM);
//                設定響應檔案
        headers.setContentDispositionFormData("attachment", dfileName);
//                把檔案以二進位制形式寫回
        return new ResponseEntity<byte[]>(FileUtils.readFileToByteArray(file), headers, HttpStatus.CREATED);
    }
效果