
Spring Security教程(2)----SpringSecurity簡單測試
前面講到了SpringSecurity的簡單配置,今天做一個簡單的測試,先看配置檔案
- <?xmlversion="1.0"encoding="UTF-8"?>
- <beansxmlns="http://www.springframework.org/schema/beans"
- xmlns:sec="http://www.springframework.org/schema/security"
- xmlns:xsi="http://www.w3.org/2001/XMLSchema-instance"
-
xsi:schemaLocation="http://www.springframework.org/schema/beans
- http://www.springframework.org/schema/beans/spring-beans-3.0.xsd
- http://www.springframework.org/schema/security
- http://www.springframework.org/schema/security/spring-security-3.1.xsd">
- <!-- 配置不過濾的資源(靜態資源及登入相關) -->
-
<sec:httppattern="/**/*.css"security="none"></sec:http>
- <sec:httppattern="/**/*.jpg"security="none"></sec:http>
- <sec:httppattern="/**/*.jpeg"security="none"></sec:http>
- <sec:httppattern="/**/*.gif"security="none"></sec:http>
- <sec:httppattern="/**/*.png"security="none"></sec:http>
-
<sec:httppattern="/js/*.js"security="none"></sec:http>
- <sec:httppattern="/login.jsp"security="none"></sec:http>
- <sec:httppattern="/getCode"security="none"/><!-- 不過濾驗證碼 -->
- <sec:httppattern="/test/**"security="none"></sec:http><!-- 不過濾測試內容 -->
- <sec:httpauto-config="true">
- <sec:intercept-urlpattern="/app.jsp"access="ROLE_SERVICE"/>
- <sec:intercept-urlpattern="/**"access="ROLE_ADMIN"/>
- </sec:http>
- <sec:authentication-manager>
- <sec:authentication-provider>
- <sec:user-service>
- <sec:username="admin"password="admin"authorities="ROLE_ADMIN"/>
- </sec:user-service>
- </sec:authentication-provider>
- </sec:authentication-manager>
- </beans>
其中
<sec:http pattern="" security="none"></sec:http>
是忽略攔截某些資源的意思,主要是針對靜態資源
<sec:intercept-url pattern="/app.jsp" access="ROLE_SERVICE"/>
表示訪問app.jsp時,需要ROLE_SERVICE許可權
<sec:intercept-url pattern="/**" access="ROLE_ADMIN"/>
表示訪問任何資源都需要ROLE_ADMIN許可權。
注:/**的配置要放到最後,因為如果放到最前面的話就失去了攔截意義,任何只要有ROLE_ADMIN許可權的使用者都可以訪問任何資源,並不會對app.jsp攔截。因為在訪問app.jsp的時候先經過<sec:intercept-url pattern="/**" access="ROLE_ADMIN"/>,、/**又表示任何資源,所以只要具有ROLE_ADMIN許可權就會放行。如果放到最後,先經過<sec:intercept-url pattern="/app.jsp" access="ROLE_SERVICE"/>,這時候訪問app.jsp是就會先判斷使用者是否有ROLE_SERVICE許可權,如果有則放行,反之攔截。
許可權必須已ROLE_開頭,在後面的文章中我們會講到如何修改許可權頭和去掉許可權頭
authentication-manager用來配置使用者管理,在這裡我們定義了一個admin使用者並且具有ROLE_ADMIN許可權,也就是說我們訪問任何資源都可以但是訪問app.jsp時將被攔截
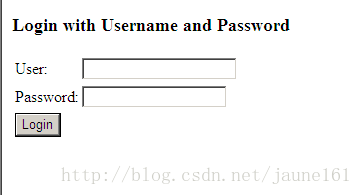
在沒有自定義登入頁面之前,SpringSecurity會自動生成登入頁面,如下圖
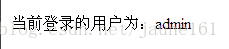
然後輸入admin/admin登入
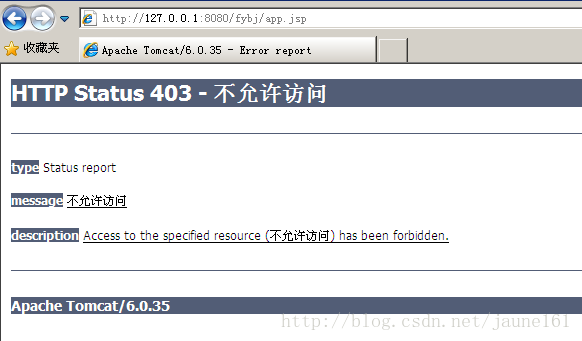
然後訪問app.jsp發現已被spring攔截,說明我們的配置成功了
符:在JSP頁面獲取當前登入的使用者名稱的方法
首先引入taglib
- <%@ taglib prefix="sec"uri="http://www.springframework.org/security/tags" %>
- <sec:authenticationproperty="name"/>