ElasticSearch的搭建和報錯處理
阿新 • • 發佈:2019-01-03
ES安裝
1.新增普通使用者
useradd xlj
2. 普通使用者和root使用者之間的切換
1) 從root使用者轉到普通使用者
su -l xlj
2)從root使用者切換到普通使用者,需要密碼(因為root擁有很大的許可權,所以用root使用者切換到普通使用者不用密碼)
su -l root
3.修改許可權
chown -R xlj:xlj /software
4.將root使用者中的壓縮包賦值到普通使用者

5.解壓到當前目錄

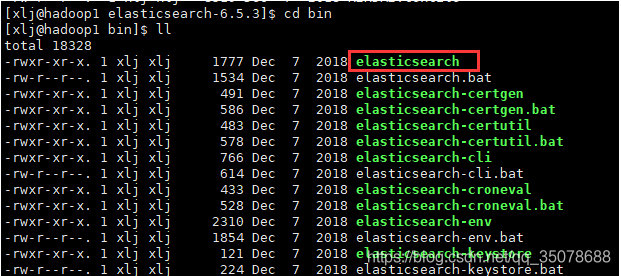
6.進入解壓後的bin目錄

7.當在它的bin目錄下 啟動elasticsearch

報錯:

解決:
1)

2)

8.修改 vi config/elasticsearch.yml

9.在root使用者下建立目錄並修改許可權
1)mkdir -p /home/xlj/data/elastic

2)mkdir -p /home/xlj/logs/elastic

10.再次啟動


出現錯誤:

解決:
1.vim /etc/security/limits.conf

1)退出使用者重新登入,使配置生效

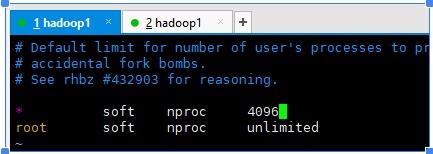
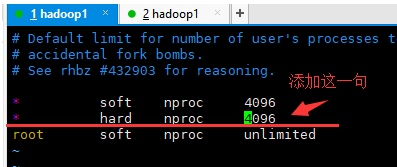
2.vim /etc/security/limits.d/90-nproc.conf

3.vi /etc/sysctl.conf
1)新增下面配置:
vm.max_map_count=655360

2)並執行命令
sysctl -p
出現了另一個錯:ERROR: [1] bootstrap checks failed

解決:
1)

 2)vim /etc/security/limits.d/90-nproc.conf
11.再次啟動


12.輸入http://hadoop1:9200/ 出現下面的情況 說明真的成功了

還可能出現的錯誤
Caused by: java.lang.IllegalStateException: failed to obtain node locks, tried [[/home/zhj/data/elastic/zhj]] with lock id [0]; maybe these locations are not writable or multiple nodes were started without increasing [node.max_local_storage_nodes] (was [1])?

在ElasticSearch資料夾下的config下的.yml字尾的檔案新增

再次啟動就好了
